
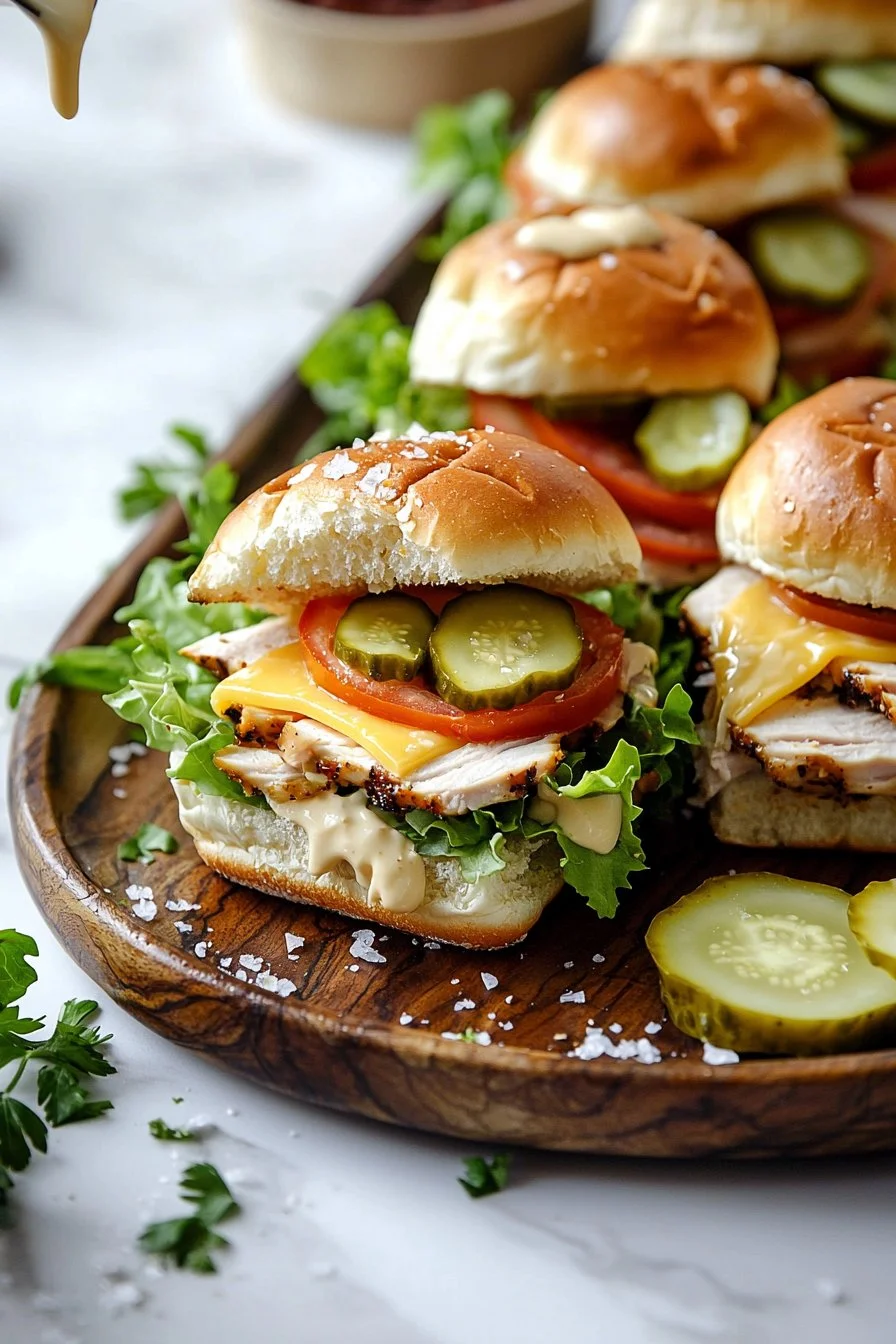
Are you craving a dish that’s both savory and delightful? Look no further than these Turkey and Cheese Sliders, where tender turkey and melted cheese come together in irresistible harmony! Imagine biting into a warm slider, where the gooey cheese complements the savory turkey, all hugged by a soft slider bun. It’s a texture and flavor explosion that’s truly satisfying. Fun fact: sliders originated in the 1920s as small sandwiches served in bars and diners, making them perfect for family gatherings and cozy winter evenings. Think of it as a mini version of a full sandwich — like our popular Chicken and Cheese Wrap, but with that unique slider charm. These easy-to-make Turkey and Cheese Sliders can quickly become your go-to dish for casual get-togethers!
What is Turkey and Cheese Sliders?
So, what exactly are Turkey and Cheese Sliders? These delicious little sandwiches are like their larger sandwich cousins but in a compact, handheld form. Rhetorically speaking, is it because they let you stack layers of tasty goodness in a manner that’s undeniably charming? Perhaps! Let’s face it; the name “slider” evokes a sense of fun and adventure, doesn’t it? It’s said that “the way to a man’s heart is through his stomach,” and what better way to do this than with these sliders at your next family gathering? Gather your loved ones and slide these tasty bites into your menu!
Why You’ll Love This Turkey and Cheese Sliders
First of all, these Turkey and Cheese Sliders are a main dish highlight that will have everyone talking! The moment you take a bite and feel the combination of warm turkey and melted cheese, you’ll know it’s love at first bite. Secondly, cooking at home is not only cost-saving but also an opportunity to showcase your culinary skills without breaking the bank. Why spend more on takeout when a few fresh ingredients can create this masterpiece? Add toppings like crispy lettuce or juicy tomatoes, and you’ll elevate your sliders to gourmet status, akin to a diner cheeseburger but with a twist! It’s time to gather the family and whip up a batch of these delightful sliders!
How to Make Turkey and Cheese Sliders
Quick Overview
Making Turkey and Cheese Sliders is incredibly easy, allowing you to create a feel-good, satisfying meal in no time! The combination of flavors and textures will leave you wanting more, all while being a breeze to prepare. You can whip these up in about 30 minutes, making them an excellent choice for a quick lunch or family dinner.
Ingredients
- 12 slider buns
- 1 pound sliced turkey (halal)
- 12 slices of cheese (cheddar or Swiss)
- 1 cup lettuce (shredded)
- 1 large tomato (sliced)
- ¼ cup mayonnaise
- 2 tablespoons mustard
- ½ cup pickles (sliced)
Step-by-Step Instructions
- Preheat the Oven: Start by preheating your oven to 350°F (175°C). This step is crucial for getting those sliders warm and melty!
- Prepare the Buns: Slice each of the slider buns in half horizontally. Lay the bottom halves in a greased baking dish.
- Layer the Turkey: Begin layering the sliced turkey on top of the bottom buns. Ensure the turkey is evenly distributed for maximum flavor in every bite.
- Add the Cheese: Place one slice of cheese on top of the turkey for each slider. You can mix and match with cheddar and Swiss cheese for varied flavors!
- Top It Off: Now, add the shredded lettuce and tomato slices over the cheese. These toppings not only enhance the flavor but also bring in some freshness.
- Spread the Condiments: On the top half of the buns, spread mayonnaise and mustard. Don’t forget the pickles — they add a delightful crunch!
- Complete the Assembly: Carefully place the top halves of the buns back onto the assembled base.
- Baking: Cover the dish with foil and bake in the preheated oven for about 15-20 minutes. Uncover, and bake for an additional 5 minutes for that perfect golden top.
- Serve: Remove from the oven, slice, and serve while warm. Enjoy with your favorite sides!
Top Tips for Perfecting Turkey and Cheese Sliders
- Substitutions: If you’re looking for a twist, consider using halāl chicken or roast beef in place of turkey. Adding fresh herbs like basil or oregano can elevate the flavors!
- Timing: Make sure not to overbake, as you want to keep that soft and gooey texture. Keep an eye on them!
- Common Mistakes: Avoid using overly dry turkey. Opt for freshly sliced deli turkey for a more moist and flavorful result.
Storing and Reheating Tips
To extend the life of your Turkey and Cheese Sliders, store any leftovers in an airtight container in the refrigerator for up to 3 days. If you plan to keep them for longer, they can be frozen for up to a month. To reheat, consider using an oven instead of a microwave to maintain that delightful slider crunch and melty cheese. Preheat your oven to 350°F (175°C) and heat for about 10-15 minutes or until warmed through.
Now that you’re ready to impress your friends and family with these Turkey and Cheese Sliders, dive into this easy and delicious recipe, and watch as they disappear from the table! Happy cooking!

Turkey and Cheese Sliders
Ingredients
Method
- Preheat your oven to 350°F (175°C).
- Slice each of the slider buns in half horizontally and lay the bottom halves in a greased baking dish.
- Layer the sliced turkey evenly on top of the bottom buns.
- Place one slice of cheese on top of the turkey for each slider.
- Add shredded lettuce and tomato slices over the cheese.
- On the top half of the buns, spread mayonnaise and mustard, and add sliced pickles.
- Carefully place the top halves of the buns back onto the assembled base.
- Cover the dish with foil and bake in the preheated oven for about 15-20 minutes. Uncover and bake for an additional 5 minutes.
- Remove from the oven, slice, and serve while warm. Enjoy with your favorite sides!
Leave a Reply