
Are you ready to embark on a flavor-packed journey that’s not just easy to prepare but is also incredibly delicious? Enter the Tasty Tuna Sandwich, a classic that has stood the test of time. With its creamy texture and savory flavor, this sandwich brings comfort to every family gathering or cozy night in. Did you know that tuna has more culinary versatility than you can imagine? While you may have tried layering tuna on crackers or stirring it into a salad, nothing beats the satisfaction of biting into a well-made sandwich.
This recipe is perfect for busy weeknights or casual lunches, inviting you to bring a little bit of tradition into your table. Unlike my popular Chicken Salad Sandwich blog post, this Tasty Tuna Sandwich is straightforward and allows you to get dinner on the table with minimal fuss. If you’re craving simplicity fused with flavor, let’s dive in!
What is Tasty Tuna Sandwich?
You might wonder where the name “Tuna Sandwich” comes from. Is it because tuna is just that good? Or is it named after someone’s great aunt who loved lunch? One thing’s for sure: “the way to a man’s heart is through his stomach,” and this sandwich is a testimony to that saying! Picture this: you’re seated at the dining table, a crispy sandwich in hand, and your loved ones gathering around, sharing laughter over tasty bites. Isn’t that the ultimate goal when we cook? So why not treat yourself and your family to this delightful dish? Let’s get to it!
Why You’ll Love This Tasty Tuna Sandwich
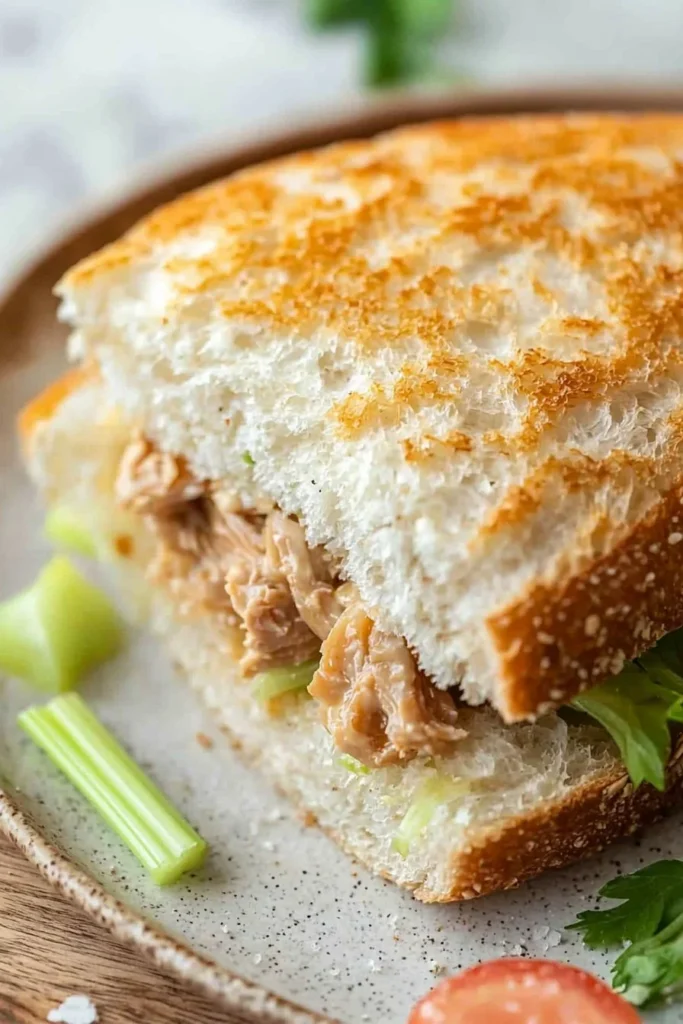
This Tasty Tuna Sandwich has everything you could want in a meal: it’s comforting, economical, and bursting with flavor. Unlike takeout, making this dish at home is cost-effective and lets you control every ingredient, ensuring freshness. Picture the combination of flaky tuna mingling with creamy mayonnaise and crunchy celery; it’s a delightful contrast that makes your taste buds sing!
Plus, you can get creative with toppings! From crisp lettuce to juicy tomatoes, each ingredient makes this sandwich more vibrant and satisfying compared to a typical PB&J. So, gather your family and give this recipe a try; who knows, it could become your new favorite go-to!
How to Make Tasty Tuna Sandwich
Quick Overview
Making a Tasty Tuna Sandwich is an easy and satisfying process that melds flavors and textures perfectly. You’ll enjoy the blend of creaminess from the mayonnaise and crunchiness from the fresh vegetables. The preparation time is around 10-15 minutes, making it an ideal meal option when time is of the essence.
Ingredients
Here’s everything you’ll need to create your Tasty Tuna Sandwich:
- 1 can of tuna (approximately 5 ounces), drained
- 2 tablespoons mayonnaise
- 1/4 cup celery, chopped
- 1/4 cup onion, chopped
- Salt, to taste
- Pepper, to taste
- 4 slices of bread (whole grain or white, your choice)
- Lettuce leaves
- 1 tomato, sliced
Step-by-Step Instructions
- Prep the Ingredients: Begin by draining your canned tuna thoroughly and placing it in a mixing bowl. Then, chop the celery and onion into small pieces and set them aside.
- Mix the Tuna: Add the mayonnaise to the bowl with the tuna. Mix well until all ingredients are combined. Season with salt and pepper to taste. Remember, if you prefer it creamier, feel free to add more mayo!
- Toast the Bread (Optional): If you like your sandwich with a little crunch, toast the slices of bread until they’re golden brown. This step adds texture and a lovely contrasting bite.
- Assemble the Sandwich: Lay out two slices of bread on a plate. Place a generous scoop of the tuna mixture on one slice, followed by a layer of lettuce leaves and tomato slices. Top it off with the other slice of bread.
- Serve: Cut the sandwich in half for easier handling and serve it with your favorite side, like chips or a salad.
Top Tips for Perfecting Tasty Tuna Sandwich
- Substitutions: If you prefer a different flavor profile, consider adding avocado or mustard for an extra twist! You could also switch up the bread; whole grain adds a nutty flavor, while white bread is classic.
- Timing: Prepare your ingredients in advance to cut down on meal prep time. You can even make the tuna mixture the day before and store it in the fridge!
- Avoid Common Mistakes: Make sure to thoroughly drain the tuna, or you’ll end up with a soggy sandwich.
Storing and Reheating Tips
If you happen to have leftovers (though they’re rare with such a delicious sandwich), store any uneaten tuna mix in an airtight container in the refrigerator for up to three days. Be sure not to store the sandwich already assembled; keeping the ingredients separate prevents the bread from becoming soggy.
To reheat, if necessary, simply toast the bread and layer the cold tuna mixture on top for a refreshing take. And there you have it, your Tasty Tuna Sandwich remains just as fantastic even a few days later!

Now you have everything you need to create a delicious Tasty Tuna Sandwich! Share it with your loved ones and enjoy every bite of this comforting yet flavorful dish today!
Tasty Tuna Sandwich
Ingredients
Method
- Begin by draining your canned tuna thoroughly and placing it in a mixing bowl. Then, chop the celery and onion into small pieces and set them aside.
- Add the mayonnaise to the bowl with the tuna. Mix well until all ingredients are combined. Season with salt and pepper to taste.
- If you like your sandwich with a little crunch, toast the slices of bread until they’re golden brown.
- Lay out two slices of bread on a plate, place a generous scoop of the tuna mixture on one slice, followed by a layer of lettuce leaves and tomato slices. Top it off with the other slice of bread.
- Cut the sandwich in half for easier handling and serve it with your favorite side, like chips or a salad.
Leave a Reply