
Sticky Chickpeas: A Tasty Exploration of Flavor and Texture
Are you on the lookout for a quick, crispy, and utterly delightful snack that packs a savory punch? Look no further than Sticky Chickpeas! These little legumes are not just versatile but also rich in flavor and texture. Picture this: golden, crispy chickpeas that burst with flavor with every bite, making them perfect for family gatherings or cozy nights at home.
When I first experimented with this recipe, I realized how addictively tasty they are—just like my famous garlic roasted potatoes but with an exciting twist. The beauty of Sticky Chickpeas is their simplicity; they come together in no time and require just a handful of ordinary ingredients—proving that you can whip up something extraordinary even on a busy evening. Trust me; your taste buds will thank you!
What is Sticky Chickpeas?
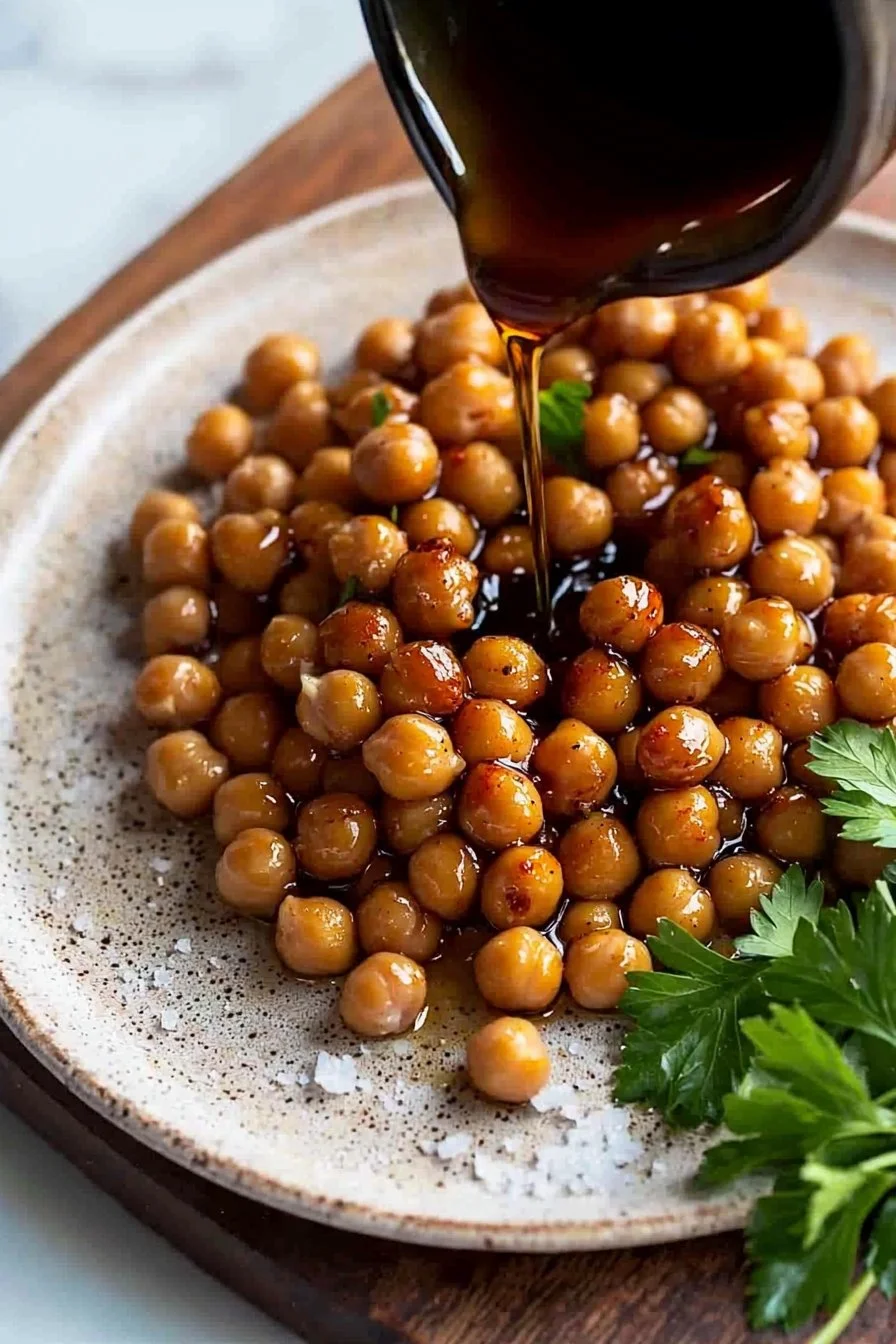
So, what’s the deal with the name “Sticky Chickpeas”? Are they sticky like nachos at a party or more like that one friend who just loves to chat? In the world of tasty snacks, the way to a man’s heart is through his stomach, and these crunchy little nuggets might just seal the deal! The harmony of soy sauce and maple syrup creates a glaze that ensures a mouthwatering experience without a ton of fuss—what could be better? If you’ve ever played with flavors and textures, you’ll love how easy and satisfying it is to make Sticky Chickpeas. So are you ready to put those chickpeas to work?
Why You’ll Love This Sticky Chickpeas
Sticky Chickpeas are the perfect main dish highlight for casual family dinners or gatherings. Their crispy exterior with a slightly chewy inside offers an exciting contrast that’s downright addictive! Plus, making these beauties at home is a huge cost-saving benefit. Why spend money on overpriced snacks when you can whip up something equally tantalizing in your own kitchen?
The beauty of this dish lies in its versatility, especially when it comes to toppings. Drizzle some tahini, sprinkle on feta cheese, or toss in some fresh herbs—whatever your flavor fancy desires! Compared to classic roasted chickpeas, Sticky Chickpeas elevate the flavor game to a whole new level. So, what are you waiting for? Get ready to treat your taste buds!
How to Make Sticky Chickpeas
Quick Overview
Making Sticky Chickpeas is incredibly simple and satisfying! With a preparation time of just about 10 minutes and cooking time of 20 minutes, you can have a deliciously crunchy snack ready in no time. The contrast between the crispy exterior and the tender insides will make you rethink your snacking choices!
Ingredients
To create your very own Sticky Chickpeas, gather the following ingredients:
- 1 can chickpeas, drained and rinsed
- 2 tablespoons olive oil
- 2 tablespoons soy sauce
- 1 tablespoon maple syrup or honey
- 1 teaspoon garlic powder
- 1 teaspoon smoked paprika
- Salt and pepper to taste
- Chopped parsley for garnish (optional)
Make sure all ingredients are halal to ensure compliance with dietary restrictions.
Step-by-Step Instructions
- Preheat: Start by preheating your oven to 425°F (220°C).
- Prepare Chickpeas: Drain and rinse one can of chickpeas thoroughly. Pat them dry using a paper towel or a clean kitchen cloth. Make sure they are as dry as possible for maximum crispiness.
- Season: In a large mixing bowl, combine the olive oil, soy sauce, maple syrup (or honey), garlic powder, smoked paprika, salt, and pepper. Add the dried chickpeas and toss them well to coat evenly with the seasoning mixture.
- Spread on Baking Sheet: Line a baking sheet with parchment paper and spread the chickpeas out in a single layer.
- Bake: Place the baking sheet in the oven and bake for about 20-25 minutes, shaking the pan halfway through to ensure they crisp up evenly.
- Cool and Garnish: Once they’re golden brown and crispy, remove from the oven and let them cool slightly. Garnish with chopped parsley if desired, and serve warm!
Top Tips for Perfecting Sticky Chickpeas
- Substitutions: If you’re out of maple syrup or honey, you can use agave syrup as a sweet alternative. For the soy sauce, consider low-sodium varieties to keep it on the healthier side.
- Timing: Keep an eye on the chickpeas towards the end of the baking time. Depending on your oven and how dry your chickpeas were initially, you may need to adjust the cooking time.
- Avoid Mistakes: To get that delightful crispiness, ensure your chickpeas are fully dried before tossing them in the seasoning. Excess moisture will lead to soggy snacks.
Storing and Reheating Tips
If you happen to have any Sticky Chickpeas left over (though I doubt it!), store them in an airtight container in the refrigerator. They will last for up to three days. To maintain their crunch, it’s best to reheat them in the oven for about 5-10 minutes at 350°F (175°C). Avoid using the microwave as it will make them soggy.
Now that you have everything you need to make this delicious Sticky Chickpeas recipe, it’s time to gather your ingredients and get cooking. Enjoy a dish that’s not only flavor-packed but also brings the family together around the table. Happy snacking!

Sticky Chickpeas
Ingredients
Method
- Preheat your oven to 425°F (220°C).
- Drain and rinse one can of chickpeas thoroughly. Pat them dry using a paper towel or a clean kitchen cloth. Make sure they are as dry as possible for maximum crispiness.
- In a large mixing bowl, combine the olive oil, soy sauce, maple syrup (or honey), garlic powder, smoked paprika, salt, and pepper. Add the dried chickpeas and toss them well to coat evenly with the seasoning mixture.
- Line a baking sheet with parchment paper and spread the chickpeas out in a single layer.
- Place the baking sheet in the oven and bake for about 20-25 minutes, shaking the pan halfway through to ensure they crisp up evenly.
- Once they’re golden brown and crispy, remove from the oven and let them cool slightly. Garnish with chopped parsley if desired, and serve warm!
Leave a Reply