
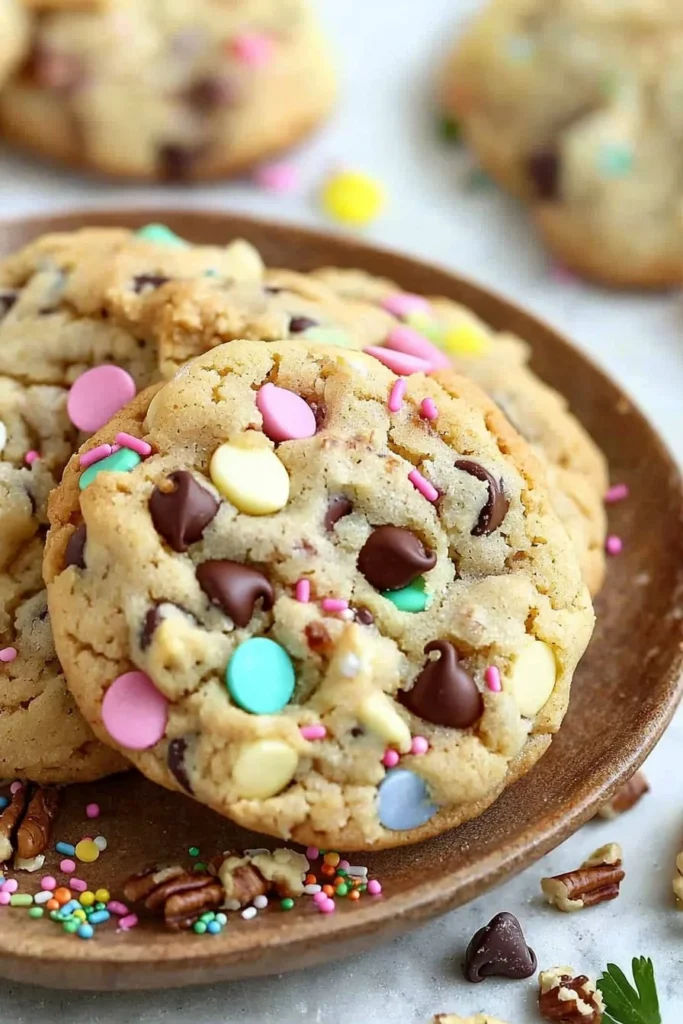
As soon as the seasons start to shift, what better way to celebrate than with a delightful batch of Spring Celebration Cookies? These cookies are not just a treat; they encapsulate the joy of family gatherings and sunny afternoons. Picture this: warm, chewy cookies loaded with rich chocolate chips, hints of buttery sweetness, and the fun flair of colorful sprinkles. They truly are the life of the party!
A fun fact—did you know that cookies date back to 7th century Persia? Since then, they’ve evolved into various forms across cultures. Our Spring Celebration Cookies are special because they combine simplicity with a fabulous flavor profile that is sure to win over hearts. If you’re a fan of my Chocolate Chip Cookie recipe, then get ready for a seasonal twist that’s just as delightful! These cookies promise not only to satisfy your sweet tooth but also to spread smiles among family and friends.
So, grab your apron, and let’s get baking!

What are Spring Celebration Cookies?
Spring Celebration Cookies are the perfect sweet treat meant for any gathering throughout the warm seasons. But have you ever wondered why they are called “Spring Celebration Cookies”? Is it because they celebrate the birth of flowers? Or maybe it’s simply an excuse to indulge in something delicious? Whatever the reason, what we do know is that the way to a man’s heart is through his stomach! These cookies make an irresistible offering that can charm anyone.
Why not treat yourself (and your loved ones) to a batch? You’ll see just how quickly they disappear!
Why You’ll Love This Spring Celebration Cookies
These Spring Celebration Cookies shine with a few key highlights. First, let’s talk about their delightful texture. They’re crispy on the edges yet soft and chewy in the middle, making for a perfect balance with every bite.
Now, onto the cost-saving benefits. Cooking at home not only saves you money but allows you to customize your cookies just the way your family likes them. Instead of spending at a bakery, why not gather the family for a fun baking session?
Finally, the flavorful toppings! You can add an array of toppings from colorful sprinkles to chopped nuts, making every cookie unique. Compare these with other festive cookies, and you’ll find that they truly hold a unique and charming flavor profile. So don’t just take my word for it—gather the family and start baking!
How to Make Spring Celebration Cookies
Quick Overview
Making Spring Celebration Cookies is as easy as pie—well, easier than pie, really! These cookies are incredibly satisfying, featuring that melt-in-your-mouth texture and a rich flavor profile that will leave you wanting more. With a preparation time of just about 15 minutes, you’ll have freshly baked cookies ready to impress in no time.
Ingredients
Here’s what you’ll need to whip up a delightful batch of Spring Celebration Cookies:
- 2 1/4 cups all-purpose flour
- 1/2 teaspoon baking soda
- 1/2 teaspoon salt
- 1 cup unsalted butter, softened
- 1 1/2 cups granulated sugar
- 1 cup brown sugar, packed
- 2 large eggs
- 2 teaspoons vanilla extract
- 1 cup chocolate chips
- 1 cup chopped nuts (optional)
- Sprinkles or edible decorations (for decoration)
Make sure all ingredients are Halal-compliant, adhering strictly to dietary restrictions.
Step-by-Step Instructions
- Preparation: Preheat your oven to 350°F (175°C). Line two baking sheets with parchment paper.
- Mix Dry Ingredients: In a medium bowl, whisk together the flour, baking soda, and salt. Set this mixture to the side.
- Cream Butter and Sugars: In a large mixing bowl, combine the softened unsalted butter, granulated sugar, and brown sugar. Beat until light and fluffy, about 2-3 minutes.
- Add Eggs and Vanilla: Add the eggs one at a time to the butter mixture, mixing well after each addition. Then, stir in the vanilla extract.
- Combine Mixtures: Gradually add the dry ingredients into the wet mixture, mixing until fully combined. Avoid overmixing to keep the cookies tender.
- Fold in Toppings: Gently fold in the chocolate chips and optional chopped nuts.
- Scoop and Bake: Using a cookie scoop or a tablespoon, drop dough onto the prepared baking sheets, leaving some space between each cookie. Bake for 10-12 minutes or until the edges are golden.
- Cool: Let the cookies cool on the baking sheet for 5 minutes, then transfer them to wire racks to cool completely.
- Decorate: Feel free to sprinkle some decorative sprinkles on top while they are still warm for a festive touch!
Top Tips for Perfecting Spring Celebration Cookies
Making the perfect Spring Celebration Cookies is about some clever techniques! Here are a few pro-tips:
- Substitutions: If you don’t have vanilla extract, you can substitute it with almond extract for a nutty twist. Just a teaspoon will do the trick!
- Timing: Keep an eye on the cookies while they bake. They should come out golden brown around the edges but still look a little underbaked in the center—this ensures that chewy texture!
- Avoiding Common Mistakes: Always measure your flour properly by spooning it into your measuring cup and leveling it off with a knife. This prevents overly dense cookies.
Storing and Reheating Tips
Once your Spring Celebration Cookies are baked and cool, here’s how to store them:
- Refrigeration: Place your cookies in an airtight container and store them in the refrigerator to keep them fresh for up to one week.
- Freezing: For longer storage, freeze your cookies in a single layer on a baking sheet until solid. Then, transfer them to a freezer-safe bag or container. They’ll keep well for up to three months.
- Reheating: To enjoy that fresh-baked taste again, simply microwave the cookies for 10-15 seconds to warm them up. For a crispier texture, pop them in a toaster oven for a few minutes.
With these tips, you’ll always have the delightful taste of Spring Celebration Cookies, whether fresh out of the oven or pulled from the freezer. Enjoy every delightful bite!
So gather the family, prepare for some fun, and enjoy baking these delightful Spring Celebration Cookies together!
Spring Celebration Cookies
Ingredients
Method
- Preheat your oven to 350°F (175°C). Line two baking sheets with parchment paper.
- In a medium bowl, whisk together the flour, baking soda, and salt. Set this mixture to the side.
- In a large mixing bowl, combine the softened unsalted butter, granulated sugar, and brown sugar. Beat until light and fluffy, about 2-3 minutes.
- Add the eggs one at a time to the butter mixture, mixing well after each addition. Then, stir in the vanilla extract.
- Gradually add the dry ingredients into the wet mixture, mixing until fully combined. Avoid overmixing to keep the cookies tender.
- Gently fold in the chocolate chips and optional chopped nuts.
- Using a cookie scoop or a tablespoon, drop dough onto the prepared baking sheets, leaving some space between each cookie. Bake for 10-12 minutes or until the edges are golden.
- Let the cookies cool on the baking sheet for 5 minutes, then transfer them to wire racks to cool completely.
- Feel free to sprinkle some decorative sprinkles on top while they are still warm for a festive touch.
Leave a Reply