
A Deliciously Simple Pear Salad Recipe
When it comes to fresh, vibrant salads, nothing quite captures the essence of crispness and delightful flavor like a pear salad. Imagine biting into a juicy ripe pear, the sweetness merging harmoniously with the savory notes of feta cheese and the crunchiness of toasted walnuts—all served on a bed of mixed greens. Sounds tempting, right? This salad is not just a medley of flavors but a celebration of textures that are satisfying and nutritious.
A fun fact—did you know that pears have been cultivated for thousands of years? Historians believe they’ve been enjoyed since ancient times, making them a timeless ingredient for any meal! What I love about this Pear Salad is its simplicity; it’s easy enough to whip up for a casual family gathering yet elegant enough for a more refined dinner. If you’re looking for a quick yet impressive dish, this recipe stands shoulder to shoulder with my other popular post on Quinoa Salad.
So, roll up your sleeves, and let’s dive into the joy of making Pear Salad!
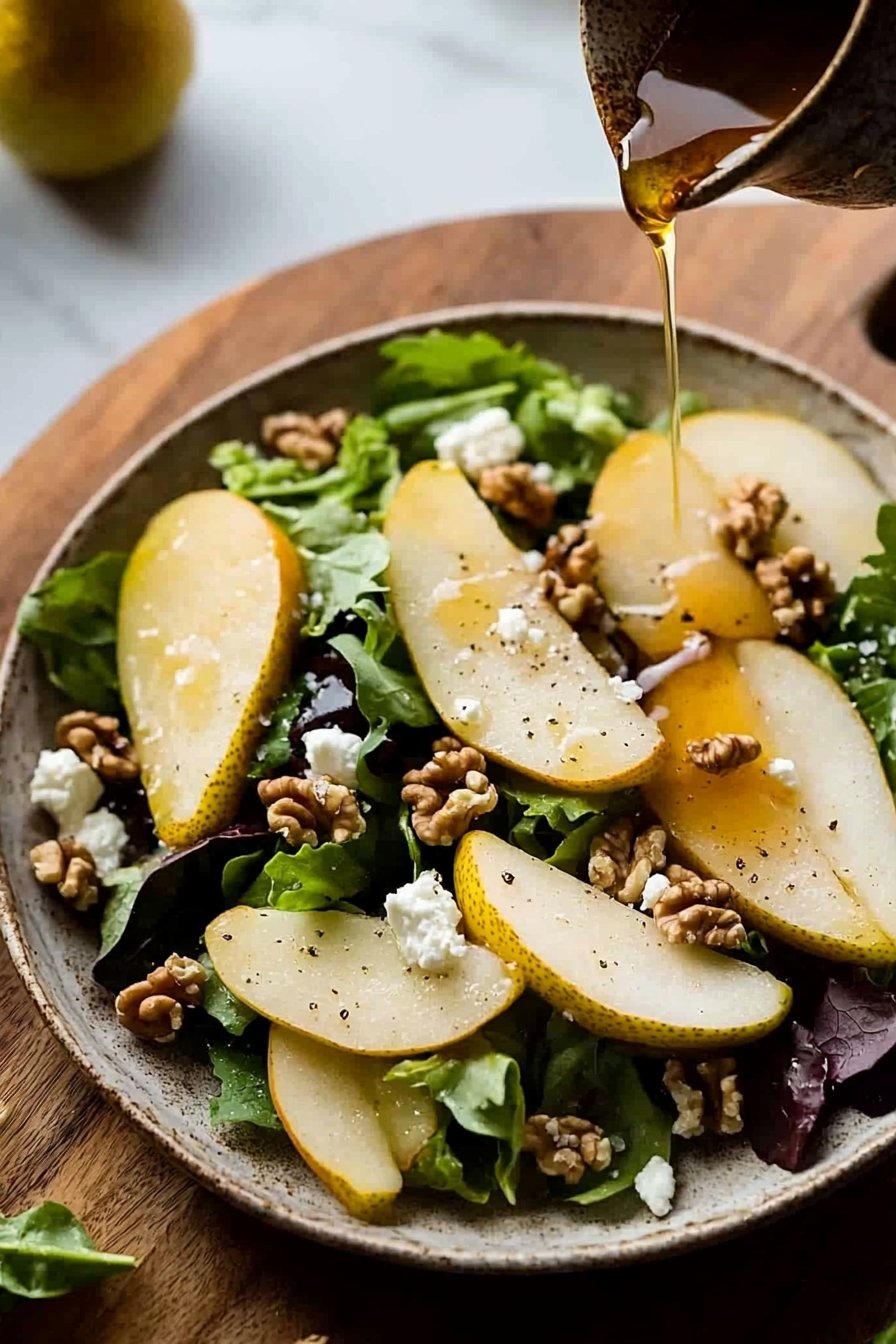
What is Pear Salad?
Pear salad—sounds fancy, doesn’t it? But wait… have you ever stopped to ponder why it’s called that? I mean, it’s not like this dish has a pear-shaped heritage or anything! Perhaps it’s because pears take center stage in this delightful recipe. You know what they say, “the way to a man’s heart is through his stomach,” and this salad is a surefire way to win over any foodie in your life. Picture this: a warm summer evening with friends, everyone gathering around the table, and suddenly someone discovers the hidden charm of this salad. Irresistible, right? Now you’ll have to invite folks over just to share the love of this easy-to-make yet impressive dish!
Are you ready to bring some crunch and flavor into your life with this Pear Salad? Let’s get started!
Why You’ll Love This Pear Salad
This Pear Salad shines as a standout starter or a beautiful side dish, showcasing the best of garden-fresh ingredients. The combination of sweet pears and creamy feta creates a symphony of flavors that dances on your taste buds. What’s more? Making this at home is cost-effective, saving you a trip to a pricey restaurant while preparing a dish that looks like you just stepped out of a gourmet kitchen.
Sprinkle on some crunchy walnuts, a dash of honey, and a drizzle of apple cider vinegar to elevate the flavor profile to a whole new level. If you love a good fruit-and-nut combination like in my Spinach Salad with Strawberry and Almond, you’ll adore this one too. So don’t hesitate; gather your ingredients and make this delectable Pear Salad today!
How to Make Pear Salad
Quick Overview
What makes this Pear Salad truly special is its straightforward preparation. With just a handful of ingredients and minimal cooking, you can deliver a vibrant and delicious dish in about 15 minutes! Each bite offers a delightful crunch from the greens and nuts, paired with the juicy sweetness of pears, creating a refreshing experience that’s hard to beat.
Ingredients
- 2 ripe pears, sliced
- 4 cups mixed salad greens
- 1/4 cup walnuts, toasted
- 1/4 cup crumbled feta cheese
- 2 tablespoons honey
- 2 tablespoons apple cider vinegar
- Salt and pepper to taste
Make sure to choose ripe pears that give a bit when pressed. Feel free to adjust the amounts based on your hunger level; after all, who can resist a bit more salad?
Step-by-Step Instructions
- Prepare the Walnuts: Begin by toasting the walnuts. Place them in a dry skillet over medium heat. Stir frequently for about 3-5 minutes until they’re golden and fragrant. Be careful not to let them burn!
- Slice the Pears: While the walnuts are toasting, rinse and slice your ripe pears. You can choose to peel them or leave the skin on for added texture.
- Mix the Dressing: In a small bowl, whisk together honey, apple cider vinegar, salt, and pepper. This light dressing brings out the flavors without overpowering the salad.
- Combine the Ingredients: In a large mixing bowl, add the mixed greens, sliced pears, and toasted walnuts. Crumble the feta cheese over the top.
- Dress the Salad: Drizzle your honey-vinegar dressing over the salad and toss everything together gently to combine. Taste and adjust seasoning if needed.
- Serve: Plate your delicious Pear Salad and enjoy right away for the best texture.
Top Tips for Perfecting Pear Salad
- Pear Alternatives: If you can’t find ripe pears, feel free to substitute them with apples for a similar crunch and sweetness.
- Timing is Key: Toast the walnuts just before serving to ensure they remain crunchy.
- Avoid Soggy Greens: Be sure to dress the salad just before serving to avoid wilting your greens.
- Make-Ahead Option: You can prepare the components in advance—slice the pears and toast the nuts—but wait to combine and dress them until you’re ready to serve.
Storing and Reheating Tips
This Pear Salad is best enjoyed fresh, but you can store leftovers in an airtight container in the refrigerator for up to 1-2 days. Keep in mind that the texture might change, as the greens may wilt slightly.
To maintain the crispiness of the salad, try to store the dressing separately. When you’re ready to enjoy it again, simply toss the ingredients together, and you can enjoy your Pear Salad just as delightful as the first time around.
Are you excited to start your culinary adventure with this Pear Salad? With its vibrant flavors and easily accessible ingredients, it’s a dish that will become a quick favorite. Enjoy sharing it with your loved ones or savoring it solo—either way, this recipe promises satisfaction. Happy cooking!
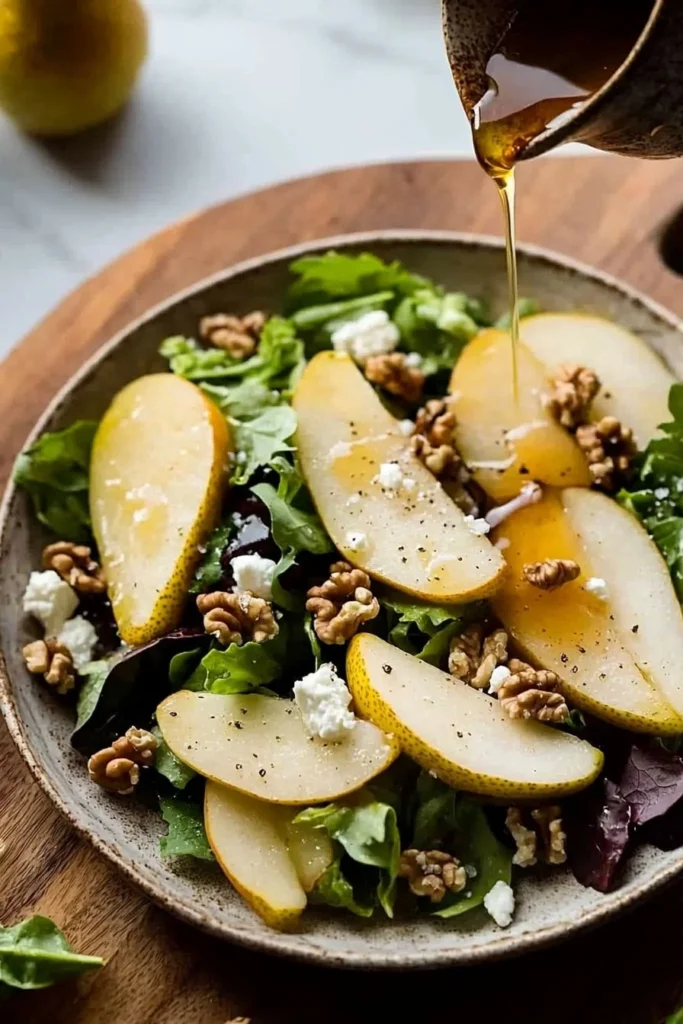
Pear Salad
Ingredients
Method
- Begin by toasting the walnuts in a dry skillet over medium heat for about 3-5 minutes until golden and fragrant.
- Rinse and slice the ripe pears, peeling if desired for added texture.
- In a small bowl, whisk together honey, apple cider vinegar, salt, and pepper to make the dressing.
- In a large mixing bowl, combine mixed greens, sliced pears, and toasted walnuts.
- Crumble feta cheese over the top.
- Drizzle the honey-vinegar dressing over the salad and toss gently to combine.
- Plate the salad and enjoy immediately for the best texture.
Leave a Reply