
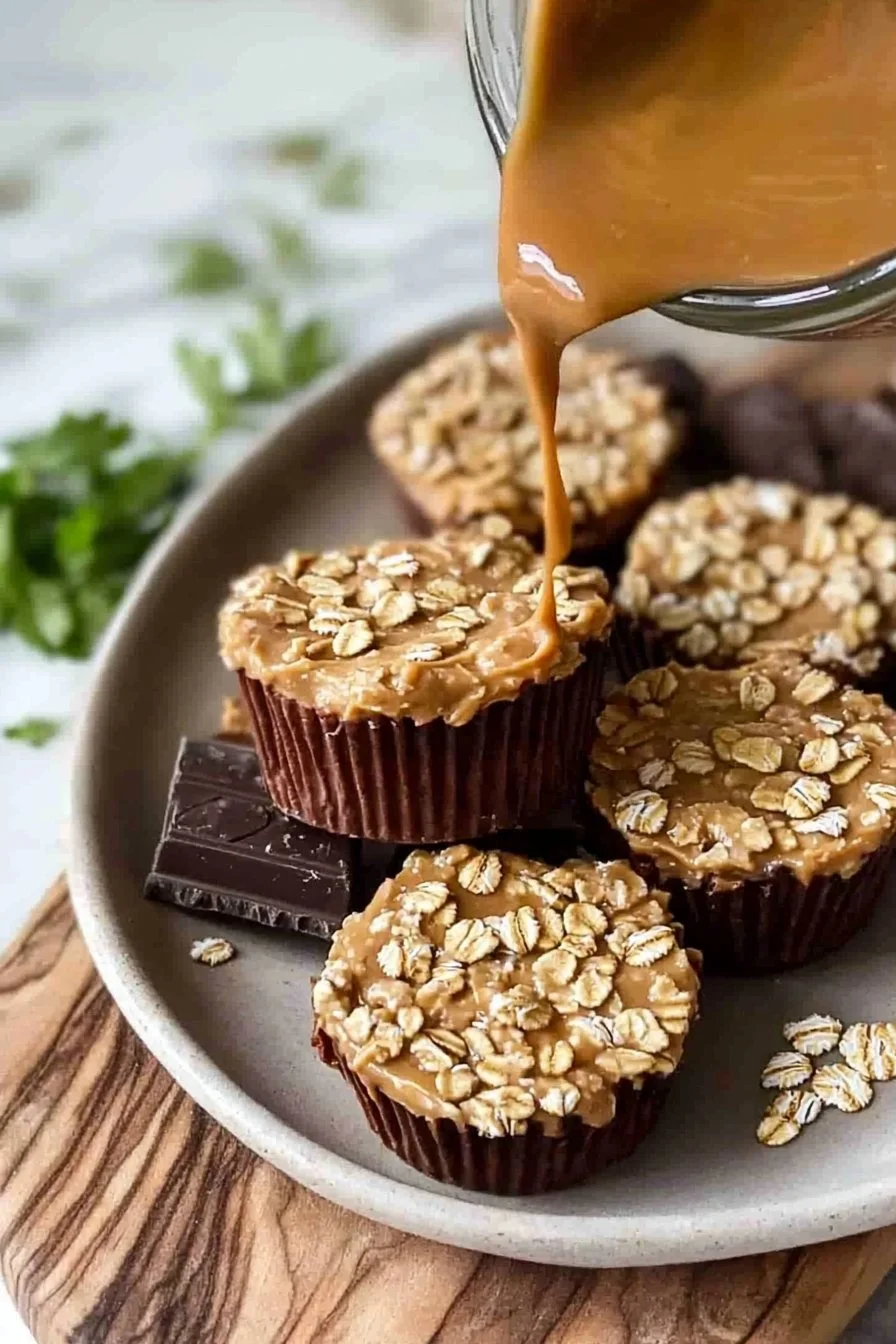
Are you ready to indulge in a deliciously satisfying treat that combines the rich flavors of peanut butter and the wholesome goodness of oats? If you’re looking for something that is not only easy to whip up but is also a crowd-pleaser, look no further than No-Bake Peanut Butter Oat Cups! These little gems have a delightful chewy texture with a hint of sweetness, making them the perfect snack for family gatherings or cozy winter evenings.
As a fun fact, did you know that peanut butter was first invented by the Aztecs? That’s right! This ancient civilization created a paste from ground peanuts that has evolved into the creamy goodness we enjoy today. This recipe is special because you can make it in just a matter of minutes—no baking required! It’s as easy as our popular no-bake energy bites, but these cups take indulgence up a notch. So grab your apron, and let’s get started!
What is No-Bake Peanut Butter Oat Cups?
No-Bake Peanut Butter Oat Cups, as the name suggests, are a delicious bite-sized treat made from peanut butter, rolled oats, and a touch of sweetness. But really, who came up with such a whimsical name? Is there a secret committee of snack police that decides these things? It’s all a bit mysterious! In any case, these little cups pack a flavor punch and are an excellent way to say, “the way to a man’s heart is through his stomach.” Whether enjoyed as an afternoon pick-me-up or a late-night snack, I highly recommend you whip up a batch and share them with family and friends!
Why You’ll Love This No-Bake Peanut Butter Oat Cups
There are countless reasons to fall in love with No-Bake Peanut Butter Oat Cups. First off, the way peanut butter melds with rolled oats creates a chewy yet satisfying texture that you won’t be able to resist. Secondly, preparing this delightful snack saves you both time and money! By making these cups at home, you can avoid the high prices of store-bought snacks, and trust me, they taste way better!
Finally, you can customize your No-Bake Peanut Butter Oat Cups with various delightful toppings like dried fruits, nuts, or even a drizzle of chocolate. They are reminiscent of those store-bought granola bars, but infinitely more delicious and fulfilling. So, why not gather your ingredients and give these cups a try?
How to Make No-Bake Peanut Butter Oat Cups
Quick Overview
Making No-Bake Peanut Butter Oat Cups is a breeze and perfect for anyone looking to whip up something tasty. With a prep time of just 15 minutes, you can be enjoying these treats in no time! The delightful combination of chewy oats and creamy peanut butter creates a flavor explosion that is simply irresistible.
Ingredients
To create these scrumptious No-Bake Peanut Butter Oat Cups, you’ll need the following ingredients:
- 1 cup peanut butter (smooth or crunchy)
- 1 cup rolled oats
- 1/4 cup honey or maple syrup
- 1/2 teaspoon vanilla extract
- 1/4 cup chocolate chips (optional)
Make sure to check your peanut butter and other ingredients to ensure they comply with Halal standards!
Step-by-Step Instructions
- Gather Your Ingredients: Gather all ingredients on a clean countertop. It makes the process smoother!
- Mix Peanut Butter and Sweetener: In a large bowl, combine 1 cup of peanut butter and 1/4 cup of honey (or maple syrup). Use a spatula or wooden spoon to mix until it’s smooth and well blended.
- Add Oats and Vanilla: Gradually add 1 cup of rolled oats and 1/2 teaspoon of vanilla extract to the peanut butter mixture. Stir until all the oats are evenly coated.
- Incorporate Chocolate Chips: If you’re using chocolate chips, fold them into the mixture for an added treat.
- Prepare Your Muffin Tin: Line a muffin tin with cupcake liners to make it easy to remove the cups later.
- Fill the Muffin Tin: Spoon the mixture evenly into each muffin cup. Press down firmly to ensure they hold their shape.
- Chill: Place the filled muffin tin in the refrigerator for at least an hour. This will allow the cups to firm up.
- Serve and Enjoy!: Once set, peel away the cupcake liners, and your No-Bake Peanut Butter Oat Cups are ready to serve!
Top Tips for Perfecting No-Bake Peanut Butter Oat Cups
- Substitutions: If you’re looking for a nut-free option, try using sunflower seed butter instead of peanut butter. It adds a unique flavor and remains Halal-friendly!
- Timing: Allow them to chill for a full hour for the best texture. If you’re in a hurry, 30 minutes will suffice, but they may be a bit softer.
- Avoiding Common Mistakes: Press the mixture firmly into the muffin cups to ensure they hold their shape after chilling.
Storing and Reheating Tips
To keep your No-Bake Peanut Butter Oat Cups fresh, store them in an airtight container in the refrigerator. They will last for up to a week. For long-term storage, you can freeze them for up to three months. Simply place them in a single layer in a freezer-safe container. When you’re ready to enjoy, let them thaw in the fridge for a few hours or simply take them out and enjoy them frozen for a delicious treat!
Happy snacking! Your family will love these No-Bake Peanut Butter Oat Cups, and so will you. So, grab those ingredients, and let’s make some magic in the kitchen!
Frequently Asked Questions
- Can I use other nut butters?
Yes, feel free to experiment with almond butter or cashew butter to create your own variations! - Are these cups suitable for kids?
Absolutely! They are a healthy and fun snack option for children. - Can I add more toppings?
Of course! Get creative with dried fruits, seeds, or sprinkle some coconut flakes for extra flair!
Enjoy making and savoring these delightful No-Bake Peanut Butter Oat Cups—they’re sure to become a household favorite!

No-Bake Peanut Butter Oat Cups
Ingredients
Method
- Gather all ingredients on a clean countertop.
- In a large bowl, combine peanut butter and honey (or maple syrup). Mix until smooth.
- Gradually add rolled oats and vanilla extract to the peanut butter mixture. Stir until evenly coated.
- If using, fold in chocolate chips.
- Line a muffin tin with cupcake liners.
- Spoon the mixture evenly into each muffin cup and press down firmly.
- Place the filled muffin tin in the refrigerator for at least an hour to firm up.
- Once set, peel away the cupcake liners, and enjoy!
Leave a Reply