
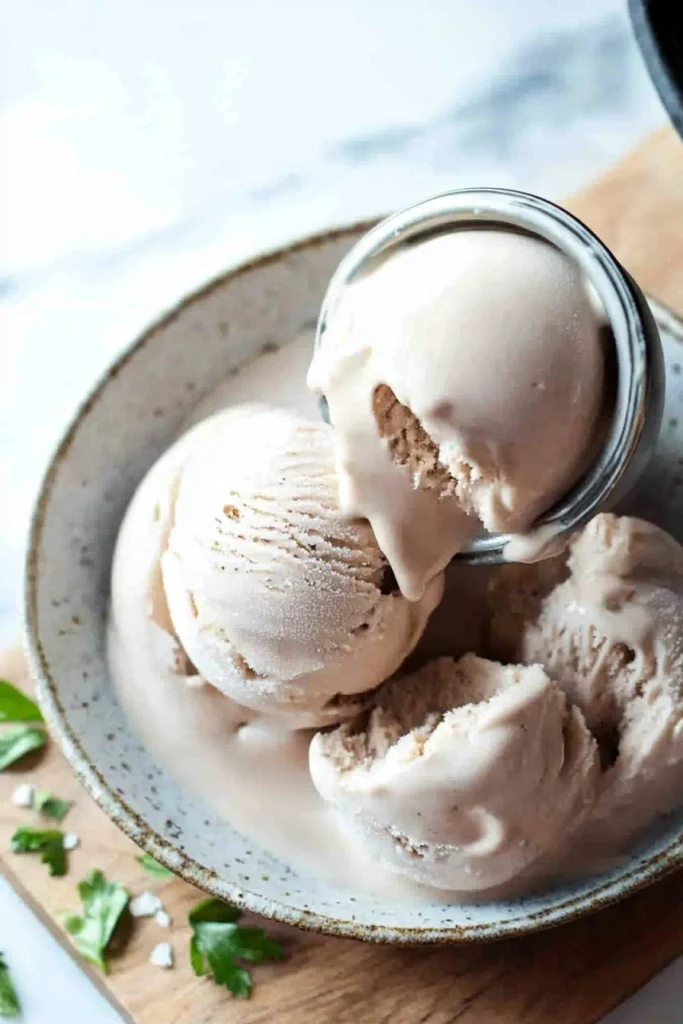
Light Homemade Coffee Ice Cream
Imagine diving into a creamy scoop of coffee ice cream on a warm summer evening, the rich flavors and velvety texture melting seamlessly in your mouth. There’s something undeniably indulgent yet simple about making your own ice cream at home, and my Light Homemade Coffee Ice Cream delivers just that experience! A delightful blend of creamy milkiness and bold coffee flavor, this treat will have you feeling like a master chef in your own kitchen.
Did you know that coffee ice cream dates back to the renowned ice cream establishments of the 18th century? The beauty of homemade ice cream lies in its ability to be customized; your family can make it your own with various toppings or mix-ins. This recipe stands out for its simplicity and rich flavor, much like my other popular dessert blog on Velvety Vanilla Pudding, which reminds us that some of the best treats are the simplest ones. So grab a scoop or two, and let’s make this delicious dessert the centerpiece of your next family gathering!
What is Light Homemade Coffee Ice Cream?
So, what’s the deal with Light Homemade Coffee Ice Cream? Is it light because it’s low-calorie or because it doesn’t weigh you down with guilt? Well, the truth is, it strikes a lovely balance. With a base of heavy cream and whole milk, this ice cream keeps things creamy, but you can enjoy it without a side of regret! Playful rumor has it that the name originated from legendary grandmothers claiming, “the way to a man’s heart is through his stomach.” Imagine beloved family recipes becoming the talk of your kitchen! This recipe is an invitation to gather around and create lasting memories through deliciousness, so roll up your sleeves and let’s get started!
Why You’ll Love This Light Homemade Coffee Ice Cream
There are countless reasons to adore Light Homemade Coffee Ice Cream. For starters, the main highlight is the creamy, dreamy coffee flavor that gives traditional desserts a run for their money. Imagine scooping up a bowl of this homemade delight topped with roasted almonds or swirls of caramel – pure heaven! Plus, making it at home is incredibly cost-effective. Why spend a fortune at an ice cream shop when you can whip up this luscious treat for a fraction of the price? Not to mention, you can customize your toppings to suit your family’s taste buds!
This coffee ice cream is certainly more fun and flavorful than any boring store-bought brand, so why not treat yourself and your loved ones to a delightful homemade experience?
How to Make Light Homemade Coffee Ice Cream
Quick Overview
Making Light Homemade Coffee Ice Cream is easier than you think! You’ll be pleasantly surprised at how simple it is to prepare this rich, smooth dessert that’s perfect for sharing at family gatherings. It has a luxuriously creamy texture, and the flavor is simply irresistible, making it a standout treat. Preparation time is about 10 minutes, with a chilling period necessary for the best results. Let’s dive right into it!
Ingredients
For your Light Homemade Coffee Ice Cream, you will need the following ingredients:
- 2 cups heavy cream
- 1 cup whole milk
- 3/4 cup granulated sugar
- 1 cup brewed coffee, cooled
- 1 teaspoon vanilla extract
- A pinch of salt
Make sure to brew that coffee to your liking beforehand and let it cool before mixing!
Step-by-Step Instructions
Creating your own Light Homemade Coffee Ice Cream is rewarding and straightforward. Here’s how to make it step by step:
- Make the Coffee Mixture: In a large bowl, whisk together the 1 cup of cooled brewed coffee, 2 cups of heavy cream, 1 cup of whole milk, and 3/4 cup of granulated sugar until fully combined and the sugar is mostly dissolved. You might still see some granules, but don’t worry; by the end of this process, they’ll disappear.
- Add Flavor: Stir in the 1 teaspoon of vanilla extract and a pinch of salt. This will add a subtle depth to the flavor profile.
- Chill: Cover the mixture and let it chill in the refrigerator for at least 2 hours. If you can wait longer, that’s even better!
- Process: Once chilled, pour the mixture into your ice cream maker and churn according to the manufacturer’s instructions.
- Freeze: Transfer your ice cream into an airtight container and freeze for at least 4 hours, or until it’s firm.
- Serve: Scoop out your creamy delight into bowls, add toppings as desired, and enjoy the blissful flavor of homemade coffee ice cream!
Top Tips for Perfecting Light Homemade Coffee Ice Cream
- Coffee Choice: Use high-quality brewed coffee for the best flavor. If you’re a fan of espresso, give it a shot!
- Sweetness Level: Adjust the sugar based on your taste. If you prefer a sweeter ice cream, feel free to add an extra tablespoon or two.
- Mix-Ins: To customize your ice cream, consider adding crushed chocolate-covered coffee beans or chopped nuts before the freezing process for extra texture and taste.
- Churning Tip: Do not over-churn the mixture in the ice cream maker; aim for a soft-serve consistency before transferring to the freezer.
Storing and Reheating Tips
Proper storage is essential for maintaining the deliciousness of your Light Homemade Coffee Ice Cream. Store the ice cream in an airtight container, pressing plastic wrap against the surface to prevent ice crystals. It can last up to two weeks in the freezer without losing its creamy goodness.
If you find your ice cream too hard to scoop after being in the freezer, let it sit at room temperature for about 5-10 minutes to soften before serving. This will help maintain that luxurious, velvety texture.
In conclusion, making Light Homemade Coffee Ice Cream is an experience brimming with flavor and family joy. With a few simple ingredients and techniques, you’ll create a treat that brings comfort and happiness to every gathering. So, what are you waiting for? Let’s get churning and make some memories today!

FAQ
Is it necessary to have an ice cream maker to make this recipe?
No, if you don’t have an ice cream maker, you can pour the mixture into a shallow dish and freeze it. Stir every 30 minutes for the first few hours to break up any ice crystals until it’s firm.
Can I substitute the heavy cream and whole milk with lighter options?
While the rich creaminess of heavy cream is what makes this ice cream delicious, you can experiment with half-and-half or lighter milk, but keep in mind the texture will be different.
How can I enhance the coffee flavor?
For a more intense coffee flavor, you can add instant coffee granules to the mix. Just make sure to dissolve them in a bit of hot water before whisking them in.
Enjoy your delightful homemade creation and share it with family and friends!
Light Homemade Coffee Ice Cream
Ingredients
Method
- In a large bowl, whisk together the cooled brewed coffee, heavy cream, whole milk, and granulated sugar until combined and the sugar is mostly dissolved.
- Stir in the vanilla extract and a pinch of salt.
- Cover the mixture and let it chill in the refrigerator for at least 2 hours.
- Pour the chilled mixture into your ice cream maker and churn according to the manufacturer's instructions.
- Transfer the ice cream into an airtight container and freeze for at least 4 hours or until firm.
- Scoop into bowls, add desired toppings, and enjoy.
Leave a Reply