
Ice Cream Sticks: Delight in Every Bite
Who doesn’t love the sweet, refreshing pleasure of ice cream? There’s something magical about enjoying a cool treat during a warm day or even on cozy winter evenings. Ice Cream Sticks are a fun and delightful way to experience your favorite flavors in a new format. Imagine creamy, dreamy ice cream perfectly frozen on a stick—each bite is a delectable blend of rich texture and deliciousness. This recipe is incredibly versatile and allows for endless customization, making it a hit for family gatherings, summer BBQs, or simply as a sweet treat at home.
Did you know that making your own Ice Cream Sticks can be as easy as pie (or should we say ice cream cake)? Not only do they provide a refreshing pick-me-up, but they also offer a chance to bond with loved ones as everyone gets to pick their favorite flavors to enjoy. If you’ve tried other popular ice cream recipes from blogs like “Classic Vanilla Ice Cream,” you know the joy of crafting sweet treats. But let’s dive into the darling of the dessert world—homemade Ice Cream Sticks!
What is Ice Cream Sticks?
So, what exactly are Ice Cream Sticks? You could say they are ice cream’s coolest cousin! Imagine this: ice cream mixed with your favorite toppings, all frozen solid on a stick. Fun, right? But who thought of putting ice cream on sticks? Was it the same genius who invented popsicles? Or perhaps it was someone looking for a tasty way to enjoy dessert without the hassle of bowls and spoons? Either way, one thing is clear: the way to a man’s heart is through his stomach, and with these delicious Ice Cream Sticks, you can win over hearts at any family gathering. So why not gather your loved ones and whip some up? Everyone will be asking for seconds!
Why You’ll Love This Ice Cream Sticks
There’s a world of joy within every bite of Ice Cream Sticks. First and foremost, they boast a customizable nature, allowing you to craft a flavor profile that is uniquely yours. Want a chocolate layer topped with crushed nuts? Go for it! Like fruity flavors? Load them up with strawberries or mangoes! Not only are these treats incredibly fun to make, but they also save you money compared to store-bought options. And let’s not forget those endless topping choices—a sprinkle here, a drizzle there, and your Ice Cream Sticks will be nothing short of a masterpiece. Imagine biting into layers of creamy ice cream nestled between your favorite chocolate and adorned with sumptuous toppings. Why settle for a scoop when you can have Ice Cream Sticks that cater to your whims? Let’s get started on mastering this delightful treat!
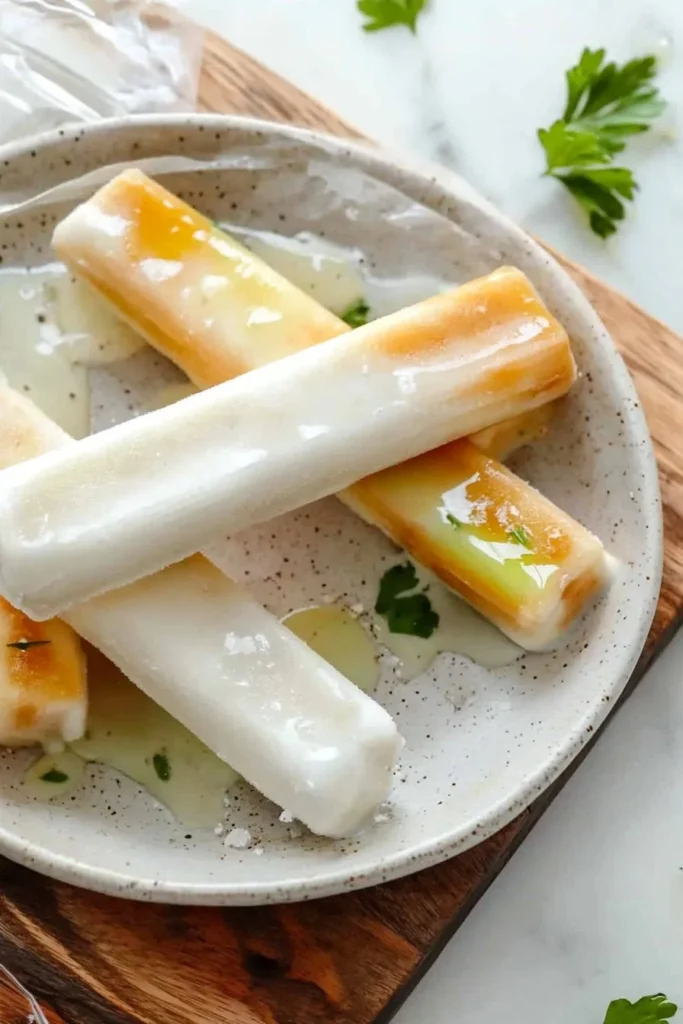
How to Make Ice Cream Sticks
Quick Overview
Making Ice Cream Sticks is easy and satisfying, combining creamy flavors with a delightful crunch from your favorite toppings. You’ll need to set aside about 10-15 minutes for preparation, and then you’ll let them freeze for several hours, or overnight, if you’re feeling patient! The texture will be smooth, while the toppings provide a satisfying contrast, making each bite a delightful experience for the senses.
Ingredients for Ice Cream Sticks
Here is a list of ingredients you’ll need to create your own Ice Cream Sticks:
- 2 cups of your favorite Halal-compliant ice cream (vanilla, chocolate, or any flavor you love)
- 1 cup of crushed nuts (almonds, walnuts, or pistachios)
- 1 cup of melted dark chocolate or almond-based chocolate coating
- Fresh fruits for garnish (strawberries, bananas, or raspberries)
- Wooden sticks (popsicle sticks)
- Silicone molds or paper cups
Step-by-Step Instructions
- Prepare Your Molds: Start by gathering your silicone molds or paper cups. Ensure they are dry and ready for action.
- Mix & Select Your Ice Cream: Grab your favorite ice cream and let it soften slightly at room temperature. This will make it easier to scoop.
- Fill the Molds: Using a spoon or an ice cream scoop, fill the molds about three-quarters full with the ice cream of your choice. Leave some space at the top for toppings.
- Add Toppings: Sprinkle crushed nuts and fresh fruit on top. Feel free to get creative with flavors and textures—this is your canvas!
- Insert Sticks: Take your wooden sticks and insert them into the middle of each filled mold, ensuring they stand upright.
- Freeze: Place the molds in the freezer and let them freeze for about 4-6 hours, or overnight for the ultimate firmness.
- Unmold & Dip: Once frozen, carefully remove the Ice Cream Sticks from the molds. Dip them in melted chocolate and return them to the freezer for an additional 30 minutes to set the coating.
- Serve & Enjoy: Once the chocolate has hardened, your Ice Cream Sticks are ready to be devoured! Serve them at your next family gathering for a sweet surprise.
Top Tips for Perfecting Ice Cream Sticks
To ensure your Ice Cream Sticks turn out perfectly, here are some professional tips:
- Ingredient Substitutions: Feel free to use vegan ice cream if you prefer a dairy-free option. Look for Halal-certified brands to keep everything compliant.
- Timing: Make sure to allow your ice cream to soften slightly before filling the molds; this makes the process much smoother.
- Avoid Common Mistakes: If your layers are too thin, your sticks might break off while dipping in chocolate. Ensure you have a good layer of ice cream and toppings!
Storing and Reheating Tips
Store your finished Ice Cream Sticks in an airtight container in the freezer. They’ll be good for up to two weeks, but trust me, they won’t last that long! For the best taste, consume them within the first week. If you need to thaw them slightly before serving, just let them sit at room temperature for a minute or two—this will enhance the flavors while making the Ice Cream Sticks creamy and easy to bite into.
Now that you have everything you need to create your very own delightful Ice Cream Sticks, what are you waiting for? Gather your family and friends, unleash your creativity, and experience the joy of crafting this delicious treat together! Enjoy every bite!

FAQs
- Can I use any type of ice cream?
Yes! Feel free to use any Halal-compliant flavor you prefer, whether it’s dairy, vegan, or a non-dairy alternative. - How do I avoid the ice cream sticks from sticking to the molds?
If using silicone molds, they typically release easily. Paper cups may require a small amount of cooking spray before filling. - Can I make these ahead of time?
Absolutely! Ice Cream Sticks can be made in advance and stored in the freezer for up to two weeks for a quick and easy dessert option. - What are some good topping options?
You can use crushed nuts, sprinkles, coconut flakes, or fresh fruits. Get creative and make it your own!
Ice Cream Sticks
Ingredients
Method
- Gather your silicone molds or paper cups and ensure they are dry and ready for use.
- Let your favorite ice cream soften slightly at room temperature for easier scooping.
- Fill the molds about three-quarters full with your selected ice cream, leaving space for toppings.
- Sprinkle crushed nuts and fresh fruit on top as desired for extra flavor and texture.
- Insert wooden sticks into the center of each filled mold, making sure they stand upright.
- Place the molds in the freezer and let them freeze for about 4-6 hours, or overnight if possible.
- Once frozen, carefully remove the Ice Cream Sticks from their molds.
- Dip them in melted chocolate and return to the freezer for an extra 30 minutes to set the coating.
- Once the chocolate has hardened, serve your Ice Cream Sticks and enjoy!
Leave a Reply