
Homemade Reese’s Peanut Butter Cups
If you’ve ever craved something deliciously creamy with a delightful crunch, you’re in for a treat with these Homemade Reese’s Peanut Butter Cups! Imagine sinking your teeth into a rich peanut butter filling, perfectly paired with a smooth, chocolatey shell that leaves your taste buds dancing. It’s like a little slice of heaven; perfect for family gatherings or cozy winter evenings. Fun fact: did you know that making these sweet treats at home can be easier and more satisfying than you might think? In fact, you might find it even more delightful than indulging in store-bought versions—think about the fun of creating mouthwatering memories alongside the ones you love! While our recipe shares some similarities to classic no-bake desserts, we ensure it stands apart with its robust flavor and homemade allure.
So grab your apron and let’s whip up a batch of homemade goodness that’s sure to bring smiles all around!
What are Homemade Reese’s Peanut Butter Cups?
Let’s pause for a moment. When you think of the origins of the name “Reese’s,” have you ever wondered how it came to symbolize a perfect balance of flavors? Perhaps it’s because “the way to a man’s heart is through his stomach,” and these treats have held that sweet promise for generations! Just think back to those nostalgic moments of unwrapping a chocolate treat after a long day—what’s more rewarding? These cups are not just a dessert; they’re a delightful experience that can be shared and enjoyed with family. Why not gather the kids and make these together? I guarantee they’ll be a hit.
Why You’ll Love These Homemade Reese’s Peanut Butter Cups
These Homemade Reese’s Peanut Butter Cups are not just a tasty treat; they’re a family favorite that’s super easy to make right in your kitchen! Picture this: smooth, creamy peanut butter held together by a luscious chocolate shield that melts in your mouth—there’s nothing quite like it. Not to mention, making them at home saves you money while also avoiding any unnecessary additives found in store-bought varieties. And, if you want to elevate the experience, feel free to add your favorite toppings like chopped nuts or a sprinkle of sea salt for an extra burst of flavor. If you’ve enjoyed making classic chocolate truffles, you’ll find this recipe just as satisfying but with a nutty twist. Ready to impress your loved ones? Let’s dive into this delicious journey!
How to Make Homemade Reese’s Peanut Butter Cups
Quick Overview
Creating Homemade Reese’s Peanut Butter Cups is a delightful experience that anyone can master. With only a few simple ingredients, you can whip these up in no time, and believe me, the result is as delightful as the process! Prep time is just 15 minutes, and a little patience will lead you to this satisfying confection that treats you to a delightful mix of creamy and crunchy.
Ingredients
To create these sweet wonders, you’ll need the following ingredients:
- 1 cup creamy peanut butter
- 2 tablespoons butter, softened
- 1 cup powdered sugar
- 1 1/2 cups milk chocolate chips
- 1 teaspoon vanilla extract
- Pinch of salt
No need for complex ingredients; just simple and wholesome components that everyone can enjoy.
Step-by-Step Instructions
- Prepare the Molds: Start by lining a muffin tin with cupcake liners or mini silicone molds. This will ensure that your treats come out easily once they’re set.
- Mix Peanut Butter Filling: In a mixing bowl, combine the creamy peanut butter, softened butter, powdered sugar, and a pinch of salt. Mix until it’s creamy and smooth with no lumps. If you want, feel free to add a dash of vanilla extract for that extra hint of flavor.
- Melt the Chocolate: In a microwave-safe bowl, melt the chocolate chips in 30-second intervals, stirring in between until completely smooth. Be cautious not to overheat!
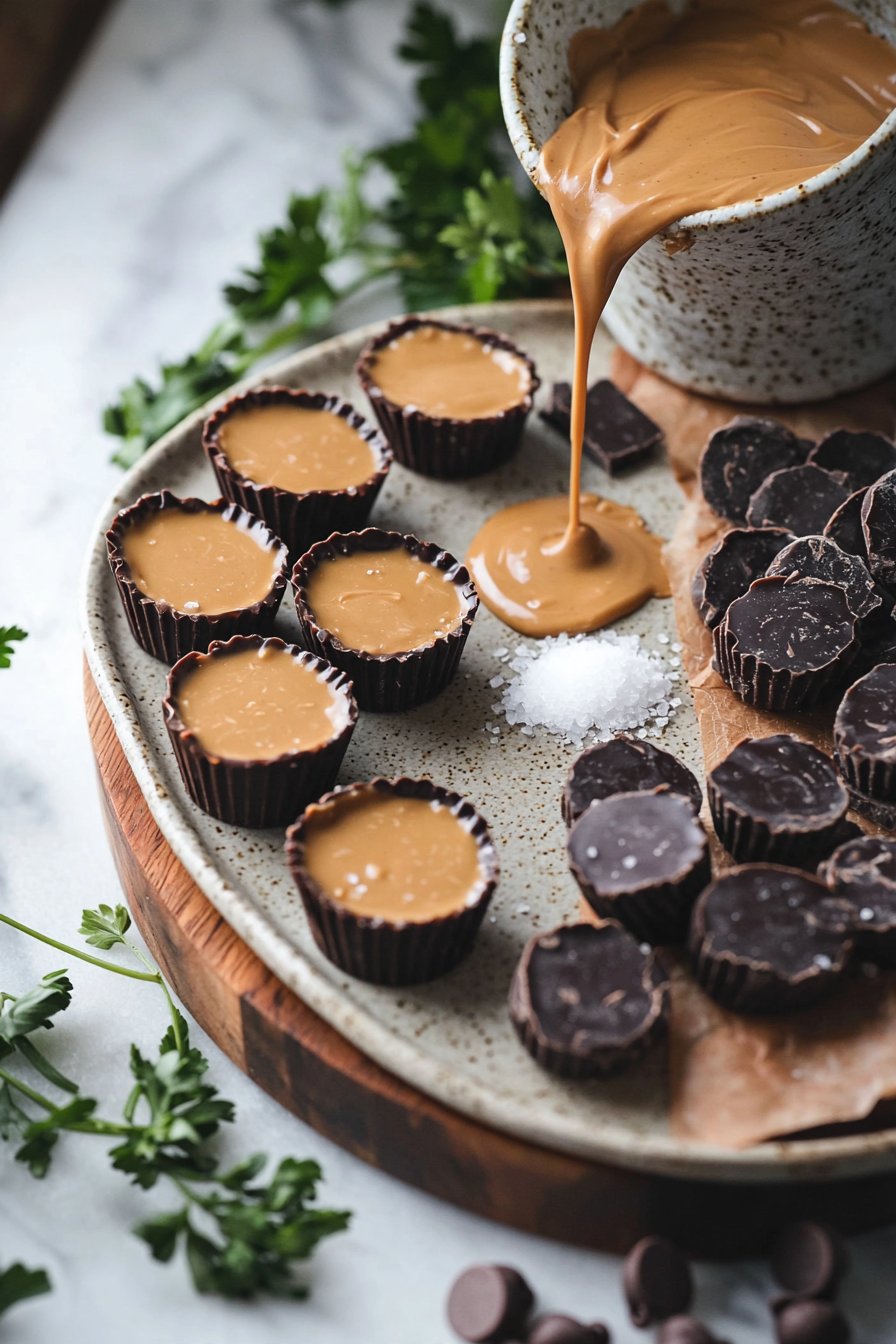
- Layer the Molds: Spoon a small amount of melted chocolate into each muffin liner, just enough to cover the bottom. Next, add a generous dollop of the peanut butter mixture on top of the chocolate layer.
- Top with More Chocolate: Finally, pour more melted chocolate over the peanut butter layer, ensuring it is fully covered. Tap the tray gently on the counter to eliminate any air bubbles.
- Chill: Place your concoction in the refrigerator for about 30 minutes, or until set. The waiting is the hardest part but trust me, it’s worth it!
- Enjoy!: Once chilled, carefully remove the cups from their liners, and you’re all set to indulge!
Top Tips for Perfecting Homemade Reese’s Peanut Butter Cups
- Substitutions: If you prefer, almond butter or sunflower seed butter can replace peanut butter for those with allergies but keep the flavor profile intact!
- Timing: Pay attention to the melting chocolate; stirring is crucial to avoid lumps.
- Common Mistakes to Avoid: Ensure your chocolate is not burned; overheating can change the texture and flavor, so go slow and steady.
Storing and Reheating Tips
Once you’ve enjoyed your Homemade Reese’s Peanut Butter Cups, store any leftovers in an airtight container. They’ll last in the refrigerator for about a week and can also be frozen for up to three months! If you want to enjoy them again, simply let them sit at room temperature for a few minutes or microwave them for 10-15 seconds to bring back that delightful texture.
Embrace the joy of creating something delicious at home with these Homemade Reese’s Peanut Butter Cups. They’re not just tasty treats; they’re a sweet experience to share with family. Enjoy every bite and the lovely memories you make along the way!
FAQ
Can I use crunchy peanut butter instead of creamy?
Absolutely! Crunchy peanut butter will add texture to your cups, giving an extra peanutty crunch.
Do I have to chill them?
Yes, chilling helps the chocolate set, giving you that perfect snap when you take a bite.
Can I make these vegan?
You can substitute the butter with a plant-based alternative and use dairy-free chocolate chips for a vegan-friendly version!
Homemade Reese’s Peanut Butter Cups
Ingredients
Method
- Start by lining a muffin tin with cupcake liners or mini silicone molds.
- In a mixing bowl, combine the creamy peanut butter, softened butter, powdered sugar, and a pinch of salt. Mix until creamy and smooth.
- Melt the chocolate chips in a microwave-safe bowl in 30-second intervals, stirring between until completely smooth.
- Spoon a small amount of melted chocolate into each muffin liner to cover the bottom.
- Add a generous dollop of the peanut butter mixture on top of the chocolate layer.
- Pour more melted chocolate over the peanut butter layer, ensuring it’s fully covered.
- Tap the tray gently on the counter to eliminate any air bubbles.
- Place in the refrigerator for about 30 minutes or until set.
- Once chilled, carefully remove the cups from their liners and enjoy!
Leave a Reply