
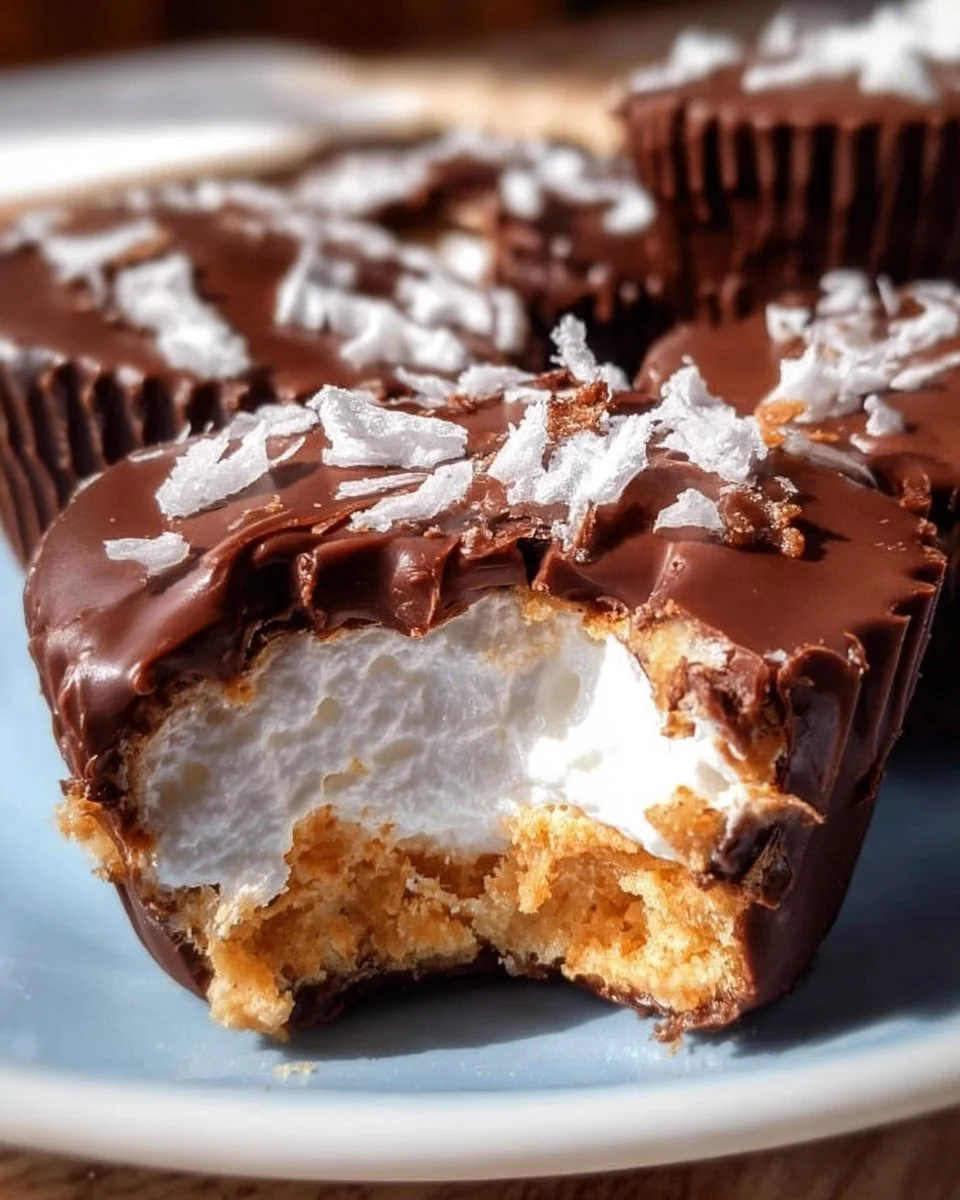
There’s something irresistibly delightful about biting into a Homemade Chocolate Marshmallow Cup. Picture this: a rich, velvety chocolate shell giving way to a gooey, fluffy center of marshmallow deliciousness. The contrast of textures is simply divine! This treat is not only a feast for the palate but also a feast for the eyes—perfect for impressing guests during family gatherings or simply indulging during cozy winter evenings. Interestingly, this recipe is as simple as it is wonderful, making it a great option for those new to the kitchen or seasoned chefs alike. If you’ve ever enjoyed the classic s’mores, you’ll understand why these delightful cups are a hit, making them a fantastic comparison for this easy-to-make treat.
What is Homemade Chocolate Marshmallow Cups?
So, what exactly are these Homemade Chocolate Marshmallow Cups? Quite simply, they are little wonders crafted from chocolate and marshmallows, leading to a question you might ask: why such a mouthful of a name? The truth is, they do a fantastic job at delivering both chocolatey goodness and the joy of marshmallows in a single bite. And as they say, “the way to a man’s heart is through his stomach”—and these delightful cups are a sure ticket for anyone craving something sweet and satisfying! So why not give them a try and see why they’re such a hit at family gatherings?
Why You’ll Love This Homemade Chocolate Marshmallow Cups
These Homemade Chocolate Marshmallow Cups will not only satisfy your sweet tooth, they’re also incredibly easy to make! One of the shining highlights of this dish is the wonderfully rich chocolate coating that gives way to a soft, melty marshmallow center. Plus, making these treats at home saves money compared to purchasing pre-made desserts. You’ll have the satisfaction of knowing exactly what goes into each cup, allowing for a more personalized touch with flavorful toppings. Imagine loading them up with crushed nuts, drizzled caramel, or even colorful sprinkles! Compared to store-bought chocolate-covered sweets, these cups offer a delectable homemade twist that’s perfect for sharing or savoring alone. Ready to get started on your own batch?
How to Make Homemade Chocolate Marshmallow Cups
Quick Overview
This recipe for Homemade Chocolate Marshmallow Cups is as easy as it is satisfying, transforming simple ingredients into an impressive treat. You’ll love the rich flavor and delightful texture that comes together in around 30 minutes! No more complicated methods or extensive prep time—just melt, mix, and enjoy!
Ingredients
To whip up these delightful Homemade Chocolate Marshmallow Cups, you’ll need:
- 1 cup of chocolate chips
- 1 cup of mini marshmallows
- 1 tablespoon of coconut oil
- Cupcake liners
It’s essential to have Halal-friendly ingredients, which is guaranteed with this simple grocery list. Make sure to locate quality chocolate chips and feel free to select any of your favorite brand options.
Step-by-Step Instructions
- Prepare Your Cupcake Liners: Start by placing cupcake liners into a muffin tin. This will be the mold for your chocolate marshmallow cups.
- Melt the Chocolate: In a microwave-safe bowl, combine the chocolate chips and coconut oil. Microwave the mixture in 30-second intervals, stirring in between, until the chocolate is smooth and melted.
- Coat the Liners: Using a spoon, drizzle some melted chocolate into each cupcake liner, filling them enough to coat the bottom and sides. Use the back of the spoon to spread the chocolate up the sides of the liner to form a cup.
- Chill Until Firm: Place the muffin tin in the refrigerator for about 10 minutes, or until the chocolate is completely set.
- Add the Marshmallows: Once the chocolate is firm, take the muffin tin out of the refrigerator and fill each cup with mini marshmallows.
- Top with More Chocolate: Pour more melted chocolate over the marshmallows, ensuring they are completely covered.
- Final Chill: Return the entire tray to the refrigerator for another 10-15 minutes, allowing the top layer of chocolate to harden.
- Serve and Enjoy: Once set, carefully peel the chocolate cups from the cupcake liners and serve them fresh!
Top Tips for Perfecting Homemade Chocolate Marshmallow Cups
- Substitutions: If chocolate chips aren’t available, feel free to use Halal-certified cacao or dark chocolate bars, chopped into small pieces.
- Timing: Make sure to check the firmness of the chocolate occasionally in the refrigerator; you want a satisfying snap when biting into them, which comes from letting the chocolate set properly.
- Avoiding Mistakes: Use a light touch when drizzling your chocolate into the cupcake liners. Too much pressure can lead to messy and uneven cups.
Storing and Reheating Tips
To keep your Homemade Chocolate Marshmallow Cups fresh, store them in a cool, dry place, ideally in an airtight container at room temperature. They can last about a week. If you want to make them in bulk, freeze them in a zip-lock bag for up to three months. To reheat, simply place them at room temperature for a few minutes before serving. Avoid microwaving them as it may affect the texture of the chocolate and marshmallows.
In conclusion, Homemade Chocolate Marshmallow Cups are an easy and versatile treat that everyone will love. With their delightful crunch and creamy center, these treats can’t be missed during family gatherings or cozy evenings at home. Grab your ingredients and start creating this chocolatey delight today—your loved ones will thank you!

Homemade Chocolate Marshmallow Cups
Ingredients
Method
- Start by placing cupcake liners into a muffin tin.
- In a microwave-safe bowl, combine the chocolate chips and coconut oil. Microwave the mixture in 30-second intervals, stirring in between, until the chocolate is smooth and melted.
- Using a spoon, drizzle some melted chocolate into each cupcake liner, filling them enough to coat the bottom and sides.
- Place the muffin tin in the refrigerator for about 10 minutes, or until the chocolate is completely set.
- Once the chocolate is firm, fill each cup with mini marshmallows.
- Pour more melted chocolate over the marshmallows, ensuring they are completely covered.
- Return the entire tray to the refrigerator for another 10-15 minutes, allowing the top layer of chocolate to harden.
- Once set, carefully peel the chocolate cups from the cupcake liners and serve them fresh!
Leave a Reply