
Homemade Cherry Tart
There’s nothing quite like the delightful experience of biting into a homemade dessert, especially one that encapsulates the sweet, tangy burst of cherries enveloped in a perfectly flaky crust. The enchanting aroma of this Homemade Cherry Tart filling the kitchen will transport you to a summer orchard, where cherries gleam like rubies on their branches. The contrasting textures of a crisp tart shell and velvety filling create a harmony that dances on your palate.
Did you know that cherry tarts are often enjoyed during family gatherings, with each bite sparking warm memories and laughter? This dessert doesn’t just satisfy your sweet tooth but also reveals a heartfelt tradition passed down through generations. If you enjoyed our popular Blueberry Crisp recipe, you’re in for a treat! The Homemade Cherry Tart offers a similar appeal but with its unique cherry flavor profile that is simply irresistible. Ready to impress your loved ones? Let’s dive in!
What is Homemade Cherry Tart?
So, what exactly is this Homemade Cherry Tart? Picture this: a golden, flaky pie crust cradling a luscious cherry filling that melds the sweet and tart flavors of fresh cherries. But have you ever wondered why it’s called a ‘tart’? Is it merely a nod to the flavors, or does it reflect a culinary history filled with puns? They say, “the way to a man’s heart is through his stomach,” and what better way to win anyone’s affection than with a slice of this delectable dessert? Once you make it, you’ll understand its charm! Get ready to make this tart as you gather with family and friends—everyone will love it!
Why You’ll Love This Homemade Cherry Tart
There are countless reasons to adore this Homemade Cherry Tart. First off, the star of this show is definitely the cherries! Their natural sweetness dances through each slice, perfectly complemented by a buttery, flaky crust that adds a satisfying crunch. Secondly, making this tart at home offers incredible cost-saving benefits—store-bought versions often come with a hefty price tag that isn’t necessary! By preparing this dessert yourself, you can impress your guests without breaking the bank.
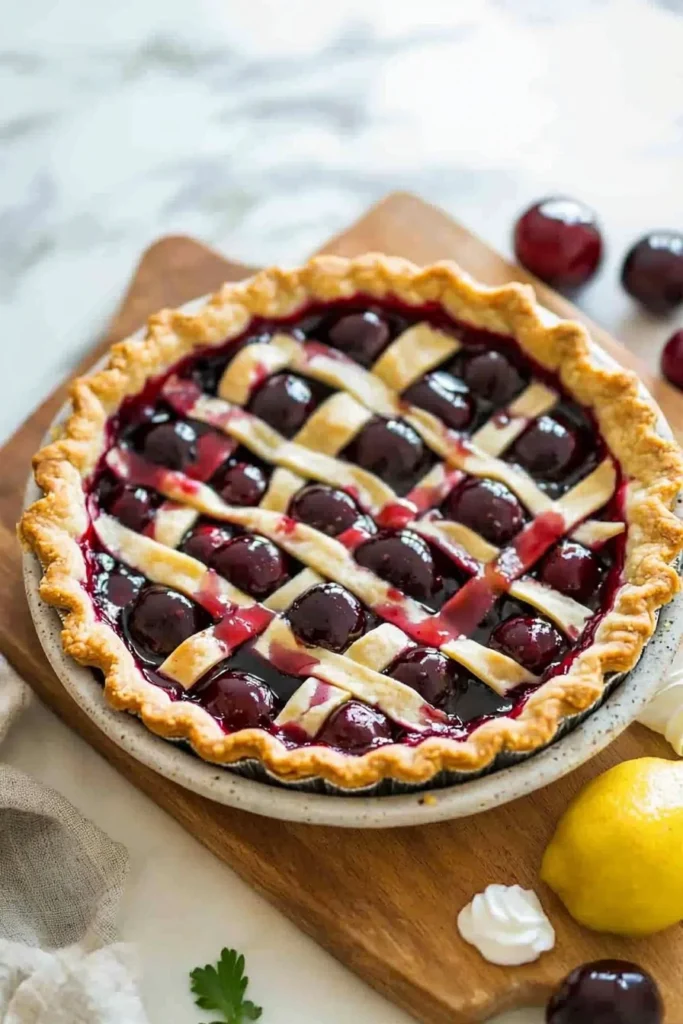
And let’s not forget about optional toppings! A dollop of whipped cream can take your Homemade Cherry Tart to the next level, adding a creamy texture that harmonizes perfectly with the tartness of the cherries. If you think this is similar to an ordinary fruit pie, think again—the burst of flavor will have everyone raving. Try it out yourself, and you’ll see exactly why it’s favored!
How to Make Homemade Cherry Tart
Quick Overview
Making a Homemade Cherry Tart is not only satisfying but also surprisingly simple. You’ll revel in the blend of textures and flavors—the crispy crust complements the juicy filling beautifully. In about 1 hour, you can whip up this delightful dessert, showcasing your culinary skills, even if you’re a beginner!
Ingredients:
- 2 cups cherries, pitted
- 1 cup sugar
- 2 tablespoons cornstarch
- 1 tablespoon lemon juice
- 1 teaspoon vanilla extract
- 1 pie crust (store-bought or homemade)
- 1 tablespoon butter (optional)
- Whipped cream (for serving, optional)
Step-by-Step Instructions
Creating this Homemade Cherry Tart is a breeze! Here is a step-by-step breakdown:
- Preheat your oven to 375°F (190°C). This initial heat is vital for creating that perfect crispy crust.
- Prepare the filling: In a large bowl, combine the pitted cherries, sugar, cornstarch, lemon juice, and vanilla extract. Toss everything together gently until the cherries are evenly coated. Let it sit for about 10-15 minutes. This allows the flavors to meld and the cherries to release some juice.
- Prepare the crust: If you are using a store-bought pie crust, unfold it into a 9-inch pie dish. If you’re going for homemade, roll out your dough and place it in the dish. Press it down gently and trim any excess.
- Fill the crust: Pour the cherry filling into the prepared crust. If desired, dot with small pieces of butter—this enhances flavor and provides richness.
- Bake the tart: Bake in the preheated oven for 30-35 minutes, or until the crust is golden brown and the filling is bubbling.
- Cool: Remove from the oven and let it cool for at least 20 minutes before slicing. This will help the filling to set a bit more.
- Serve: Top with whipped cream if desired, and watch your friends and family indulge in this delightful dessert!
Top Tips for Perfecting Homemade Cherry Tart
- Use fresh cherries: If possible, fresh cherries will give you the best flavor. You can also use frozen cherries; just ensure to thaw and drain them first!
- Timing is crucial: Don’t skip the resting period after baking; it allows the filling to firm up!
- Avoid common mistakes: Overfilling the tart can lead to a messy result! Keep the filling to a manageable level so it bakes evenly.
- Substitutions: If you’re in need of a Halal-friendly sweetener, consider using honey or a sugar substitute to suit your dietary needs.
Storing and Reheating Tips
Once you’ve made your Homemade Cherry Tart, you’ll want to save any leftovers wisely! Store the tart in an airtight container in the refrigerator, where it will stay fresh for up to 3-4 days. If you want to keep it longer, you can freeze slices wrapped in plastic wrap and then placed in a sealed bag for up to 3 months.
To reheat, simply place a slice on a microwave-safe plate and heat it in short intervals until warmed through. If you’d rather retain that original texture, consider reheating in a toaster oven for about 10 minutes at 350°F (175°C).
With these tips, you can enjoy your Homemade Cherry Tart fresh and flavorful, even days later!
Now, gather your ingredients and treat your loved ones to a slice of this wonderful Homemade Cherry Tart!
Homemade Cherry Tart
Ingredients
Method
- Preheat your oven to 375°F (190°C).
- In a large bowl, combine the pitted cherries, sugar, cornstarch, lemon juice, and vanilla extract. Toss gently until the cherries are evenly coated. Let sit for 10-15 minutes.
- If using a store-bought pie crust, unfold it into a 9-inch pie dish. If homemade, roll out your dough and place it in the dish. Press down gently and trim any excess.
- Pour the cherry filling into the prepared crust. Dot with small pieces of butter if desired.
- Bake in the preheated oven for 30-35 minutes, until the crust is golden brown and the filling is bubbling.
- Cool the tart for at least 20 minutes before slicing.
- Top with whipped cream if desired and serve.
Leave a Reply