
Easy Homemade Pita Bread
There’s nothing quite like the aroma of freshly baked pita bread wafting through your kitchen. Imagine pulling a soft, fluffy pita from the oven, its golden exterior crackling lightly as you slice into it. The first bite is a perfect balance of chewy and airy, with a hint of warmth that embraces the taste buds. Pita bread can elevate any meal, from dips to sandwiches, making it a versatile staple for family gatherings or cozy winter evenings.
Did you know that pita bread has been a beloved food for thousands of years, originating from the Middle East? It’s an ancient bread that speaks to the heart of many cultures. The best part? It’s surprisingly easy to make at home, and let’s be honest: the way to a man’s heart is through his stomach! If you’ve enjoyed my popular recipe for homemade naan, you’ll find this one just as rewarding. Let’s take your cooking to the next level with this deliciously easy homemade pita bread!
What is Easy Homemade Pita Bread?
So, why do they call it “pita”? Is it because it’s so tasty that it makes you go, “pita-licious”? Or maybe it’s the perfect vessel for all those savory dips? Your guess is as good as mine! What I do know is that this delightful bread has charmed its way into our hearts (and stomachs) for centuries. Imagine tearing off a piece of warm pita to scoop up some hummus or filling it with grilled veggies for a satisfied smile from your family. If you’re looking for a fun cooking project, this recipe is the perfect choice. Why wait? Roll up your sleeves and let’s make some Easy Homemade Pita Bread!
Why You’ll Love This Easy Homemade Pita Bread
First, let’s talk about how homemade pita bread shines as the main dish highlight of any meal. When it’s hot out of the oven, its wonderfully tender and chewy texture pairs fantastically with various meze platters or as a side to your favorite curry. Who doesn’t love that?
Secondly, there’s the cost-saving benefit of cooking at home. Store-bought pita can add up quickly, but making them at home is not only economical but also allows you to customize flavors to your family’s tastes.
Lastly, the flavorful toppings are endless. Whether you spread some creamy tzatziki, layer on grilled chicken, or fill it with fresh veggies and herbs, the options are limitless! Compared to other flatbreads, the versatility and ease of pita bread make it an appealing choice. Ready to jump into the kitchen and give it a try?
How to Make Easy Homemade Pita Bread
Quick Overview
Making Easy Homemade Pita Bread is not only a satisfying endeavor but also a wonderfully rewarding one. The delightful texture and flavor will elevate any dish, making this a staple you’ll want to keep nearby.
Preparation Time: 15 minutes
Cooking Time: 10 minutes
Resting Time: 1 hour
Ingredients
Here’s what you need for this delicious Easy Homemade Pita Bread:
- 2 cups all-purpose flour
- 1 teaspoon salt
- 1 teaspoon sugar
- 1 teaspoon instant yeast
- 3/4 cup warm water (about 110°F)
- 1 tablespoon olive oil
Preparation Notes: Ensure your water is warm but not too hot; this helps activate the yeast without killing it.
Step-by-Step Instructions
- Mix the Dry Ingredients: In a large mixing bowl, whisk together the flour, salt, sugar, and yeast until well combined.
- Add the Wet Ingredients: Pour in the warm water and olive oil into the dry ingredients. Stir using a wooden spoon until a shaggy dough forms.
- Knead the Dough: Turn the dough out onto a lightly floured surface. Knead for about 5-7 minutes until the dough is smooth and elastic.
- Let it Rise: Form the dough into a ball and place it in a lightly greased bowl. Cover with a clean towel or plastic wrap and let it rise in a warm place for about 1 hour or until doubled in size.
- Divide and Shape: Punch down the dough gently to release the air. Divide it into 8 equal pieces and roll each piece into a ball.
- Flatten the Balls: Using a rolling pin, flatten each ball into a circle about 1/4 inch thick.
- Preheat Oven: While shaping, preheat your oven to 500°F (260°C). Place a baking stone or an upside-down baking sheet inside to heat up.
- Bake the Pitas: Once the oven is preheated, carefully place the pitas on the hot baking surface. Bake for about 5-7 minutes, or until they puff up and have light golden spots.
- Cool and Store: Remove from the oven and let them cool on a wire rack. Enjoy them warm or let them cool completely before storage.
Top Tips for Perfecting Easy Homemade Pita Bread
- Flour Substitutes: For a healthier version, consider replacing half of the all-purpose flour with whole wheat flour.
- Timing: Make sure to give your dough ample time to rise; the fluffier, the better!
- Avoiding Common Mistakes: Ensure that your water isn’t too hot when adding the yeast, as this can kill the yeast and prevent your dough from rising.
Storing and Reheating Tips
Storing your Easy Homemade Pita Bread properly will help maintain its delightful texture. Leftover pitas can be kept in an airtight container at room temperature for about 3-4 days. For longer storage, freeze the pitas in a zip-lock bag for up to 3 months. When you’re ready to enjoy them again, simply place them on a baking sheet and reheat in the oven at 350°F (175°C) for about 5 minutes, or until warmed through.
Making Easy Homemade Pita Bread is not only enjoyable but also a wonderful bonding activity with family. So, gather your loved ones, roll up your sleeves, and let’s create something delicious today!
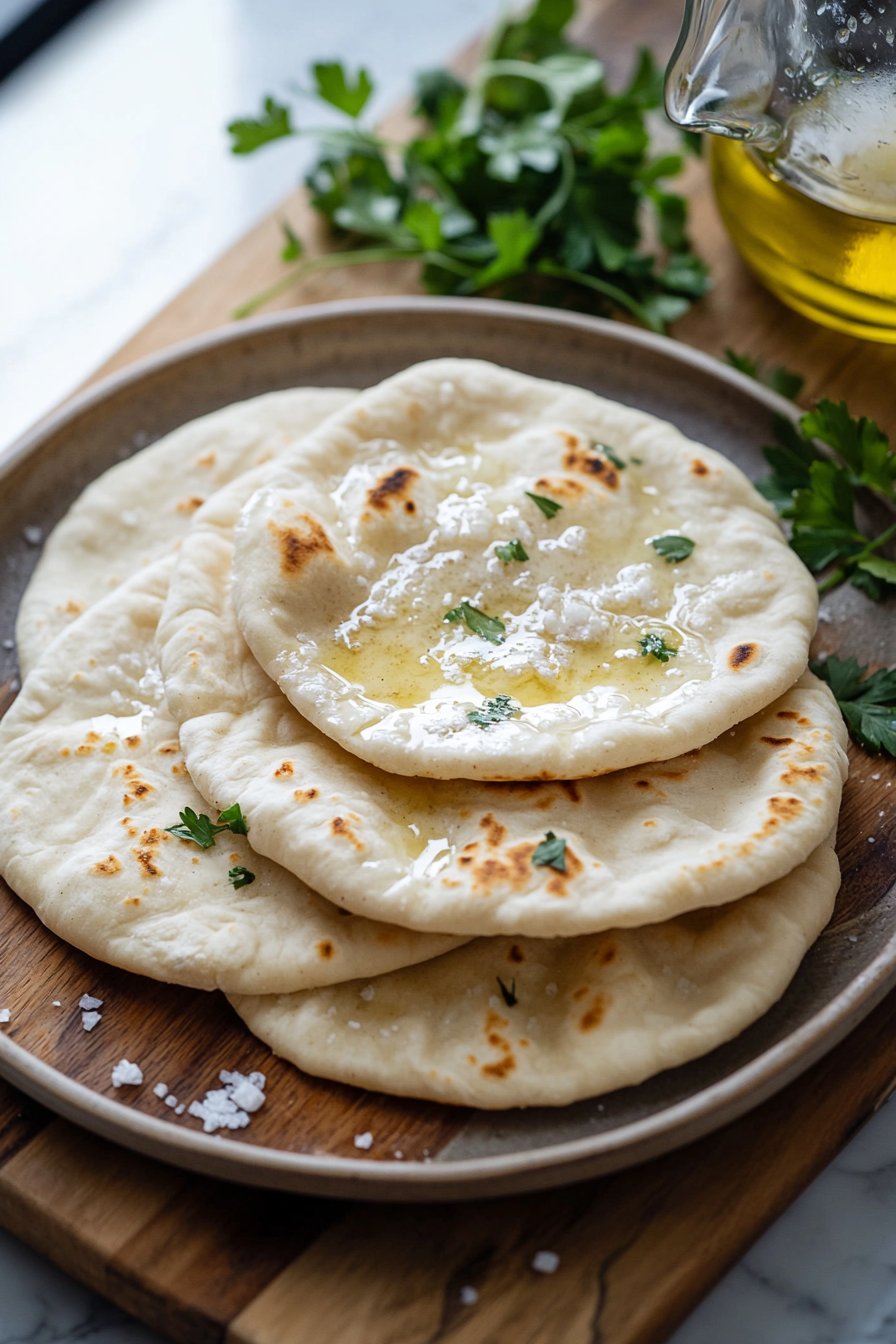
Easy Homemade Pita Bread
Ingredients
Method
- In a large mixing bowl, whisk together the flour, salt, sugar, and yeast until well combined.
- Pour in the warm water and olive oil into the dry ingredients. Stir using a wooden spoon until a shaggy dough forms.
- Turn the dough out onto a lightly floured surface. Knead for about 5-7 minutes until the dough is smooth and elastic.
- Form the dough into a ball and place it in a lightly greased bowl. Cover with a clean towel or plastic wrap and let it rise in a warm place for about 1 hour or until doubled in size.
- Punch down the dough gently to release the air. Divide it into 8 equal pieces and roll each piece into a ball.
- Using a rolling pin, flatten each ball into a circle about 1/4 inch thick.
- While shaping, preheat your oven to 500°F (260°C). Place a baking stone or an upside-down baking sheet inside to heat up.
- Once the oven is preheated, carefully place the pitas on the hot baking surface. Bake for about 5-7 minutes, or until they puff up and have light golden spots.
- Remove from the oven and let them cool on a wire rack.
- Enjoy them warm or let them cool completely before storage.
Leave a Reply