
| Prep | 20 minutes |
| Marinating | 30 minutes |
| Cook | 15 minutes |
| Total | 1 hour 5 minutes |
| Serves | 4 |
| Equipment | 12-inch cast iron or heavy skillet, tongs, sharp knife |
Most fajita chicken fails the same way. It goes into the pan pale, lets out a puddle of liquid within thirty seconds, and finishes grey and faintly rubbery — cooked through, technically, but without a single dark edge to show for it. The seasoning tastes fine. The texture is the problem.
The fix has almost nothing to do with the spice blend. It comes down to how much chicken touches the metal at once, and how hot that metal is when it gets there. Sear a pound and a half of strips in two batches in a properly preheated skillet and you get charred edges and a juicy middle in about fifteen minutes of real cooking. Crowd the same chicken into one layer and you are simmering it in its own juices. Everything below is built around that one decision.
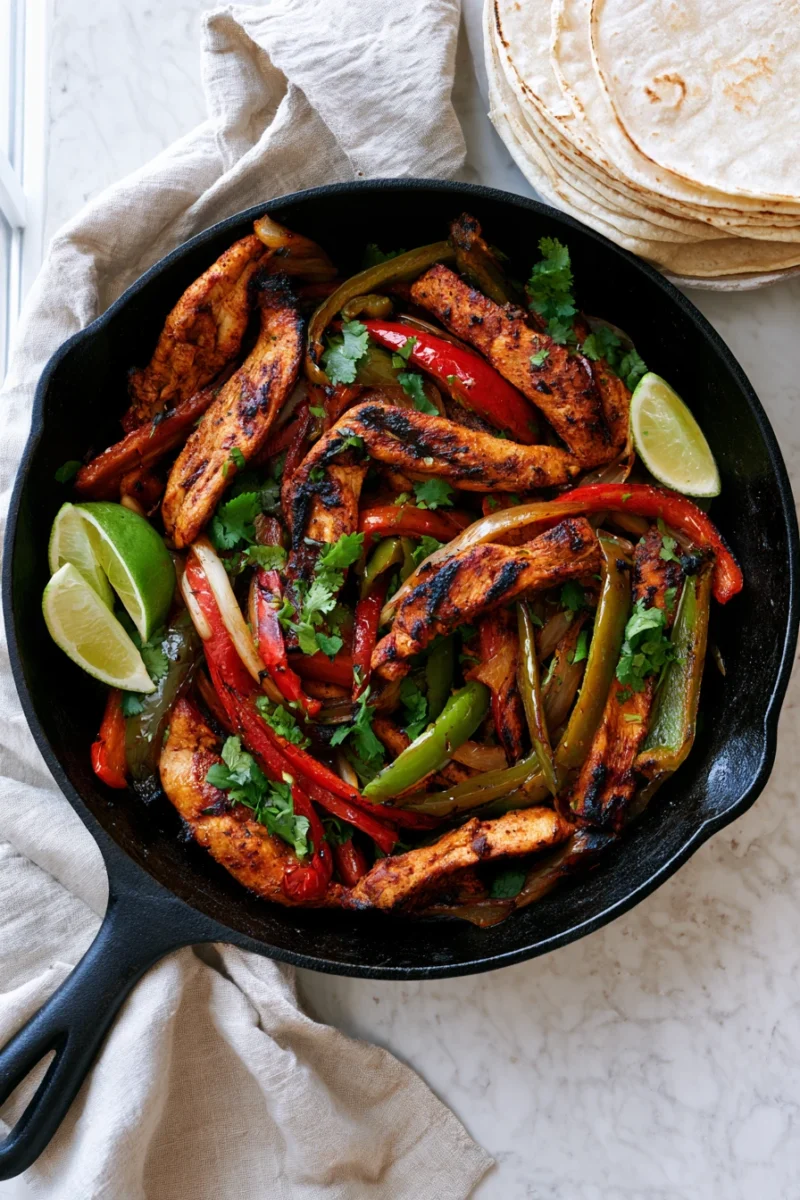
Why Fajita Chicken Steams Instead of Searing
Chicken is roughly three quarters water, and a marinade adds more. The moment those strips hit the pan, that water starts leaving them. If the pan is hot enough and there is room around each piece, the liquid evaporates as fast as it appears and the surface keeps browning. If the pan is crowded or merely warm, the liquid pools, the temperature drops below the point where browning happens, and the chicken poaches in its own juices until it is cooked and pale.
Three things decide which of those you get. The first is the heat: a heavy skillet needs four or five minutes over high heat before anything goes in, long enough that a drop of water skates across the surface instead of sitting still and bubbling. The second is the load. Half a pound of strips in a twelve-inch pan leaves gaps between the pieces; a pound and a half does not, which is why this recipe cooks the chicken in two goes and the vegetables separately. The third is patience in the first two minutes — stirring early tears the crust off before it has formed.
Patting the marinated strips with paper towel before they go in helps too. You lose none of the flavour, which has already soaked in, and you remove the surface liquid that would otherwise have to boil off first.
Ingredients
For the chicken
- 1½ lb (680 g) boneless skinless chicken thighs, sliced ½ inch thick — thighs carry enough fat to stay juicy even if you overshoot by a minute
- 3 tbsp neutral oil — carries the fat-soluble spices and helps the surface brown
- Zest and juice of 1 lime — the zest brings the aroma without adding the liquid that works against a sear
- 3 garlic cloves, minced
- 1½ tsp chili powder — the backbone of the blend
- 1 tsp ground cumin — earthy, and it blooms in the hot oil
- 1 tsp smoked paprika — stands in for the smoke of a grill
- ¾ tsp dried oregano
- 1 tsp fine salt — season the chicken itself, not just the finished pan
- ½ tsp black pepper
For the pan
- 3 bell peppers, sliced ¼ inch — one red, one green and one yellow gives colour and a mix of sweet and grassy
- 1 large onion, sliced ¼ inch — thick enough to keep some bite after eight minutes
- 1 tbsp neutral oil
- ¼ tsp salt
To serve
- 8 small flour or corn tortillas, warmed
- Lime wedges and chopped cilantro
- Sour cream, shredded cheese, guacamole, and a spoonful of chunky creole salsa if you have it
Which Cut of Chicken to Use
The recipe is written for thighs, but all three common cuts work and they behave differently in a screaming hot pan. Pick by how closely you plan to watch it.
| Cut | How it behaves in the pan | Best for |
|---|---|---|
| Boneless thighs | Browns quickly thanks to the extra fat, and stays juicy a minute or two past done | Weeknights, and anyone who steps away from the stove |
| Breast | Lean and unforgiving — it goes from juicy to dry in about sixty seconds | White-meat preference, paired with a thermometer |
| Tenderloins | Already strip-shaped, cook through in two to three minutes | The fastest route, if you stand over the pan |
| Thigh and breast mixed | Uneven — the breast finishes well before the thigh | Only if you cook them in separate batches |
Whichever you use, slice across the grain and keep the strips to an even thickness. Pieces that vary from a quarter inch to three quarters will never be done at the same moment. The same logic applies to the beef in our steak fajitas, where the cut and the slicing angle matter even more.
How to Make It
1. Marinate the chicken — 30 minutes
Whisk the oil, lime zest and juice, garlic, chili powder, cumin, smoked paprika, oregano, salt and pepper in a large bowl. Add the sliced chicken and turn it until every strip is coated. Leave it at room temperature for 30 minutes, or refrigerate up to 4 hours. The strips should look evenly rust-coloured, with no dry patches of spice sitting on the surface.
2. Heat the skillet — 4 to 5 minutes over high heat
Set the dry skillet over high heat and leave it alone. Cast iron takes longer than it feels like it should. Flick in a few drops of water: when they skate across the surface and vanish rather than sitting and fizzing, the pan is ready.
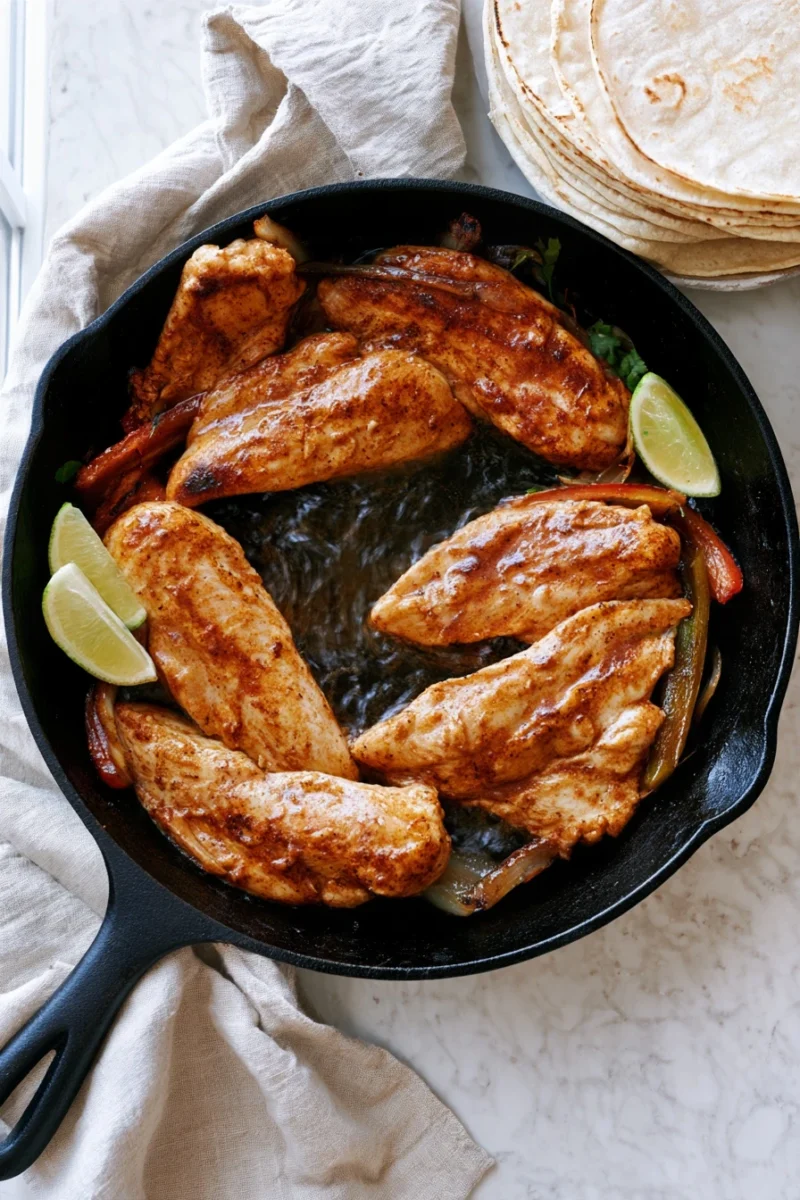
3. Sear the chicken in two batches — 3 to 4 minutes each
Pat the marinated strips dry with paper towel. Add half of them to the pan in a single layer and leave them undisturbed for 2 minutes, then turn and give them another 1 to 2 minutes. Move them to a plate and repeat with the second half. Chicken is safe at an internal temperature of 165°F (74°C), the figure published by the USDA Food Safety and Inspection Service. You are looking for dark brown edges and a few near-black spots, not an even golden colour.
4. Cook the peppers and onion — 6 to 8 minutes
Lower the heat to medium-high, add the tablespoon of oil and tip in the peppers and onion with the quarter teaspoon of salt. Scrape the browned bits off the bottom as they release. Stop when the edges are blistered and the onion has gone translucent but the peppers still bend rather than flop.
5. Return the chicken and finish — 1 minute
Tip the chicken back in along with any juices on the plate and toss for a minute to warm through. Squeeze over a lime wedge off the heat. The pan should look glossy, not wet. Serve straight from the skillet with warm tortillas and a bowl of fire-roasted cherry tomato salsa.
Storing and Reheating
Keep the chicken and vegetables in an airtight container in the fridge for up to 4 days, and store the tortillas separately so they do not go soft. Reheat in a dry skillet over medium-high for 2 to 3 minutes rather than in the microwave, which turns the peppers limp and the chicken chewy. The filling also freezes well for 3 months, though the peppers lose their bite. Leftovers are better repurposed than reheated on their own: folded into quesadillas with a handful of cheese, or piled over rice the way we do in the loaded taco bowl.
Frequently Asked Questions
Can I use chicken breast instead of thighs?
Yes, with two adjustments: slice it no thicker than half an inch so it cooks evenly, and pull it off the heat the moment it reaches 165°F. Breast has almost no margin for error in a pan this hot.
Do I have to marinate for the full 30 minutes?
Fifteen minutes gets you most of the way there, because the oil carries the spices onto the surface quickly. What you lose is the lime working into the meat. Going beyond 4 hours is counterproductive — the acid starts breaking down the surface and the texture turns soft.
What if I only have a nonstick pan?
It works, but most nonstick coatings should not be taken to the heat this method wants. Use medium-high instead of high, expect less char, and cook in three smaller batches rather than two.
Can I make this without a skillet?
Yes. An air fryer version gets you browning through dry circulating heat instead of pan contact, and a sheet pan under a hot broiler does something similar.
Why are my peppers watery?
Either they went in with the chicken, or the pan was too full. Peppers release a lot of liquid; they need the pan to themselves and enough surface area for that liquid to evaporate.
How do I keep the tortillas from cracking?
Warm them one at a time in a dry pan for about 20 seconds a side, then stack them under a clean kitchen towel. The steam they give off softens the whole pile.
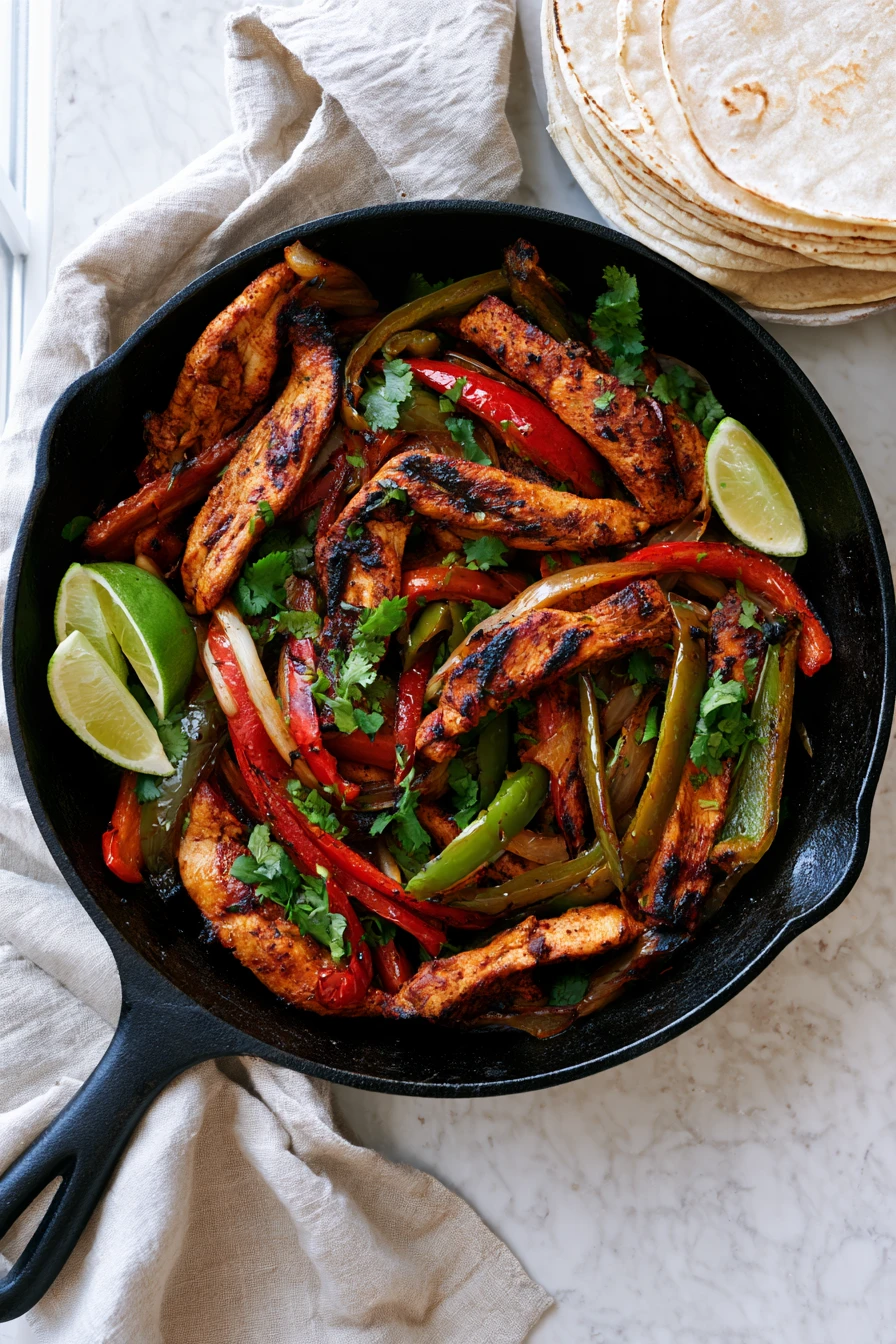
Chicken Fajitas
Ingredients
Method
- Whisk the oil, lime zest and juice, garlic, chili powder, cumin, smoked paprika, oregano, salt and pepper in a large bowl. Add the sliced chicken and turn until every strip is coated. Leave 30 minutes at room temperature, or up to 4 hours refrigerated.
- Set the dry skillet over high heat for 4 to 5 minutes. It is ready when a few drops of water skate across the surface instead of sitting and fizzing.
- Pat the marinated strips dry. Add half to the pan in a single layer and leave undisturbed 2 minutes, then turn and cook 1 to 2 minutes more. Move to a plate and repeat with the rest. Chicken is safe at an internal temperature of 165F (74C).
- Lower the heat to medium-high, add the tablespoon of oil and tip in the peppers and onion with the quarter teaspoon of salt. Cook 6 to 8 minutes, scraping up the browned bits, until the edges blister and the onion turns translucent.
- Return the chicken with any juices from the plate and toss for 1 minute to warm through. Squeeze over a lime wedge off the heat and serve from the skillet with warm tortillas.

Leave a Reply