
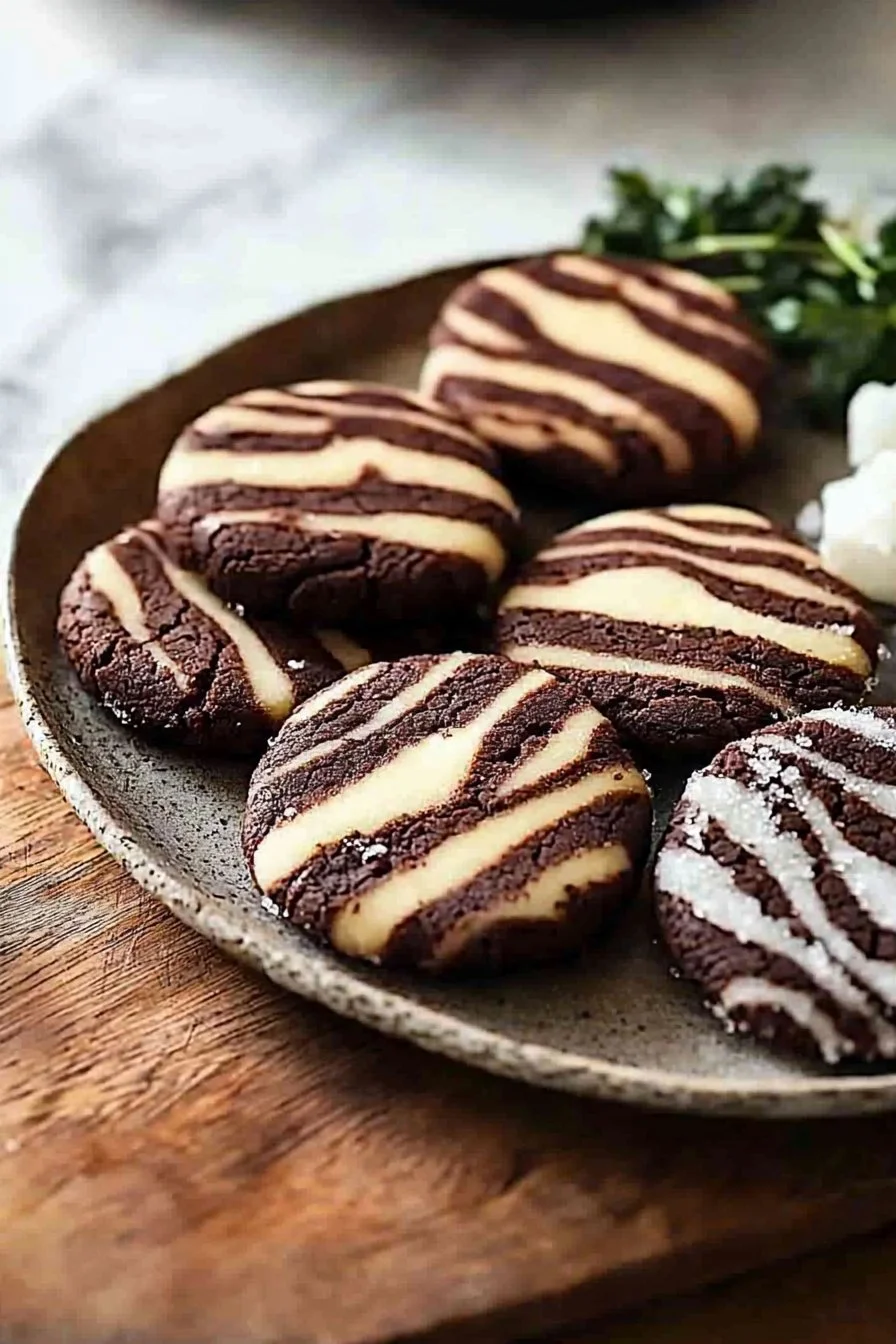
When it comes to baking, few things are as charming and delightful as Zebra Cookies. These whimsical treats are not just a feast for the eyes with their striking contrasting colors, but they’re also a delightful blend of flavors and textures—crisp on the outside and soft on the inside. If you’ve ever thought about impressing your family during those cozy winter evenings, this recipe will surely make you a star in your kitchen! Fun fact: Zebra Cookies are often touted as the ultimate cookie for all occasions—weekend brunches, family gatherings, or even as a sweet surprise when guests visit. Imagine enjoying these cookies alongside a cup of chai, just like the popular Chocolate Chip Cookies that everyone loves; Zebra Cookies bring their own unique flair to the dessert table!
What are Zebra Cookies?
So, why the quirky name “Zebra Cookies”? Is it because of their black and white stripes? Or is there a more whimsical story behind it? Let’s face it, cookies sometimes have the most imaginative names! But regardless of their origin, there’s one thing we all agree on: the way to a man’s heart is through his stomach—and these cookies are sure to make anyone swoon! With a delightful combination of buttery sweetness and rich cocoa flavor, these striped wonders will easily become a household favorite. Ready to dive into this delightful baking adventure? Let’s get started!
Why You’ll Love This Zebra Cookies
There are countless reasons to adore Zebra Cookies! Firstly, they stand out remarkably as a dessert that boasts both visual appeal and mouthwatering flavor. Picture each bite—crunchy yet chewy—delivering a decadent mix of chocolate and vanilla. Nothing compares! Plus, there’s a cost-saving benefit in creating these treats at home; you can control the quality of your ingredients while saving money compared to store-bought cookies. With its versatile nature, Zebra Cookies can be topped or drizzled with your favorite chocolate or sprinkled with nuts, making every batch as unique as your family gathering itself. This versatility and cost-effectiveness make them an unbeatable choice for any baking enthusiast!
How to Make Zebra Cookies
Quick Overview
Creating your own Zebra Cookies is simple and incredibly satisfying. With just the right amount of crunch and chewiness, they are perfect for satisfying any sweet tooth. The preparation time is straightforward, taking about 45 minutes from start to finish, which includes baking time!
Ingredients for Zebra Cookies
- 1 cup butter, softened
- 1 cup granulated sugar
- 1 cup powdered sugar
- 2 large eggs
- 1 teaspoon vanilla extract
- 3 cups all-purpose flour
- 1/2 cup unsweetened cocoa powder
- 1 teaspoon baking powder
- 1/2 teaspoon salt
Make sure all ingredients are halal-compliant and tailored to your family’s preferences.
Step-by-Step Instructions
- Preheat Your Oven: Start by preheating your oven to 350°F (175°C). This is a crucial step that ensures even baking.
- Cream the Butters and Sugars: In a large mixing bowl, cream together the softened butter, granulated sugar, and powdered sugar until light and fluffy. This usually takes about 3-4 minutes.
- Add Eggs and Vanilla: Blend in the eggs, one at a time, ensuring they’re fully incorporated. Add the vanilla extract and mix until combined.
- Combine Dry Ingredients: In a separate bowl, whisk together the all-purpose flour, cocoa powder, baking powder, and salt.
- Mix It Together: Gradually add the dry ingredients into the wet ones, mixing until just combined. Be careful not to overmix, as this can affect the cookie texture.
- Shape the Cookies: Take small amounts of the dough and roll them into balls. Next, roll half of the balls in cocoa powder for the chocolate layer, while leaving the other half plain. Then, combine one chocolate ball and one vanilla ball together, gently pressing them to form a flat disk.
- Bake: Line baking sheets with parchment paper. Place the disks on the sheets and bake for 10-12 minutes, or until the edges are golden brown.
- Cool and Serve: Allow the cookies to cool on the baking sheet for a few minutes before transferring them to a wire rack to cool completely.
Top Tips for Perfecting Zebra Cookies
- Ingredient Substitutions: If you’re looking to create dairy-free Zebra Cookies, substitute the butter with coconut oil or margarine.
- Check the Temperature: Make sure your butter is softened but not melted. Using too warm butter can lead to overly flat cookies.
- Timing: Keep an eye on your cookies to avoid over-baking, which can lead to a dry texture.
Storing and Reheating Tips
To keep your Zebra Cookies fresh, store them in an airtight container at room temperature. They can last up to one week, but if you want to extend their shelf life, you can freeze them. Simply place them in a freezer-safe container or bag, and they will remain delicious for up to three months!
When you’re ready to enjoy your cookies, allow them to come to room temperature, or warm them briefly in the oven at a low temperature to restore their original soft texture.
Conclusion
Zebra Cookies are not just a treat; they are a delightful way to bring the family together over a shared love for baking. With their beautiful colors and irresistible tastes, they are sure to become a staple in your home. So grab your apron and get those ingredients ready—your taste buds will thank you!
FAQs
1. Can I use whole wheat flour instead?
Yes, you can substitute whole wheat flour for all-purpose flour, but it may alter the cookie’s texture slightly, making them denser.
2. What if I don’t have cocoa powder?
If you’re out of cocoa powder, you can create a vanilla-only version or try using carob powder as a substitute.
3. Can I add nuts to the recipe?
Absolutely! Chopped nuts can add an exciting crunch. Just fold them into the dough before shaping the cookies.
Now that you’re equipped with this delightful recipe and all the tips and tricks, are you ready to create your very own batch of Zebra Cookies? Enjoy the joyful process of baking!

Zebra Cookies
Ingredients
Method
- Preheat your oven to 350°F (175°C).
- In a large mixing bowl, cream together the softened butter, granulated sugar, and powdered sugar until light and fluffy (about 3-4 minutes).
- Blend in the eggs, one at a time, ensuring they’re fully incorporated. Add the vanilla extract and mix until combined.
- In a separate bowl, whisk together the all-purpose flour, cocoa powder, baking powder, and salt.
- Gradually add the dry ingredients into the wet mixture, mixing until just combined. Do not overmix.
- Roll small amounts of the dough into balls. Roll half of the balls in cocoa powder for the chocolate layer, leaving the other half plain.
- Combine one chocolate ball and one vanilla ball together, gently pressing them to form a flat disk.
- Line baking sheets with parchment paper. Place the disks on the sheets and bake for 10-12 minutes, or until the edges are golden brown.
- Allow the cookies to cool on the baking sheet for a few minutes before transferring them to a wire rack to cool completely.
Leave a Reply