
Roasted Chickpea Gyros
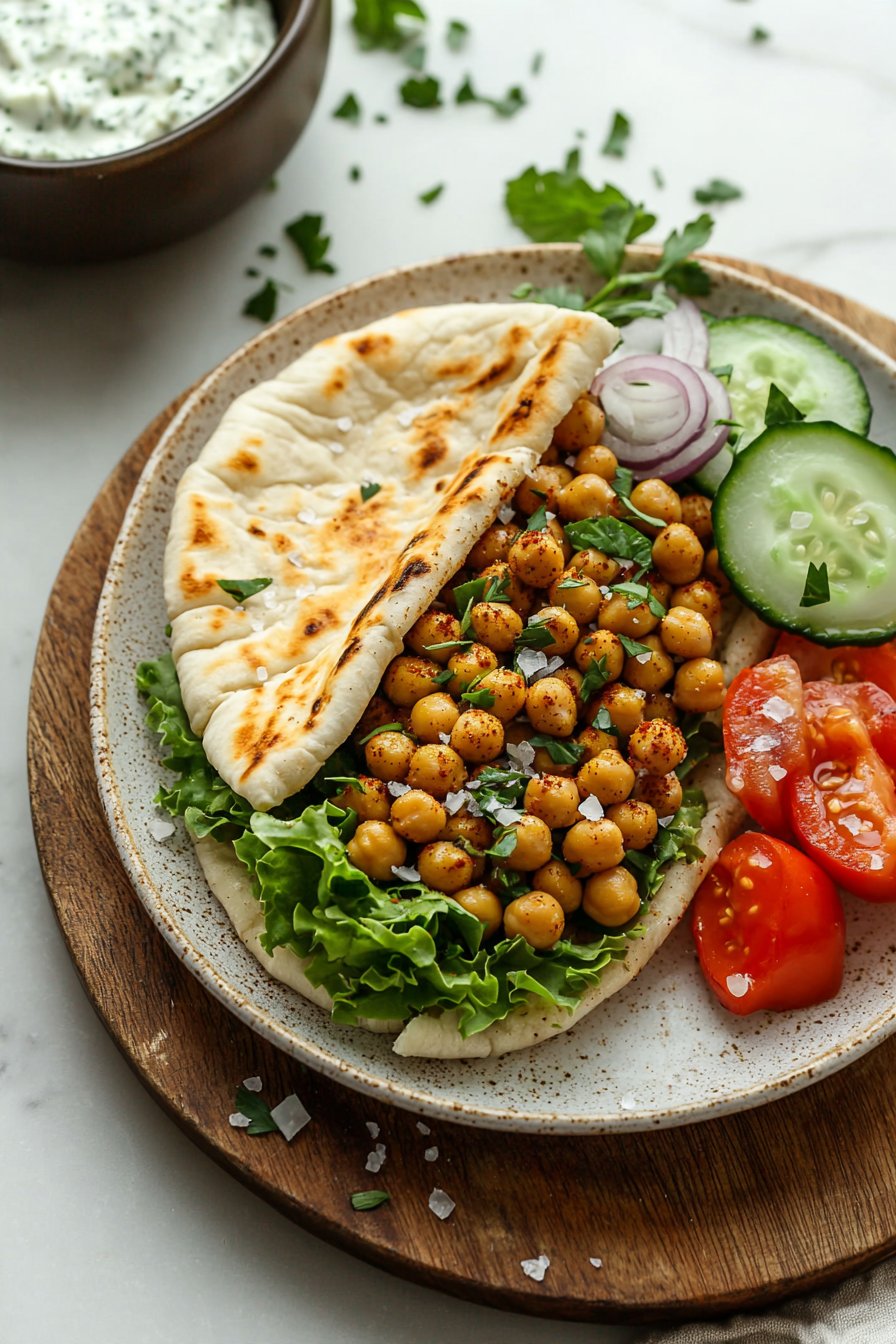
When it comes to satisfying and delightful dishes, Roasted Chickpea Gyros take center stage. Imagine biting into warm, toasted pita bread, layered with crispy roasted chickpeas, fresh veggies, and a creamy tzatziki sauce that bursts with flavor. This dish not only offers a great textural contrast—with the crunch of chickpeas and the softness of the pita—but carries a wealth of flavor that can make any meal feel like a special occasion. A fun fact? Gyros originally hail from Greece, and they bring friendly gatherings to life with their deliciousness. If you’re a fan of my popular Quinoa Falafel Bowl, you’ll love the comforting, hearty vibe of this recipe—and it’s just as easy to make at home!
What is Roasted Chickpea Gyros?
So, why call it a gyros when traditionally it features layered meats? Well, my friend, it seems that in the food-loving universe, creativity knows no bounds! Roasted Chickpea Gyros are a clever twist on a classic. This vegetarian-friendly version shows us that the way to a man’s heart is indeed through his stomach—especially if that stomach is greeted by confidently seasoned chickpeas taking a flavor-packed trip on warm pita bread. The delightful combination of roasted chickpeas, fresh vegetables, and zesty sauce forms a symphony of deliciousness that can turn your regular weeknight into a festive family gathering. Ready to whip up something delicious? Let’s dive in!
Why You’ll Love This Roasted Chickpea Gyros
This Roasted Chickpea Gyros dish has it all: it’s filling, budget-friendly, and super tasty! The star of the meal is undoubtedly the roasted chickpeas, which are seasoned to perfection and crunchy on the outside yet tender on the inside. Plus, cooking at home means you can save your wallet while still serving up flavorful meals.
Once you pile your gyro high with an array of vibrant toppings—think crisp lettuce, juicy tomatoes, crunching cucumbers, and zesty tzatziki—you’ll be transported back to those sun-soaked Mediterranean shores. If you’ve enjoyed the classic falafel wrap, then you’re already in for a treat, as the spirit of bold Mediterranean flavors fills this dish too! Don’t just take my word for it; grab your apron and your favorite ingredients and give this recipe a try!
How to Make Roasted Chickpea Gyros
Quick Overview
Ready to whip up a dish that not only fills bellies but warms hearts? In just about 30 minutes, you can have Roasted Chickpea Gyros on the table, creating a symphony of crispy, savory, and fresh flavors. They’re incredibly easy to prepare and require no advanced culinary skills, making them perfect for both seasoned cooks and kitchen novices alike!
Ingredients for Roasted Chickpea Gyros
- 1 can chickpeas, drained and rinsed
- 2 tablespoons olive oil
- 1 teaspoon garlic powder
- 1 teaspoon paprika
- 1/2 teaspoon cumin
- Salt and pepper to taste
- Pita bread
- Tzatziki sauce (store-bought or homemade)
- Lettuce
- Tomatoes, diced
- Cucumber, diced
- Red onion, thinly sliced
Note: Remember to check that your tzatziki sauce is halal-compliant if you’re not making it from scratch.
Step-by-Step Instructions
- Preheat Your Oven: Begin by preheating your oven to 400°F (200°C), ensuring the ideal environment for crisping those chickpeas!
- Prepare Chickpeas: On a baking sheet, spread the drained and rinsed chickpeas out evenly. Drizzle with olive oil and sprinkle garlic powder, paprika, cumin, salt, and pepper over them. Toss to coat every chickpea in those delicious spices.
- Roast: Place the chickpeas in the oven and roast for 20-25 minutes until they’re golden brown and crispy, shaking the pan halfway through for even cooking.
- Prep Toppings: While the chickpeas are roasting, chop your cucumbers, diced tomatoes, and thinly slice the red onion. Set these aside in a bowl.
- Warm Pita: If desired, wrap the pita bread in aluminum foil and warm it in the oven for the last few minutes of the chickpeas’ roasting time.
- Assemble Your Gyros: Once the chickpeas are out of the oven, start layering! Spread tzatziki sauce on warm pita, add crispy chickpeas, and pile on the fresh veggies.
- Serve & Enjoy: Enjoy your Roasted Chickpea Gyros while they’re fresh and warm!
Top Tips for Perfecting Roasted Chickpea Gyros
- Substitutions: Feel free to substitute the chickpeas with other legumes, like black beans or lentils, if you prefer. Just adjust the spices accordingly!
- Timing: Roasted chickpeas can be knocked out in twenty minutes; make sure to check on them to avoid burning.
- Common Mistakes: A common mishap is overcrowding the chickpeas on the baking sheet—if they’re too close together, they won’t crisp up as nicely. Use two baking sheets if needed!
Storing and Reheating Tips
If you happen to have any leftover Roasted Chickpea Gyros—which I doubt, but just in case—you can pop the extras in the fridge! In an airtight container, they’ll last for 3-4 days. To reheat, consider using an oven to give the chickpeas a second crisping. Simply preheat to 350°F (175°C) and warm for about 10 minutes.
There you have it—your guide to the delectable Roasted Chickpea Gyros! They’re not just a family-friendly meal; they’re the kind of simple, hearty dish that brings everyone to the table. So, gather your loved ones, fill your plates, and enjoy this delightful fusion of flavors together!
Do you have any tips or twists of your own for Roasted Chickpea Gyros? Let me know in the comments below; I’d love to hear your take on this delightful dish!
Leave a Reply