
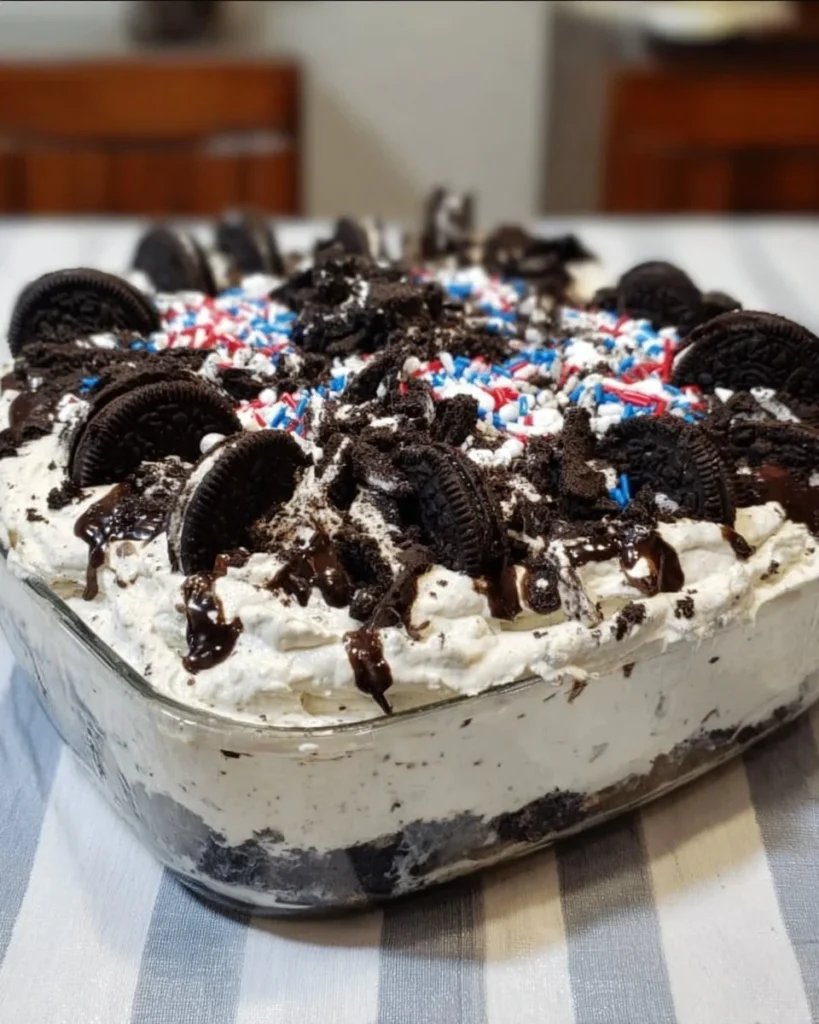
There’s nothing quite like the experience of digging into a slice of No Bake Oreo Cheesecake, where the silky cream cheese filling meets the crunchy, chocolaty goodness of Oreos. This dessert not only dazzles with its tantalizing flavor but also boasts an impressive yet surprisingly simple preparation process, making it an ideal choice for family gatherings.
Did you know that this dessert is a stellar crowd-pleaser, often whipping up memories of lively summer picnics or cozy winter evenings? Let me share a fun fact: when my cousin made her first no-bake cheesecake, her husband cheekily remarked, “The way to a man’s heart is through his stomach!” She took that to heart and now, this recipe has become a staple at family get-togethers. When we compare this treat to the popular brownie recipe on my blog, you’ll find similar ease and delightful textures, but this No Bake Oreo Cheesecake reigns supreme with its unique flavors that just melt in your mouth.
What is No Bake Oreo Cheesecake?
So, what even is this delightful No Bake Oreo Cheesecake? Well, imagine a creamy, rich cheesecake that doesn’t require an oven—yes, it really exists! To describe the texture, think of a dessert that feels like a cloud yet has that satisfying crunch from Oreo cookies. But where did this enticing name come from? Did someone accidentally drop a bunch of cookies into a bowl of cream cheese? Who knows! Regardless, there’s a playful charm in the simplicity of this dessert. And if we’re talking about ways to a partner’s heart, this dish is sure to do the trick! Ready to make some memories with your culinary skills? Let’s dive in!
Why You’ll Love This No Bake Oreo Cheesecake
Three words: creamy, dreamy, and delightful! The No Bake Oreo Cheesecake stands out as a main dish highlight primarily due to its remarkable blend of textures—think a smooth cheesecake filling layered over a delectable crust made from crushed Oreos. You’ll love the cost-saving benefits of cooking at home; with a handful of pantry staples, you can whip up a dessert that feels gourmet without breaking the bank.
What’s even better? The ability to customize this cheesecake with a variety of flavorful toppings! Imagine drizzling it with chocolate syrup or adding fresh berries to elevate the experience. Don’t you think it’s time to gather your ingredients and bring a taste of decadence to your kitchen?
How to Make No Bake Oreo Cheesecake
Quick Overview
Making this No Bake Oreo Cheesecake is as easy as pie—or should I say cheesecake? With minimal preparation and just a few steps, you’ll have a decadent dessert ready to impress your family. The best part? It takes only about 20 minutes of preparation, with a chill time in the fridge making it even easier to manage your time!
Ingredients
- 1 package Oreo cookies
- 1/2 cup butter, melted
- 2 (8 oz) packages cream cheese, softened
- 1 cup powdered sugar
- 1 (8 oz) tub whipped topping
- Extra Oreos for topping (optional)
Step-by-Step Instructions
- Prepare the Crust: Start by crushing the Oreo cookies into fine crumbs. You can do this using a food processor or by placing them in a zip-top bag and crushing them with a rolling pin. Once crushed, combine the cookie crumbs with the melted butter in a mixing bowl and stir until well-combined.
- Form the Crust: Press the Oreo mixture firmly into the bottom of a 9-inch round springform pan. Use the back of a measuring cup or your hands to ensure it’s an even layer. Place the crust in the fridge to set while you prepare the filling.
- Mix the Filling: In a large bowl, blend the softened cream cheese using an electric mixer until smooth and creamy. Gradually add the powdered sugar, mixing until well incorporated. Gently fold in the whipped topping until there are no streaks.
- Assemble the Cheesecake: Pour the cream cheese mixture over the prepared crust, spreading it evenly. If you wish, crumble some extra Oreos on top for decoration.
- Chill: Cover the cheesecake with plastic wrap and let it chill in the refrigerator for at least 4 hours or overnight for best results.
- Serve: Once fully set, carefully remove the sides of the springform pan, slice, and enjoy your creamy creation!
Top Tips for Perfecting No Bake Oreo Cheesecake
- Use Room Temperature Cream Cheese: This will ensure a smoother filling. If you forget to set it out, microwave it for about 15 seconds to soften it slightly.
- Chill Time Is Key: Make sure to allow ample chill time after assembling. Overnight is best for achieving the perfect texture.
- Flavor Substitutions: If you desire a twist, try using gluten-free Oreos or adding flavored extracts, like vanilla or almond, to the filling for an extra kick!
Storing and Reheating Tips
This No Bake Oreo Cheesecake can be stored in the refrigerator for up to 5 days. It’s best to keep it covered with plastic wrap or in an airtight container to maintain its freshness. If you want to freeze it, wrap it tightly and place it in the freezer for up to a month. To reheat or serve, simply thaw it in the refrigerator overnight. Enjoy it chilled for that melt-in-your-mouth experience!

Indulge in this delightful No Bake Oreo Cheesecake, and let the flavors transport you to dessert heaven! Perfect for family gatherings or cozy evenings at home, this recipe is bound to become a cherished favorite. Happy baking!
No Bake Oreo Cheesecake
Ingredients
Method
- Crush the Oreo cookies into fine crumbs using a food processor or a zip-top bag with a rolling pin.
- Combine the cookie crumbs with melted butter in a mixing bowl and stir until well-combined.
- Press the Oreo mixture firmly into the bottom of a 9-inch round springform pan.
- Place the crust in the fridge to set while you prepare the filling.
- In a large bowl, blend the softened cream cheese using an electric mixer until smooth and creamy.
- Gradually add the powdered sugar, mixing until well incorporated.
- Gently fold in the whipped topping until there are no streaks.
- Pour the cream cheese mixture over the prepared crust, spreading it evenly.
- Crumble some extra Oreos on top for decoration, if desired.
- Cover the cheesecake with plastic wrap and let it chill in the refrigerator for at least 4 hours or overnight for best results.
- Once fully set, carefully remove the sides of the springform pan, slice, and enjoy.
Leave a Reply