
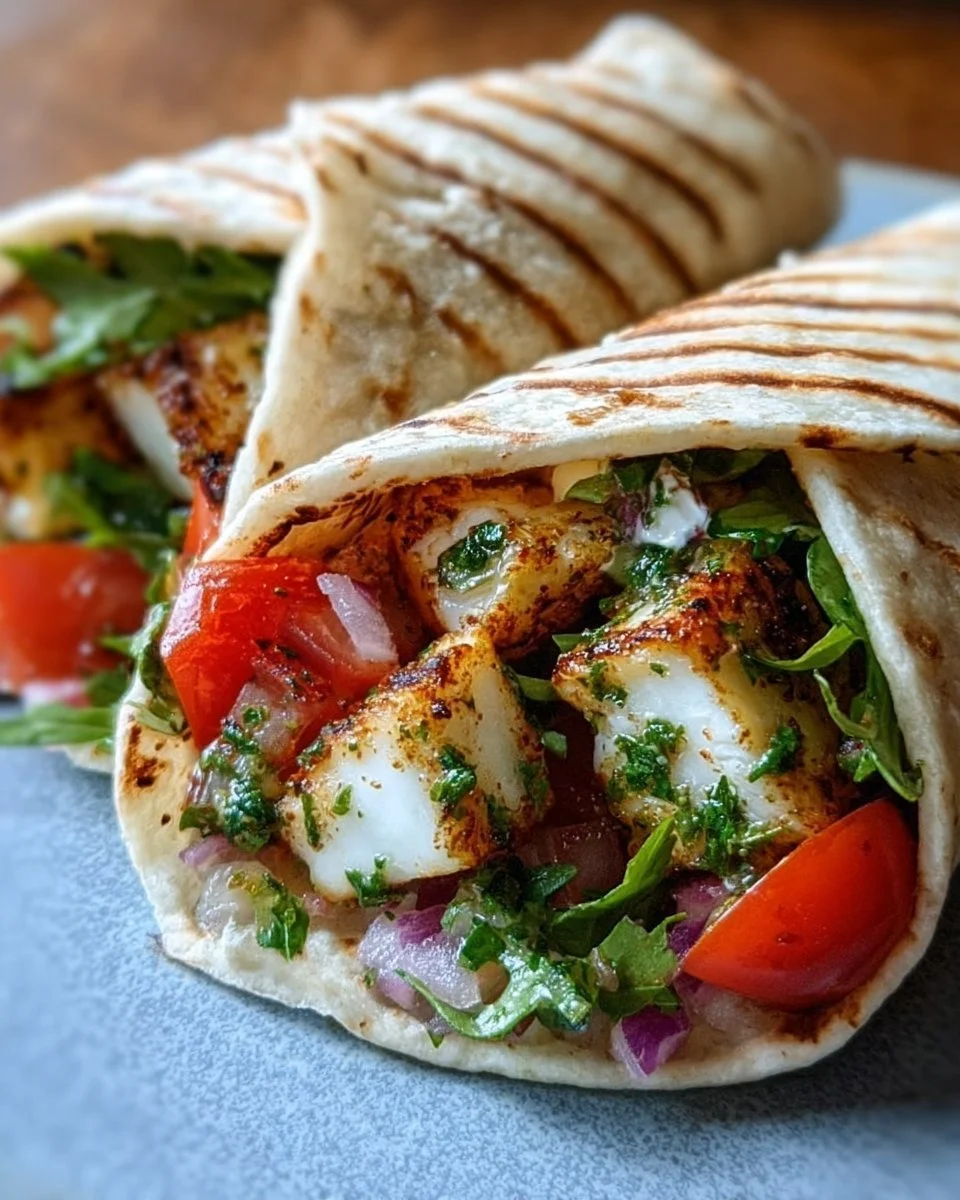
Ever craved a meal that is not only delicious but also brings joy to the table? Imagine sinking your teeth into a warm tortilla filled with crispy, golden halloumi, fresh vegetables, and zesty flavors. These Mediterranean Halloumi Wraps tick all the boxes for comfort food, and they’re perfect for family gatherings on chilly evenings. Fun fact: Halloumi is known as the “grilling cheese” due to its unique texture that holds its shape beautifully when cooked. You may even wonder if there’s anything you can’t wrap in a tortilla! If you’ve tried my popular Chickpea Salad Wraps, you’ll be just as enamored with this dish. So, let’s dive into this favorite!
What are Mediterranean Halloumi Wraps?
Mediterranean Halloumi Wraps are like a little party in your mouth! Have you ever thought about where the name “Halloumi” comes from? Some say it’s derived from the Arabic word for “milk,” while others believe it has roots in Cyprus history. Who knows? But one thing’s for sure: the way to a man’s heart is through his stomach, and these wraps do just that! Picture this: you’re on a sunny beach, and you just can’t help but snack on these delightful wraps with friends. If you’re as hungry as I am just thinking about it, grab your ingredients and let’s feast together!
Why You’ll Love These Mediterranean Halloumi Wraps
There are so many reasons to love Mediterranean Halloumi Wraps! First, they serve as a hearty main dish that suits any occasion, be it a cozy family gathering or a casual weeknight dinner. Secondly, cooking at home saves you money while allowing you to enjoy flavorful dishes made from wholesome ingredients without overspending. Lastly, let’s not forget the wide range of toppings you can play with! From fresh herbs to vibrant veggies, each bite bursts with flavors reminiscent of a warm Mediterranean evening. If you’ve ever drooled over gyros or falafel wraps, you’ll find this dish is an equally satisfying option that’s sure to impress. So, without further ado, let’s get cooking!
How to Make Mediterranean Halloumi Wraps
Quick Overview
You’ll find that making Mediterranean Halloumi Wraps is an absolute breeze! With a delightful mix of crispy halloumi and fresh veggies, this dish is perfect for satisfying your taste buds. Best of all, you can whip it up in under 30 minutes!
Ingredients
- 250 g Halloumi cheese
- 4 large tortilla wraps
- 200 g cherry tomatoes, halved
- 1 small cucumber, diced
- 1 small red onion, thinly sliced
- 2 tablespoons olive oil
- Juice of 1 lemon
- 1 teaspoon salt
- ½ teaspoon pepper
- Fresh herbs (e.g., parsley or mint) for garnish
Step-by-Step Instructions
- Prepare the Halloumi:
- Slice the halloumi into 1 cm thick pieces. Heat a non-stick pan over medium heat and drizzle a little olive oil.
- Add the halloumi slices and cook for about 2-3 minutes on each side until they turn golden brown and crispy.
- Mix the Veggies:
- While the halloumi is cooking, prepare the salad. In a mixing bowl, combine the halved cherry tomatoes, diced cucumber, and sliced red onion.
- Dress the Salad:
- Drizzle the olive oil, lemon juice, salt, and pepper over the veggies. Toss to combine well and let the flavors meld for a few minutes.
- Assemble the Wraps:
- Place a tortilla on a flat surface. Layer a few slices of the crispy halloumi, followed by the dressed vegetable mixture, and sprinkle with fresh herbs.
- Wrap it Up:
- Fold in the sides of the tortilla and then roll it up tightly from the bottom. Repeat for the remaining tortillas.
- Serve:
- Cut the wraps in half (optional), and serve them warm with extra lemon wedges on the side.
Top Tips for Perfecting Mediterranean Halloumi Wraps
- Substitutions: If you’re unable to find halloumi, consider using grilled paneer as a Halal-friendly alternative.
- Timing: To ensure the halloumi remains crispy, assemble the wraps just before serving.
- Common Mistakes: Avoid overcrowding the pan when cooking halloumi; it’s best to fry in batches for even cooking.
Storing and Reheating Tips
If you happen to have leftovers (which is rare!), you can store your Mediterranean Halloumi Wraps in an airtight container in the refrigerator for up to 2 days. When you’re ready to indulge again, simply reheat them in a pan over low heat to maintain the crispiness of the halloumi. Avoid the microwave, as it can make the wraps soggy. For longer storage, you can freeze the cooked halloumi separately and assemble fresh wraps when you’re ready!
FAQ
- Can I use other types of cheese for this recipe?
Yes! While halloumi is recommended for its texture, you can experiment with other cheeses such as fried paneer or even a firm feta. - What can I pair with these wraps?
Mediterranean Halloumi Wraps pair wonderfully with a side of crunchy vegetable sticks or a light yogurt dip. - Is this recipe vegetarian?
Absolutely! Mediterranean Halloumi Wraps are a perfect vegetarian option packed with flavors and nutrients. - Can I make this recipe gluten-free?
Certainly! Just switch out the regular tortilla wraps for gluten-free options available at your local grocery store.
Experience the joy of Mediterranean cuisine with these delightful Halloumi Wraps! Whether you’re serving them for a special gathering or a simple family meal, they are sure to become a new favorite. Happy cooking!

Mediterranean Halloumi Wraps
Ingredients
Method
- Slice the halloumi into 1 cm thick pieces. Heat a non-stick pan over medium heat and drizzle a little olive oil.
- Add the halloumi slices and cook for about 2-3 minutes on each side until they turn golden brown and crispy.
- While the halloumi is cooking, prepare the salad. In a mixing bowl, combine halved cherry tomatoes, diced cucumber, and sliced red onion.
- Drizzle the olive oil, lemon juice, salt, and pepper over the veggies. Toss to combine well and let the flavors meld for a few minutes.
- Place a tortilla on a flat surface. Layer a few slices of the crispy halloumi, followed by the dressed vegetable mixture, and sprinkle with fresh herbs.
- Fold in the sides of the tortilla and then roll it up tightly from the bottom. Repeat for the remaining tortillas.
- Cut the wraps in half (optional), and serve them warm with extra lemon wedges on the side.
Leave a Reply