
Fudge lovers, rejoice! If you’re searching for a treat that combines the creamy richness of sweet vanilla with the perfect melt-in-your-mouth texture, you’ve arrived at the right place. Homemade Vanilla Fudge is delightful, delicious, and surprisingly simple to make. This sweet indulgence reminds many of childhood gatherings filled with laughter, where fudge would sneakily disappear from the table before dinner was even served. Did you know that fudge has origins dating back to the late 19th century? It’s no surprise it has retained its charm through generations. If you’ve made my popular chocolate fudge before, trust me; this vanilla version will captivate your heart just as much—with its creamy finish and rich flavor. So, grab your ingredients, because we are about to embark on a sweet adventure that will leave your family begging for more!
What is Homemade Vanilla Fudge?
So, what exactly is Homemade Vanilla Fudge? Imagine a candy that combines the sweetness of sugar and the creaminess of butter, whipped together to create something magical. You might wonder, why is it called fudge anyway? Some say it’s just a playful twist on the words ‘fudged up,’ but honestly, it sounds much sweeter than that! Picture this: a cozy afternoon with family, everyone trying their hand at making the perfect square of fudge—the way to a man’s heart is through his stomach, after all! So come along and treat yourself and your loved ones to this creamy delight; your taste buds will thank you!
Why You’ll Love This Homemade Vanilla Fudge
Homemade Vanilla Fudge is the quintessential dessert that ticks all the boxes. Its rich, buttery flavor is perfect for satisfying that sweet tooth, while the creamy texture is a treat for your senses. Plus, making fudge at home is a fantastic way to save money compared to store-bought treats—who doesn’t love a budget-friendly delight? You can also customize it with flavorful toppings like chopped nuts, crushed candies, or sprinkles that can take this joy of candy to the next level! If you’ve indulged in my chewy chocolate brownies, this fudge will be a game-changer for you. Get excited to impress your guests with this easy-to-make sweet that is bound to steal the show!
How to Make Homemade Vanilla Fudge
Quick Overview
Let’s be honest—Homemade Vanilla Fudge is not only scrumptiously satisfying, but it’s also a breeze to whip up! You’ll be delighting in that velvety texture in just under an hour. This recipe is perfect for beginners, allowing you to channel your inner candy connoisseur with ease. So gather your ingredients and prepare to transform your kitchen into a sweet haven!
Ingredients for Homemade Vanilla Fudge
- 2 cups granulated sugar
- 1/2 cup unsalted butter
- 2/3 cup evaporated milk
- 2 cups powdered sugar
- 1 teaspoon vanilla extract
- 1/2 cup chopped nuts (optional)
Before you start, make sure to have everything measured out. This contributes to the ease of preparation and ensures you don’t miss any steps while making this creamy fudge!
Step-by-Step Instructions
- Prepare Your Pan: Start by greasing an 8-inch square baking dish or lining it with parchment paper for easier removal later.
- Combine Mix Ingredients: In a medium saucepan, combine the granulated sugar, unsalted butter, and evaporated milk.
- Heat: Place the saucepan over medium heat, stirring constantly until the mixture comes to a rolling boil.
- Cook: Allow it to boil for about 4-5 minutes, continuing to stir. Be sure to keep an eye on it to prevent burning!
- Add Powders: Remove from heat and stir in the powdered sugar and vanilla extract until the mixture is smooth and creamy.
- Optional Nuts: If you want to include chopped nuts, fold them in at this stage just until combined.
- Set the Fudge: Pour the fudge into the prepared baking dish and spread it evenly. Let it cool to room temperature before refrigerating for at least 2 hours until set.
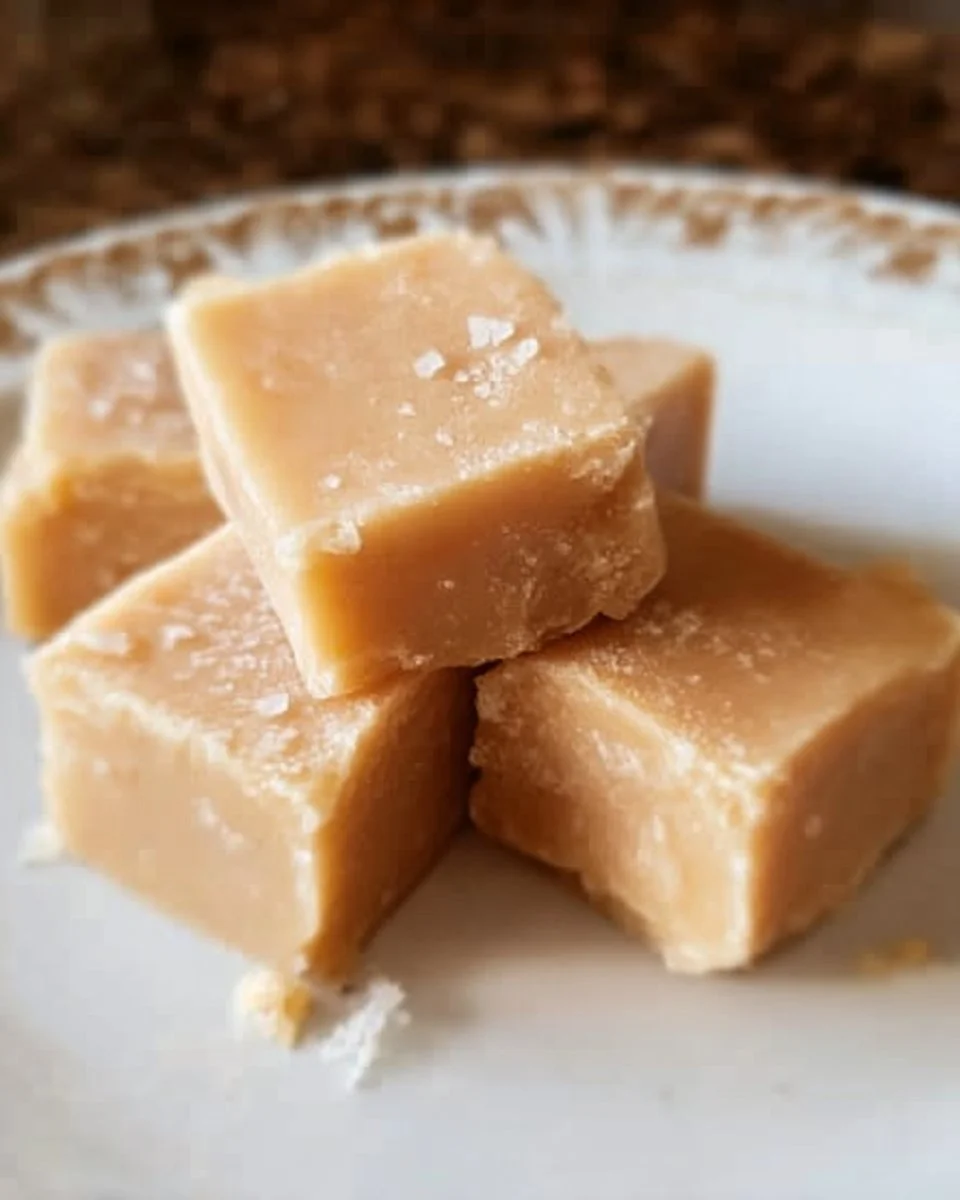
- Cut and Serve: Once the fudge is set, cut it into small squares and enjoy!
Top Tips for Perfecting Homemade Vanilla Fudge
- Substitutions: If you want a richer taste, try replacing unsalted butter with coconut oil for a unique twist. Just ensure any ingredient you use is Halal-compliant.
- Timing: When boiling, don’t rush. It’s essential for achieving the perfect texture, so give it that 4-5 minutes.
- Avoiding mistakes: If you notice your fudge isn’t setting, it could be due to undercooking. Just put it back in the pot, bring it to a boil again, and follow the previous steps.
Storing and Reheating Tips
Store your Homemade Vanilla Fudge in an airtight container at room temperature for up to 1 week. For longer storage, you can keep it in the fridge for up to 3 weeks or freeze it for up to 3 months. If your fudge comes out too hard after being refrigerated, just let it sit at room temperature for a few minutes before indulging and it will soften up beautifully!
FAQs about Homemade Vanilla Fudge
Q: Can I change the flavor of the fudge?
Absolutely! You can experiment with different extracts like almond or hazelnut to personalize your fudge experience.
Q: Is it possible to make this fudge without nuts?
Yes! You can skip the nuts or swap them for your favorite toppings, such as chocolate chips or caramel swirls.
So get in the kitchen and make some Homemade Vanilla Fudge today! Your family will be begging for seconds, and it’s the perfect way to show love through delicious homemade treats!

Homemade Vanilla Fudge
Ingredients
Method
- Grease an 8-inch square baking dish or line it with parchment paper.
- In a medium saucepan, combine the granulated sugar, unsalted butter, and evaporated milk.
- Place the saucepan over medium heat, stirring constantly until the mixture comes to a rolling boil.
- Allow it to boil for about 4-5 minutes, continuing to stir to prevent burning.
- Remove from heat and stir in the powdered sugar and vanilla extract until smooth.
- If using, fold in the chopped nuts just until combined.
- Pour the fudge into the prepared baking dish and spread it evenly.
- Let it cool to room temperature before refrigerating for at least 2 hours until set.
- Once set, cut the fudge into small squares and enjoy!
Leave a Reply