
Homemade Pop Tarts
There’s something universally nostalgic about Homemade Pop Tarts. Picture a flaky, golden crust enveloping sweet, fruity goodness that melts in your mouth. These delightful treats are perfect for family gatherings or cozy winter evenings, and they carry an undeniable charm that is hard to resist. Most of us have fond memories of eating the store-bought kind with the bright frosting and sprinkles, but why settle for imported happiness when you can create your own delectable version at home?
Not only are Homemade Pop Tarts a simple and delightful project, but they also provide a great way to bond with your family over baking. In my experience, the kitchen is often the heart of the home where creativity flourishes. With this recipe, you can achieve a crispy, sweet snack that will remind you of carefree days while enjoying the deliciousness at its freshest. If you enjoyed my previous recipe for homemade cookies, you’ll find that whipping up these Homemade Pop Tarts is equally satisfying!
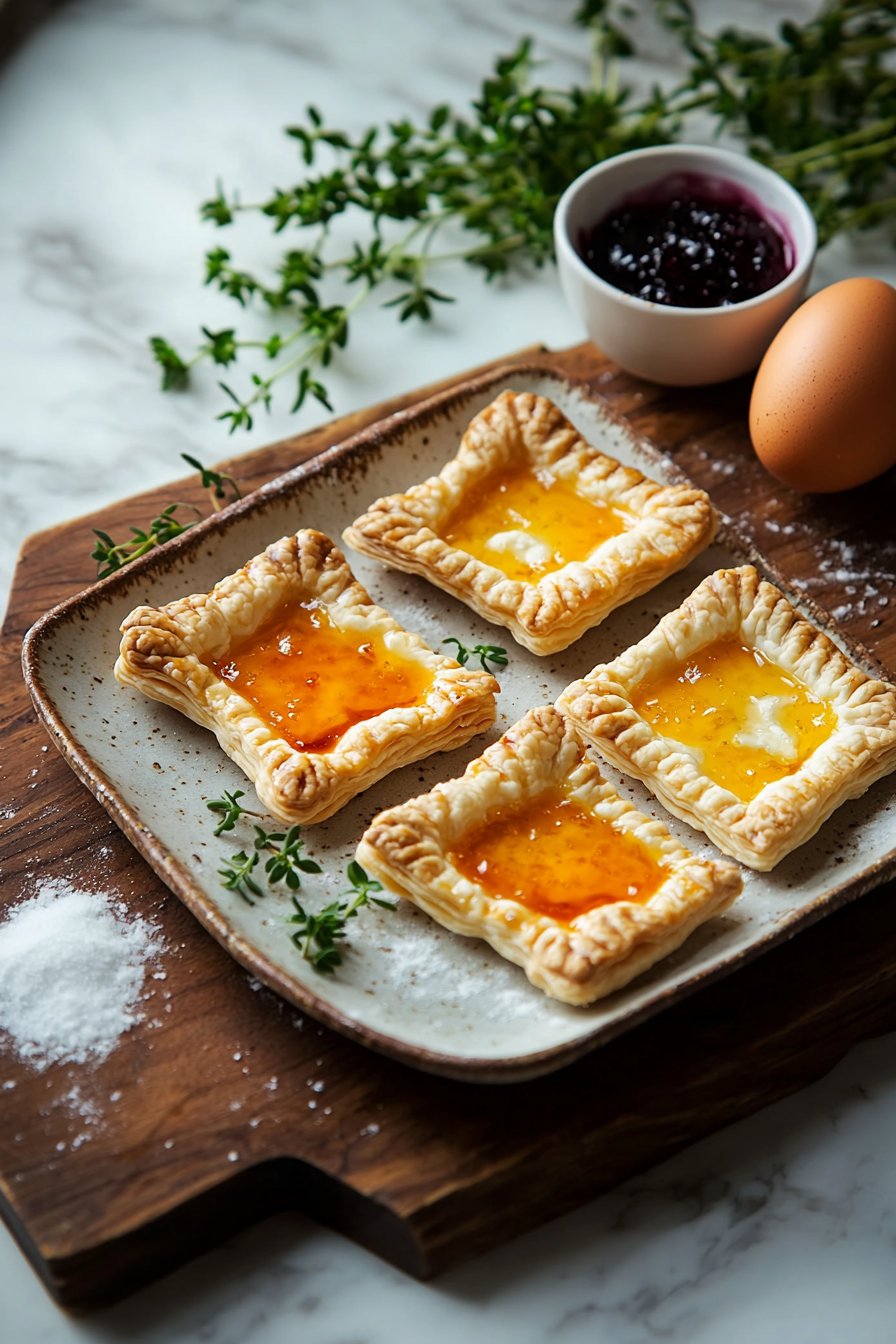
What is Homemade Pop Tarts?
So, what’s the deal with the name “Pop Tarts”? It makes you wonder, doesn’t it? Are they meant to “pop” in your mouth, or do they just have a fun name to keep things interesting? Whatever the origin, the way to a man’s heart is through his stomach, and these sweet pastries are sure to win over anyone who tries them! Picture this: a sunlit kitchen filled with laughter, as you cut out dough and fill it with that irresistible jam. It’s a scene you’ll want to recreate time and again. So buckle up; you’re in for a fun baking adventure that will truly elevate your snacking game!
Why You’ll Love This Homemade Pop Tarts
Homemade Pop Tarts aren’t just tasty; they’re an experience! First off, the main highlight of this dish is undoubtedly the flaky texture paired with your favorite fruit jam. Imagine biting into a warm pop tart, where the crunch gives way to the gooey sweetness inside—pure bliss!
Making these treats at home is also a brilliant cost-saver compared to store-bought options. You can whip up a batch for a fraction of the price, and they are customizable to suit any palate. Plus, when topped with a simple icing made from confectioners’ sugar and milk, you can personalize the sweetness level, giving you control over every delightful bite. Want something similar? Consider how homemade doughnuts bring joy to breakfast, but these pop tarts have the added benefit of being both portable and perfect for any time of day. Ready to embark on this delicious journey? Let’s start the baking!
How to Make Homemade Pop Tarts
Quick Overview
Homemade Pop Tarts are as easy to create as they are satisfying to eat! The process involves crafting a flaky pastry that’s superbly buttery and then filling it with a luscious jam of your choice. The combination of textures—the light crunch of the crust followed by the smooth fruit filling—is simply divine. This recipe takes only about 20 minutes of active preparation time, plus minimal chilling time for the dough, making it a breeze for bakers of all levels!
Ingredients
- 1 cup all-purpose flour
- 1/4 cup granulated sugar
- 1/2 teaspoon salt
- 1/2 cup unsalted butter, chilled and cubed
- 1/4 cup cold water
- 1/2 cup fruit jam or preserves (e.g., strawberry, raspberry, or apricot)
- 1 egg (for egg wash)
- Confectioners’ sugar (for icing)
- Milk (for icing, optional)
Step-by-Step Instructions
- Prepare the Dough: In a mixing bowl, whisk together the flour, sugar, and salt until combined. Add the chilled butter cubes and use a pastry cutter or fork to mix until the mixture resembles coarse crumbs.
- Add Water: Gradually add cold water, one tablespoon at a time, mixing until the dough comes together.
- Chill the Dough: Shape the dough into a ball, flatten into a disk, wrap it in plastic wrap, and refrigerate for at least 30 minutes.
- Roll the Dough: On a floured surface, roll out the dough to about 1/8 inch thick. Cut into rectangular shapes, approximately 3×4 inches, placing them on a baking sheet lined with parchment paper.
- Fill with Jam: Place a tablespoon of fruit jam in the center of half of the rectangles.
- Seal the Pop Tarts: Brush the edges of the jam-covered rectangles with an egg wash (beaten egg) and place another rectangle on top. Press the edges with a fork to seal.
- Prepare for Baking: Make a few slits in the tops of the pop tarts to allow steam to escape. Brush with more egg wash.
- Bake: Preheat the oven to 350°F (175°C) and bake for 20-25 minutes or until golden brown.
- Prepare Icing: Once cooled, combine confectioners’ sugar with milk to reach desired icing consistency, and drizzle over the pop tarts.
- Serve and Enjoy! Allow the icing to set before indulging in your sweet creations!
Top Tips for Perfecting Homemade Pop Tarts
- Dough Variations: You can substitute half of the all-purpose flour with whole wheat flour for a heartier version or use coconut oil instead of butter for a dairy-free option.
- Jam Choices: Experiment with different flavors; try using Nutella, pumpkin puree, or even savory options like hummus to create unique twists.
- Avoid Overworking: Be gentle with the dough; over-rolling can make it tough instead of tender and flaky.
- Keep it Cold: If the dough warms up too much, refrigerate for a bit longer to ensure a flaky texture during baking.
Storing and Reheating Tips
Homemade Pop Tarts can last up to a week when stored in an airtight container at room temperature. For extended freshness, you can freeze them for up to a month. When ready to enjoy, simply pop them in the toaster or oven to warm them up. This way, you’ll maintain that delightful crispiness that is the hallmark of a great pop tart.
Now that you’re equipped with everything you need to make these delightful Homemade Pop Tarts, why not gather your loved ones and get started? The kitchen awaits!
Homemade Pop Tarts
Ingredients
Method
- In a mixing bowl, whisk together the flour, sugar, and salt until combined.
- Add the chilled butter cubes and use a pastry cutter or fork to mix until the mixture resembles coarse crumbs.
- Gradually add cold water, one tablespoon at a time, mixing until the dough comes together.
- Shape the dough into a ball, flatten into a disk, wrap it in plastic wrap, and refrigerate for at least 30 minutes.
- On a floured surface, roll out the dough to about 1/8 inch thick.
- Cut into rectangular shapes, approximately 3x4 inches, and place them on a baking sheet lined with parchment paper.
- Place a tablespoon of fruit jam in the center of half of the rectangles.
- Brush the edges of the jam-covered rectangles with an egg wash and place another rectangle on top.
- Press the edges with a fork to seal.
- Make a few slits in the tops of the pop tarts to allow steam to escape.
- Brush with more egg wash.
- Preheat the oven to 350°F (175°C) and bake for 20-25 minutes or until golden brown.
- Once cooled, combine confectioners' sugar with milk to reach the desired icing consistency, and drizzle over the pop tarts.
- Allow the icing to set before indulging in your sweet creations.
Leave a Reply