
There’s something incredibly delightful about Homemade No Bake Granola Bars. These bars are not only chewy and satisfying, but they also make the perfect snack for any time of day! Made with wholesome ingredients, they can be customized to include your favorite nuts, seeds, or dried fruits. Did you know that granola bars oriated in the 1960s as a health food? Back then, they were celebrated for their nutritious components and ability to fuel athletes and busy families alike.
What makes these no-bake granola bars so special is their simplicity and the fact that they can be whipped up in just a few minutes. They are a hit with both kids and adults, making them an ideal choice for after-school snacks or on-the-go meals. Plus, you can control the sweetness and flavors, ensuring a family-friendly treat without any hidden additives or preservatives. If you love these bars, you might also enjoy my recipe for protein-packed energy bites! I encourage you to try making these Homemade No Bake Granola Bars; I promise you won’t be disappointed!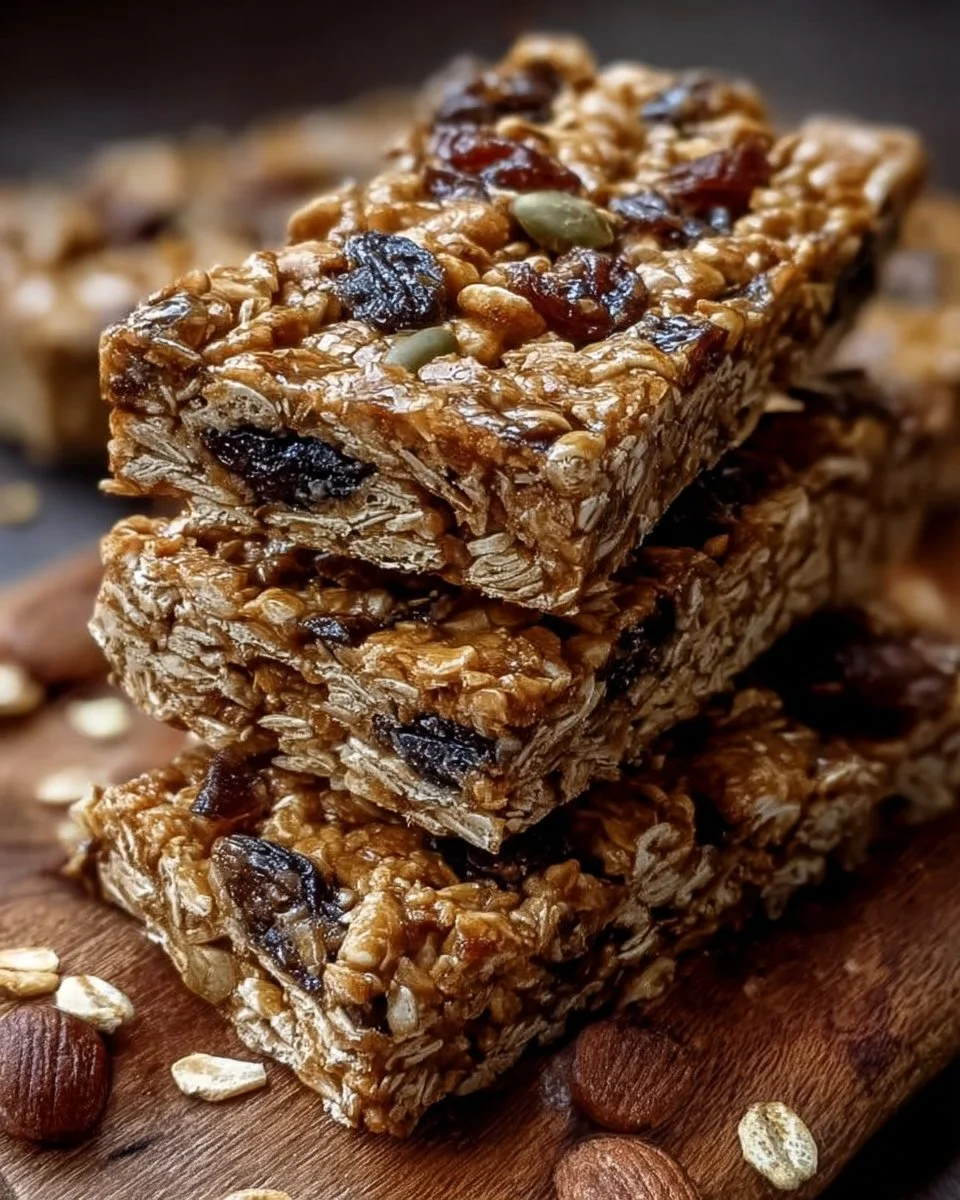
What are Homemade No Bake Granola Bars?
Homemade No Bake Granola Bars! Doesn’t that just roll off the tongue? You might find yourself pondering, “What’s in a name?” Well, here’s a fun little nugget: these bars are called “no bake” because they require no oven—just a little mixing and chilling! It’s almost as if they’re saying, “Let’s skip the heat and get straight to deliciousness!”
And just like that saying, “the way to a man’s heart is through his stomach,” these bars are bound to win over even the pickiest eaters! They are fantastic for busy mornings or satisfying cravings in the afternoon. Why not give this simple yet rewarding recipe a try?
Why You’ll Love Homemade No Bake Granola Bars
There are so many reasons to love Homemade No Bake Granola Bars! First off, the crunchy yet chewy texture is simply irresistible. You can pack them with oats, nuts, and dried fruits effortlessly. The second reason is budget-friendly; making these bars at home means you’ll save money compared to store-bought versions, which often come with hidden costs and additives. Lastly, the customization options are limitless! Throw in your favorite toppings—be it honey, chocolate chips, or a hint of vanilla—to create something truly special.
If you enjoy these, you might also want to check out my recipe for nutty trail mix snacks. Both recipes are simple and perfect for those on-the-go moments! So, roll up your sleeves and get ready to make a delightful batch of Homemade No Bake Granola Bars!
How to Make Homemade No Bake Granola Bars
Quick Overview
What makes these bars so easy? Well, it’s all in the name! With no baking involved, you can mix your ingredients, press them into a pan, and chill them. In less than 30 minutes, you’ll have yourself a delicious snack that’s packed with nutrition. Ideal for kids’ lunchboxes, road trips, or a quick breakfast, these Homemade No Bake Granola Bars are sure to satisfy your cravings!
Key Ingredients for Homemade No Bake Granola Bars
To whip up a delicious batch of Homemade No Bake Granola Bars, you’ll need the following ingredients:
- 2 cups oats (rolled or quick)
- 1 cup nut butter (peanut butter or almond butter)
- ½ cup honey or maple syrup
- 1 cup nuts or seeds (chopped almonds, walnuts, or sunflower seeds)
- ½ cup dried fruits (raisins, cranberries, or apricots)
- A pinch of salt
- Optional: chocolate chips or coconut flakes for extra flavor
Step-by-Step Instructions
- Prepare Your Dish: Line a 9×9-inch baking pan with parchment paper to make the removal of bars easier later on.
- Mix Dry Ingredients: In a large mixing bowl, combine the oats, nuts, and dried fruits. Stir them together to ensure an even distribution.
- Heat the Nut Butter and Sweetener: In a small saucepan over low heat, gently warm the nut butter and honey/maple syrup until smooth. Stir continuously until well combined, then remove from heat.
- Combine: Pour the warm nut butter mixture over the dry ingredients and mix well. Make sure everything is evenly coated.
- Press Mixture into Pan: Transfer the mixture to the prepared baking pan. Use a spatula or your hands to firmly press down the mixture so it holds together.
- Chill: Place the pan in the refrigerator for at least 1 hour to allow the bars to set.
- Cut and Enjoy: Once chilled and firm, lift the bars out of the pan and cut them into squares or rectangles. Enjoy your homemade treats immediately or store them for later!
Top Tips for Perfecting Homemade No Bake Granola Bars
To make your granola bars truly special, keep these tips in mind:
- Ingredient Substitutions: Don’t have nut butter? Try using sunflower seed butter for a nut-free option. If honey isn’t available, maple syrup works just as well for sweetness.
- Timing: Make sure to chill the bars long enough until firm. This will help them hold their shape when you cut them.
- Preventing Cbly Bars: If your bars are not sticking together, add a bit more nut butter or sweetener and gently mix it back in.
Storing and Reheating Tips
To keep your Homemade No Bake Granola Bars fresh, store them in an airtight container in the refrigerator. They will stay good for up to two weeks—if they last that long! To enjoy them after they’re chilled, simply take them out of the fridge and let them sit for a few minutes before serving. No reheating necessary, just a delightful snack ready to go!
In summary, Homemade No Bake Granola Bars are easy to make, delicious to eat, and delightful for the entire family. Enjoy creating your own version, and don’t forget to share your results with loved ones. Happy snacking!
Homemade No Bake Granola Bars
Ingredients
Method
- Line a 9x9-inch baking pan with parchment paper to make removal easier later on.
- In a large mixing bowl, combine the oats, nuts, and dried fruits. Stir them together to ensure even distribution.
- In a small saucepan over low heat, gently warm the nut butter and honey/maple syrup until smooth, stirring continuously.
- Pour the warm nut butter mixture over the dry ingredients and mix well to ensure everything is evenly coated.
- Transfer the mixture to the prepared baking pan, pressing it firmly down with a spatula or your hands.
- Chill the pan in the refrigerator for at least 1 hour to allow the bars to set.
- Once chilled and firm, lift the bars out of the pan and cut them into squares or rectangles.
Leave a Reply