
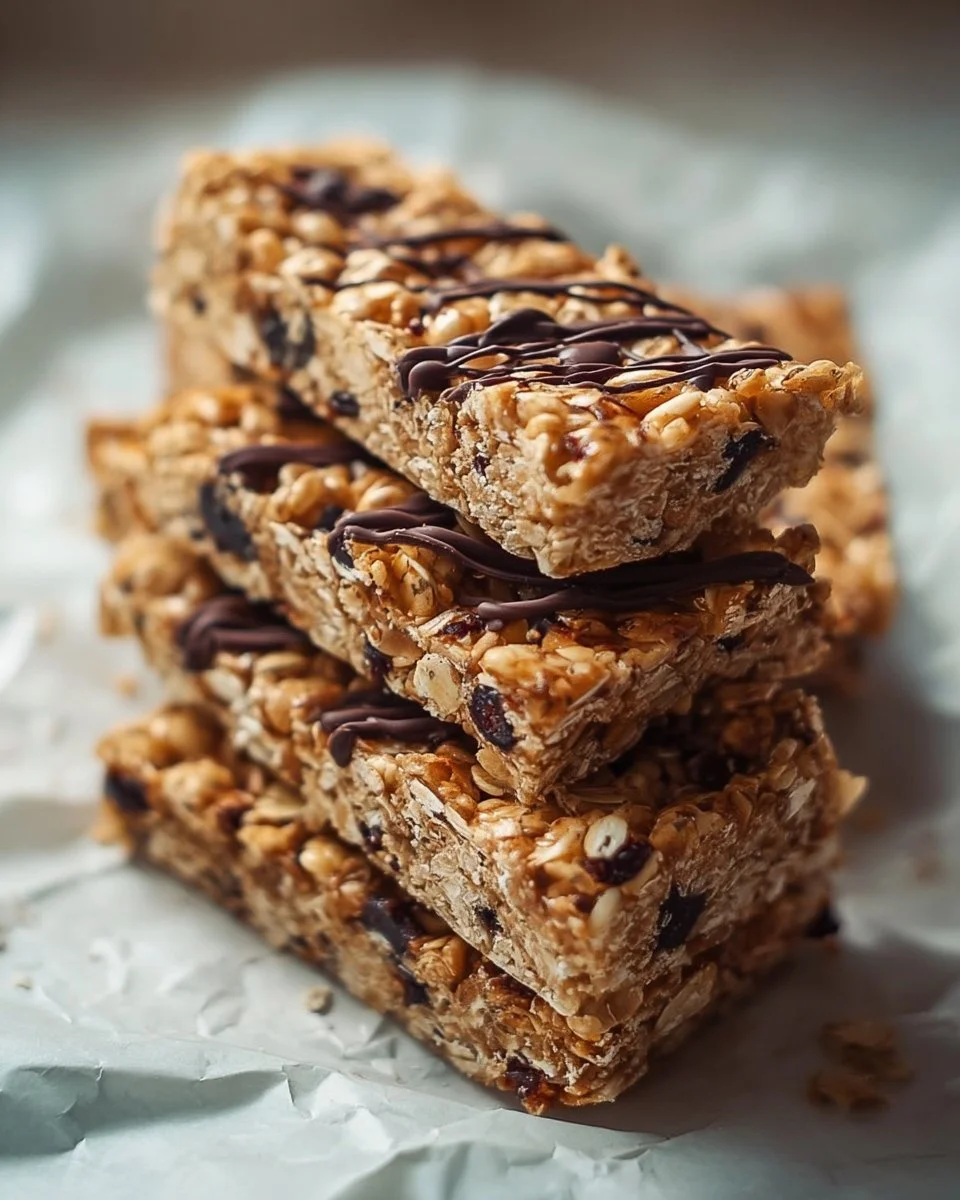
If you’re on the hunt for a satisfying snack that hits that perfect balance between chewy and crunchy, look no further than homemade granola bars. These delightful treats are not just a wholesome option; they’re also incredibly versatile and can be customized to suit everyone’s tastes. Imagine a bar that’s both hearty and sweet, with hints of nutty flavors and the perfect touch of honey. One fun fact? Making your own granola bars allows you to control the ingredients, ensuring that they’re family-friendly and healthy. Unlike store-bought versions that can often be loaded with sugars and artificial flavorings, these homemade granola bars can be your guilt-free go-to snack!
But, why is this recipe special? Well, you can whip them up in no time, making them ideal for busy weekday mornings or cozy family gatherings. Just like my popular energy balls recipe, these bars offer a satisfying bite that will keep your energy up without any of the guilt. Let’s get ready to explore the crunchiness of these homemade granola bars!
 What are Homemade Granola Bars?
So, what exactly are we talking about when we say “granola bars”? Aren’t they just glorified cereal? Picture this: a blend of oats, nuts, and sweeteners baked to crispy perfection. You might be asking yourself, who named them “granola bars”? I mean, it sounds fancy, right? Perhaps it’s because “granola” has that wholesome and rustic vibe, like something you’d enjoy during a cozy family gathering while laughing and sharing stories. You know the saying: “the way to a man’s heart is through his stomach,” so why not whip up some of these delicious bars to win over that special someone in your life? Trust me; they’ll love you for it!
So, let’s dive into this delicious, easy, and satisfying recipe that everyone in the family will adore!
Why You’ll Love These Homemade Granola Bars
What’s not to love about homemade granola bars? First and foremost, they are a fantastic main dish highlight for snacking. Whenever hunger strikes, these bars provide a quick and delicious fix without resorting to unhealthy options. On top of that, making them at home is a wonderful way to save some cash. You get to control the ingredients and avoid the costly price tags of pre-packaged snacks.
Let’s not forget about the toppings! You can mix and match chocolate chips, dried fruits, nuts, and seeds to create your own signature flavor. They’re just as delightful as your average cookie but packed with wholesome goodness. So why not grab your apron and let’s get started on something delectable?
How to Make Homemade Granola Bars
Making homemade granola bars is easy, satisfying, and perfect for beginners. With a preparation time of just about 15 minutes, plus baking and cooling time, you’ll have these flavor-packed snacks ready in no time. You’ll revel in the sensation of biting into a chewy, nutty bar that’s bursting with flavor. Let’s get those taste buds tingling!
Key Ingredients for Homemade Granola Bars
Here’s what you’ll need to embark on this delicious journey:
- 2 cups rolled oats
- 1 cup nuts (almonds, walnuts, or pecans – chopped)
- ½ cup honey or maple syrup
- ½ cup nut butter (like almond or cashew butter)
- ½ cup dried fruits (raisins, cranberries, or apricots – chopped)
- ¼ teaspoon salt
- ½ teaspoon vanilla extract
- Optional: ¼ cup dark chocolate chips or seeds (like pumpkin or sunflower seeds)
Make sure all of your ingredients are Halal-compliant, and feel free to play around with additional mix-ins for a unique flavor twist!
Step-by-Step Instructions
- Preheat Your Oven: Start by preheating your oven to 350°F (175°C). This ensures that your granola bars bake evenly and don’t end up too gooey.
- Prepare Your Pan: Line an 8×8 inch baking dish with parchment paper, leaving some overhang to make it easier to lift out the bars later.
- Combine the Dry Ingredients: In a large mixing bowl, combine the rolled oats, chopped nuts, and salt. Stir evenly until well mixed.
- Mix Wet Ingredients: In a separate bowl, combine the nut butter, honey/maple syrup, and vanilla extract. Microwaving for a few seconds can help to soften the nut butter if it’s too thick.
- Combine Everything: Pour the wet mixture into the dry ingredients and mix until everything is evenly coated. Add in your dried fruits and any optional mix-ins like chocolate chips.
- Press into Pan: Transfer the mixture into the prepared baking dish, pressing down firmly with a spatula or your hands to create an even layer.
- Bake: Bake in the oven for 20-25 minutes or until golden brown. Watch closely to prevent burning!
- Cool and Cut: Let the granola bars cool completely in the pan before lifting them out. Once cooled, slice them into bars or squares.
Top Tips for Perfecting Homemade Granola Bars
- Substitutions: Feel free to swap nuts or dried fruits based on your preferences. Almonds could easily be replaced with cashews, while cranberries can be traded for raisins.
- Timing is Key: Don’t skip the cooling time, as this step helps the bars set up nicely. If they’re too warm when cut, they may crumble.
- Preventing Sticking: If your mixture seems too sticky to press down, try adding a bit more oats or nut butter to balance it out.
- Experiment: These homemade granola bars are a blank slate! Don’t hesitate to get creative with various nut butters or add-ins for exciting variations!
Storing and Reheating Tips
To keep your homemade granola bars fresh, store them in an airtight container at room temperature for up to one week. If you want to save some for later, they freeze beautifully! Just wrap them in plastic wrap or foil and place them in an airtight container. They’ll last up to three months in the freezer.
When you’re ready to enjoy, there’s no need to reheat unless you prefer them warm – just unwrap and snack away! You won’t believe how easily you’ll fall in love with these homemade delights!
Now that you’re armed with everything you need, why not gather your loved ones together and create these delicious homemade granola bars? Enjoy the process, share the love, and of course, savor every delightful bite!
Homemade Granola Bars
Ingredients
Method
- Preheat your oven to 350°F (175°C).
- Line an 8x8 inch baking dish with parchment paper.
- In a large mixing bowl, combine the rolled oats, chopped nuts, and salt.
- In a separate bowl, mix the nut butter, honey/maple syrup, and vanilla extract.
- Combine the wet mixture into the dry ingredients and add dried fruits and any optional mix-ins.
- Transfer the mixture into the baking dish and press down firmly.
- Bake for 20-25 minutes or until golden brown.
- Cool completely before lifting out and slicing into bars.
Leave a Reply