
Homemade Coffee Ice Cream
If you’re seeking a delightful way to indulge your senses while spending quality time with loved ones, there’s nothing quite like Homemade Coffee Ice Cream. Picture this: the creamy texture melting perfectly in your mouth, with rich and aromatic coffee notes that dance alongside hints of sweetness. This isn’t just dessert; it’s an experience. In fact, some say that the way to a man’s heart is through his stomach, and if there’s any sweet that can win hearts, it’s this one!
Did you know that making ice cream at home can be just as easy as stirring a bowl of instant pudding? I promise, it’s simpler than it seems! If you’ve browsed similar recipes around the blogosphere, you might have noticed how they often overcomplicate the process. However, Homemade Coffee Ice Cream shines through with its simplicity and satisfaction. Gather around the family, because this is everyone’s favorite!

What is Homemade Coffee Ice Cream?
Wondering what makes Homemade Coffee Ice Cream so special? It’s coffee, but creamy and cold – a combination that might have an awfully amusing origin. Who came up with this glorious idea? Was it a caffeine fanatic with a penchant for desserts who decided to dump coffee into frozen cream? We may never know, but rest assured, it brings joy to many!
There’s something wonderful about sharing a homemade treat with friends and family, and this ice cream fits the bill beautifully. It’s perfect for those chilly winter evenings but works just as well during a summer backyard barbecue. Anyone would agree that the way to a man’s heart is through his stomach, but let’s not forget: desserts help win over everyone else too! Ready to create your own icy masterpiece? Let’s dive in!
Why You’ll Love This Homemade Coffee Ice Cream
In just a few easy steps, you can serve up a delightful Homemade Coffee Ice Cream that’s not just a treat but a conversation starter. The creamy indulgence, enriched with the bold flavor of coffee, makes it stand out amongst your regular ice cream choices. Plus, when you whip this up at home, you save so much more than just money—it’s the epitome of love poured into a bowl.
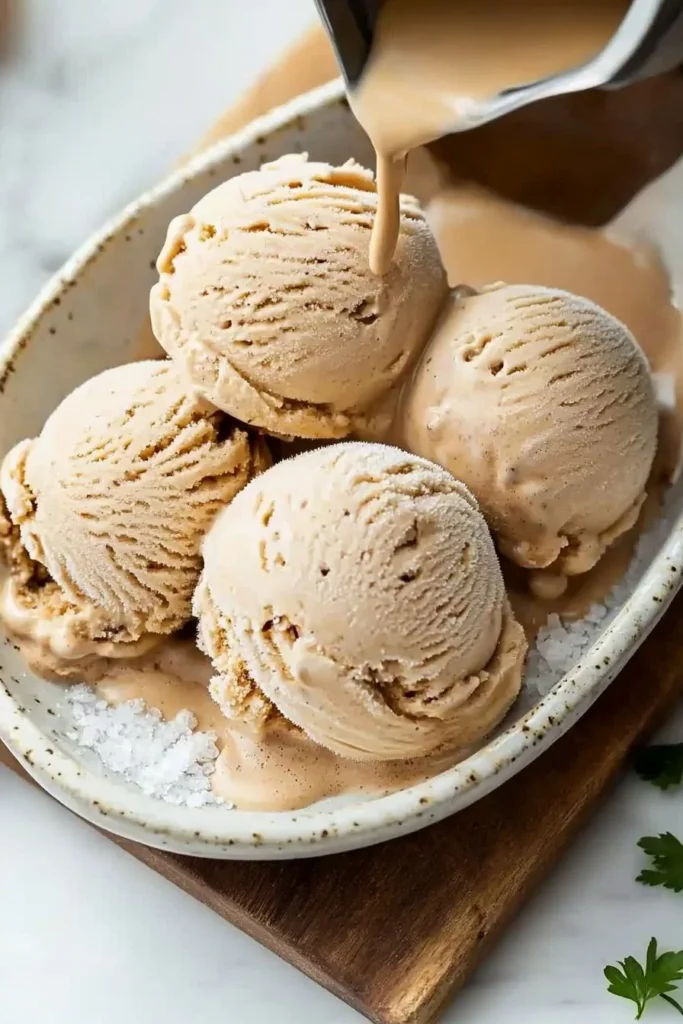
Imagine scooping out generous servings of this rich ice cream topped with a sprinkle of cocoa or a drizzle of chocolate syrup. And if you’re feeling adventurous, chopped nuts or caramel sauce could elevate this dessert to smoky heights! You might find yourself remembering a classic dessert, like coffee-flavored cake, but this one will undoubtedly leave you craving for more. So, gear up and get ready to impress your family this weekend with your homemade treat!
How to Make Homemade Coffee Ice Cream
Quick Overview
Making Homemade Coffee Ice Cream is a straightforward process that’s satisfying for even the most novice of cooks. With a dreamy creamy texture and a positively delightful flavor, you’ll have this whipped up in no time. Preparation takes about 15 minutes, and while there’s a bit of chilling involved, the simple ingredients make it a breeze.
Ingredients
- 2 cups heavy cream
- 1 cup whole milk
- 3/4 cup granulated sugar
- 2 tablespoons instant coffee or espresso powder
- 1 teaspoon vanilla extract
- A pinch of salt
Step-by-Step Instructions
- Mix the Base: In a large bowl, combine the heavy cream, whole milk, sugar, coffee or espresso powder, vanilla extract, and salt. Blend well using a whisk until the sugar and coffee powder dissolve completely. This will ensure a smooth ice cream texture.
- Chill the Mixture: Let the combined mixture cool in the refrigerator for at least 2 hours. If you have more time, letting it sit overnight will deepen the flavor!
- Churn the Ice Cream: Pour the chilled mixture into your ice cream maker. Follow the manufacturer’s instructions: usually, this takes about 20 to 30 minutes of churning until it reaches a thick, soft-serve-like consistency.
- Freeze: Transfer the churned ice cream into an airtight container and freeze for at least 4 hours, or until firm. This is the hard part – waiting!
- Scoop and Serve: Once the ice cream is set, scoop it out into bowls or cones. Consider garnishing with your favorite toppings for an extra special touch.
Top Tips for Perfecting Homemade Coffee Ice Cream
- Ingredient Quality: Choose high-quality coffee or espresso powder for the best flavor infusion. Some enjoy an additional splash of flavored syrups that are halal-compliant for a creative twist!
- Storage: Store your ice cream in an airtight container to minimize ice crystals forming. Always allow it to thaw for a few minutes before serving for easier scooping.
- Experiment with Flavor: Feeling adventurous? Add some chocolate chips or cookie crumbles during the last few minutes of churning. This could make your Homemade Coffee Ice Cream even more indulgent!
- Common Mistakes: Avoid over-churning the mixture; this can introduce too much air and disrupt the silky texture you’re aiming for.
- Homemade Sweeteners: Instead of sugar, consider halal-friendly alternative sweeteners to reduce refined sugar intake if you’re looking for a healthier option.
Storing and Reheating Tips
The magic of Homemade Coffee Ice Cream lies in its ability to be stored for later enjoyment. When properly stored in an airtight container, it can last in the freezer for about 2-3 weeks—all while maintaining its delightful flavor and creamy texture. For those who want a quick treat, take it out for a few minutes to soften slightly before indulging.
Should you find yourself with ice cream that’s become too hard, a quick zap in the microwave for 10 to 15 seconds will help restore that perfect scoopable consistency—just be careful not to melt it!
In conclusion, making Homemade Coffee Ice Cream is not just about dessert; it’s about making memories and creating moments that last. So, gather your ingredients, invite your family, and step into the kitchen to whip up this creamy delight. You won’t regret it!
Homemade Coffee Ice Cream
Ingredients
Method
- In a large bowl, combine the heavy cream, whole milk, sugar, coffee or espresso powder, vanilla extract, and salt. Blend well using a whisk until the sugar and coffee powder dissolve completely.
- Let the combined mixture cool in the refrigerator for at least 2 hours, or overnight for a deeper flavor.
- Pour the chilled mixture into your ice cream maker and churn for about 20 to 30 minutes until it reaches a thick, soft-serve-like consistency.
- Transfer the churned ice cream into an airtight container and freeze for at least 4 hours, or until firm.
- Scoop the ice cream into bowls or cones and consider garnishing with toppings like cocoa, chocolate syrup, chopped nuts, or caramel sauce.
Leave a Reply