
Homemade Cherry Pie Filling
Picture this: a luscious, vibrant cherry pie cooling on the kitchen counter, its rich and fruity aroma wafting through the air, inviting everyone to take a slice. Homemade Cherry Pie Filling is a treasure that not only tantalizes your taste buds but also warms your heart. It’s like a comforting hug on a chilly evening, as each bite bursts with sweet and tart flavors, complemented by a smooth, velvety texture.
I remember the first time I made cherry pie filling with my grandmother. We spent an entire afternoon pitting cherries while laughing and sharing stories, turning an ordinary activity into a memorable family gathering. This filling is special because it’s incredibly simple to make, requiring just a few ingredients, yet it brings a flair that rivals any store-bought filling. If you love the unity of flavors in pies, you might appreciate my popular Pumpkin Pie Filling recipe, known for its rich, cozy taste. Let’s dive into this delightful recipe that will surely become a staple in your baking repertoire.
What is Homemade Cherry Pie Filling?
So, what exactly is Homemade Cherry Pie Filling? It’s basically your ticket to dessert heaven, packed with juicy cherries, sugar, and a touch of magic! You might wonder why it’s so popular. Did you know that the expression “the way to a man’s heart is through his stomach” has some truth to it? Every time I whip up a batch of this filling, I’m reminded of the joy it brings to family gatherings—from classic pies to topping scoops of vanilla ice cream. Why not treat your loved ones? If you’ve never made cherry pie filling before, you’re in for a delightful surprise.
Why You’ll Love This Homemade Cherry Pie Filling
First, let’s talk about the star of the show: the cherry filling itself. Bursting with flavor, it’s the perfect balance of sweet and tart, creating a beautiful melody on your palate. Second, making this filling at home is a cost-effective alternative to splurging on premade options. You can enjoy fresh, organic cherries without breaking the bank, keeping your budget happy—a win-win! Finally, the versatility of this cherry filling is incredible. Slather it on thick layers of fluffy pancakes or swirl it into Greek yogurt for a divine breakfast treat. Compared to other fruity fillings, this cherry concoction stands tall with its delightful depth of flavor. Ready to create something magic in the kitchen? Let’s get started!
How to Make Homemade Cherry Pie Filling
Quick Overview
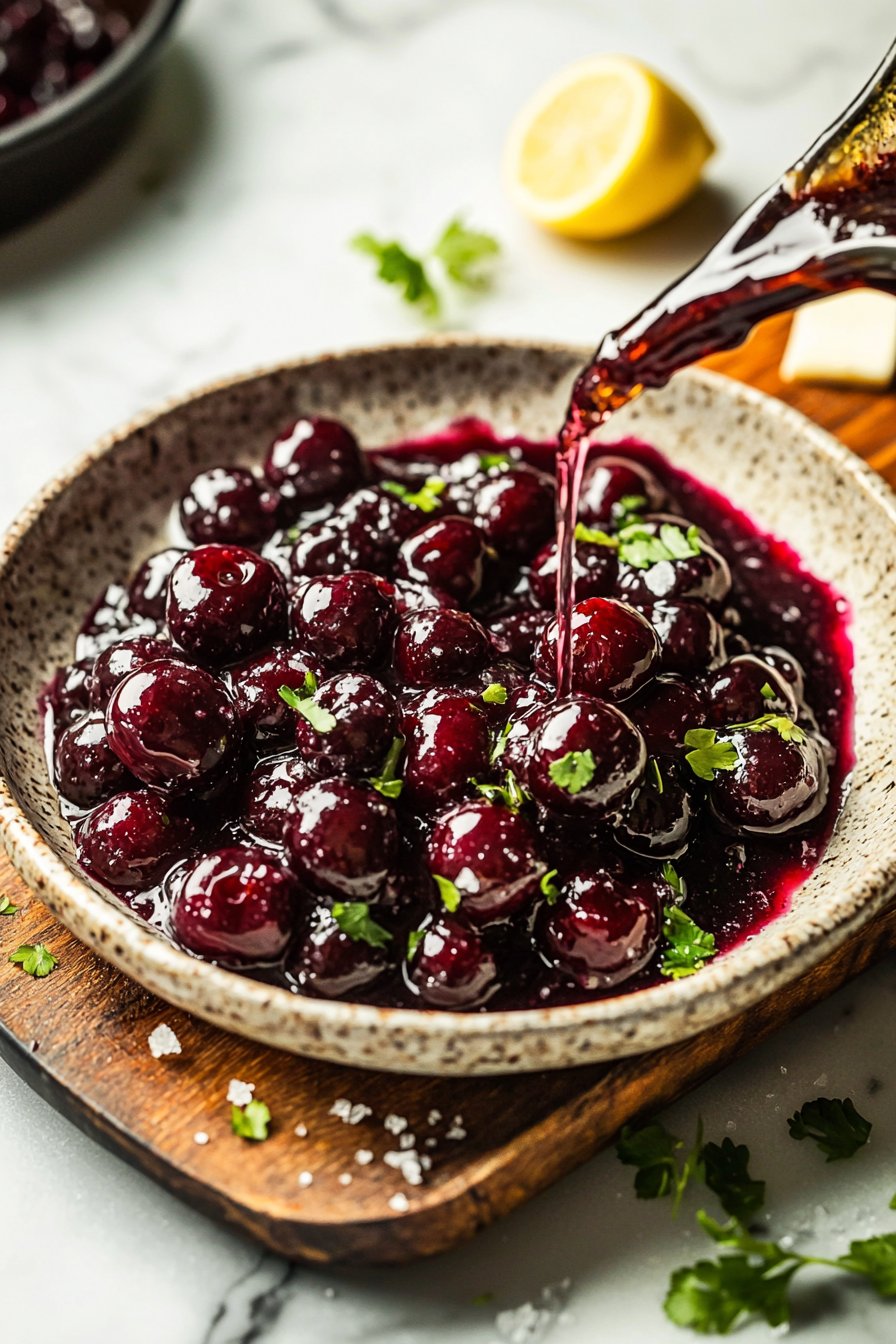
Homemade Cherry Pie Filling is quick and satisfying to prepare, taking only about 15 minutes to cook up this vibrant mix. The texture is wonderfully sticky yet smooth, while the flavor makes your taste buds dance! With only a few simple ingredients, you will understand why this is a staple for any cherry lover.
Ingredients
- 2 cups fresh or frozen cherries, pitted
- 1 cup sugar
- 1/4 cup cornstarch
- 1/4 teaspoon salt
- 1 tablespoon lemon juice
- 1 teaspoon vanilla extract
- 1 tablespoon butter (optional)
Step-by-Step Instructions
- Prepare the Cherries: If using fresh cherries, wash them thoroughly and pit them. For frozen cherries, allow them to thaw and drain any excess liquid.
- Combine Dry Ingredients: In a medium saucepan, stir together the sugar, cornstarch, and salt. This mixture will help thicken the filling and balance the sweetness.
- Add Cherries: Gently fold the pitted cherries into the dry mixture until they are fully coated.
- Add Flavor: Pour in the lemon juice and vanilla extract for a boost of brightness and flavor.
- Cook Filling: Place the saucepan on medium heat, stirring constantly. The mixture will start to bubble and thicken after about 5–7 minutes. Keep stirring to avoid sticking.
- Check for Doneness: Once the filling is thick and glistening, remove it from heat. If you’re adding butter for richness, stir it in at this point until melted.
- Cool Down: Allow the filling to cool before pouring it into your prepared pie crust or using it as a topping.
Top Tips for Perfecting Homemade Cherry Pie Filling
- Fresh vs. Frozen: Both fresh and frozen cherries work well. Just remember that frozen cherries may release more moisture during cooking, so you might want to adjust your sugar and cornstarch accordingly.
- Thickness: If you prefer a thicker filling, increase the cornstarch by a tablespoon. For a thinner filling, reduce it slightly.
- Flavor Variations: Feel free to mix it up by adding a pinch of almond extract or even a splash of lemon zest for added brightness.
- Common Mistakes: Avoid overcooking; as it cools, the filling will thicken further. Also, make sure to stir continuously to prevent sticking.
Storing and Reheating Tips
To store your Homemade Cherry Pie Filling, transfer it to an airtight container and refrigerate it for up to one week. If you want to keep it longer, freeze it in a freezer-safe jar or bag for up to three months. When you’re ready to use the filling, thaw it overnight in the refrigerator. For reheating, gradually warm it on the stovetop over low heat while stirring gently. This will ensure you maintain its original taste and texture, giving you that fresh-out-of-the-kitchen experience.
Embrace the joy of homemade treats with this scrumptious Homemade Cherry Pie Filling. Bring friends and family together with a cherry pie that not only tastes amazing but also carries the warmth of shared moments in each bite. Enjoy creating delightful memories around the table!
Frequently Asked Questions
- Can I use other fruits?
Absolutely! You can create fillings with blueberries, peaches, or even mixed berries using the same base recipe. - Is this recipe suitable for vegetarians?
Yes, all the ingredients used are vegetarian-friendly. - What if I can’t find fresh cherries?
Don’t worry! Frozen cherries work perfectly and are often more convenient.
Feel free to ask any questions or share your experience making this cherry filling in the comments below! Happy baking!

Homemade Cherry Pie Filling
Ingredients
Method
- If using fresh cherries, wash them thoroughly and pit them. For frozen cherries, allow them to thaw and drain any excess liquid.
- In a medium saucepan, stir together the sugar, cornstarch, and salt.
- Gently fold the pitted cherries into the dry mixture until they are fully coated.
- Pour in the lemon juice and vanilla extract for added flavor.
- Place the saucepan on medium heat, stirring constantly. The mixture will bubble and thicken after about 5-7 minutes.
- Once the filling is thick and glistening, remove it from heat. If using butter, stir it in until melted.
- Allow the filling to cool before pouring it into your prepared pie crust or using it as a topping.
Leave a Reply