
Homemade Cantaloupe Jelly
Imagine biting into a refreshing piece of ripe cantaloupe on a hot summer day. Now, picture capturing that burst of sweetness and lightness in a jar of homemade jelly. That’s the magic of Homemade Cantaloupe Jelly. With its luscious texture and delightful flavor, this jelly is a perfect way to celebrate the vibrance of summer produce all year round.
Growing up, my grandmother would whip up all sorts of fruit preserves, and Cantaloupe Jelly always stood out to me. It’s simple, yet special. Which is why, much like my beloved peach jam, this recipe deserves a spot at any family gathering or cozy winter evening. Let’s dive into the sweet world of cantaloupe and create something truly delightful together!
What is Homemade Cantaloupe Jelly?
So, you might be wondering, what exactly is this Homemade Cantaloupe Jelly? Is it made of magic? The answer is no, but wouldn’t that be fantastic! It’s simply a gorgeous mix of ripe cantaloupe, sugar, and a hint of lemon juice that transforms into a velvety jelly. If you’ve ever enjoyed a slice of cantaloupe in the summer breeze, then you’re going to love this spreadable delight. The way to a man’s heart is through his stomach, right? So, picture serving up this sweet treat to your family, and watch their faces light up! Why not give it a whirl and experience this fruity wonder yourself?
Why You’ll Love This Homemade Cantaloupe Jelly
If you’re searching for a standout dish to impress your friends and family, look no further than Homemade Cantaloupe Jelly. Not only is it jaw-droppingly delicious, but it also serves as a lockbox for summer’s sweetest memories. Unlike typical store-bought jellies, making your own allows for an explosion of fresh, fruity flavor that’s hard to beat—trust me, store shelves can’t compete with your homemade goodness!
Moreover, cooking at home can save quite a bit of money. You probably already have the key ingredients, and if not, picking them up from the store won’t leave your pockets feeling empty. And don’t forget about the toppings! Spread it on toast, dollop on pancakes, or swirl into yogurt. Each bite will transport you to summer solstice evenings, and you’ll be left wondering why you never made this before. Ready to add this wonderful recipe to your repertoire? Let’s move on!
How to Make Homemade Cantaloupe Jelly
Quick Overview
Creating Homemade Cantaloupe Jelly is an effortless process that can yield flavor-packed results in no time. With its smooth, jiggly texture and refreshing taste, this jelly is sure to make your taste buds dance. Prepare yourself for a delightful kitchen project that will take about 20 minutes of prep time but grants you the reward of delightful jelly that will last!
Ingredients
To make this amazing Homemade Cantaloupe Jelly, you will need the following ingredients:
- 4 cups cantaloupe puree (ripe and juicy)
- 1/4 cup lemon juice (fresh is best)
- 1 package (1.75 oz) fruit pectin
- 5 cups sugar
- 1/2 teaspoon vanilla extract (optional)
Make sure your cantaloupe is perfectly ripened for the best flavor.
Step-by-Step Instructions
- Prepare the Cantaloupe: Start by cutting a ripe cantaloupe in half. Scoop out the seeds, then scoop the flesh into a blender or food processor. Puree until smooth, measuring out 4 cups for the jelly.
- Mix Ingredients: In a large saucepan, combine the cantaloupe puree, lemon juice, and fruit pectin. Stir them together until the mixture is smooth.
- Bring to a Boil: Place the saucepan over medium heat and bring the mixture to a gentle boil while stirring. Once it’s bubbling nicely, continue cooking for about 1 minute.
- Add Sugar: Gradually add the sugar to the mixture, stirring constantly until it completely dissolves. Bring the jelly back to a rolling boil and let it cook for another 1-2 minutes. The mixture should thicken slightly.
- Test for Thickness: If you want to check consistency, you can place a spoonful of jelly on a plate and stick it in the freezer for a minute. If it firms up to your desired thickness, you’re ready to jar!
- Jar the Jelly: Carefully spoon the hot jelly into sterilized jars, leaving about 1/4 inch of headspace. Seal the jars with sterilized lids.
- Cool: Allow the jars to cool at room temperature. You’ll know they are sealed when the center of the lid pops inwards.
- Store: Once cooled, store the jars in the refrigerator or a cool, dark place.
Top Tips for Perfecting Homemade Cantaloupe Jelly
- Perfect Substitutions: If you’re looking to enjoy this jelly without all the sugar, consider using a sugar substitute specifically designed for canning. Ensure it’s Halal-friendly!
- Timing is Key: Cooking the mixture just enough to dissolve the pectin and sugar is crucial for achieving the perfect texture. Avoid overcooking to retain the vibrant cantaloupe flavor.
- Avoid Common Mistakes: Make sure your jars are properly sterilized to avoid contamination. This step ensures a longer shelf life for your jelly!
Storing and Reheating Tips
To ensure your Homemade Cantaloupe Jelly stays fresh and flavorful, store it in the refrigerator where it can last for about 3-6 months. If you decide to freeze it, ladle the jelly into airtight containers, leaving some space for expansion. It’ll last up to a year in the freezer!
When it comes to enjoying that beautiful jelly, simply thaw it in the refrigerator overnight, or run the container under warm water to loosen it up before serving. Remember, do not microwave it, as you may spoil that perfect texture you worked hard for.
There you have it—a complete guide on how to make delicious Homemade Cantaloupe Jelly that will surely tantalize your taste buds and impress family and friends alike! Now, grab those ripe cantaloupes and let’s get started!
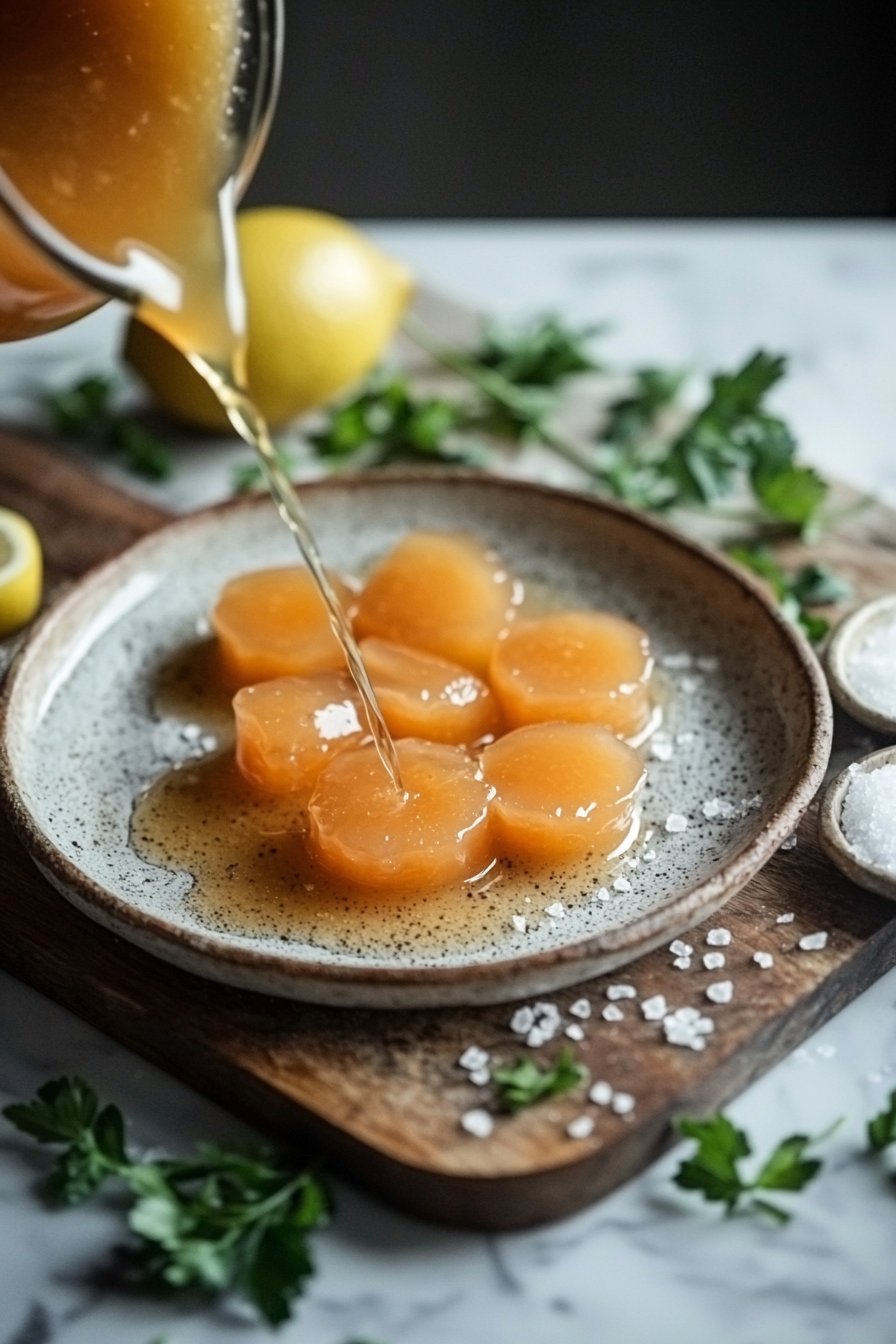

Homemade Cantaloupe Jelly
Ingredients
Method
- Start by cutting a ripe cantaloupe in half. Scoop out the seeds, then scoop the flesh into a blender or food processor. Puree until smooth, measuring out 4 cups for the jelly.
- In a large saucepan, combine the cantaloupe puree, lemon juice, and fruit pectin. Stir them together until the mixture is smooth.
- Place the saucepan over medium heat and bring the mixture to a gentle boil while stirring. Once it’s bubbling nicely, continue cooking for about 1 minute.
- Gradually add the sugar to the mixture, stirring constantly until it completely dissolves. Bring the jelly back to a rolling boil and let it cook for another 1-2 minutes. The mixture should thicken slightly.
- If you want to check consistency, you can place a spoonful of jelly on a plate and stick it in the freezer for a minute. If it firms up to your desired thickness, you’re ready to jar!
- Carefully spoon the hot jelly into sterilized jars, leaving about 1/4 inch of headspace. Seal the jars with sterilized lids.
- Allow the jars to cool at room temperature. You’ll know they are sealed when the center of the lid pops inwards.
- Once cooled, store the jars in the refrigerator or a cool, dark place.
Leave a Reply