
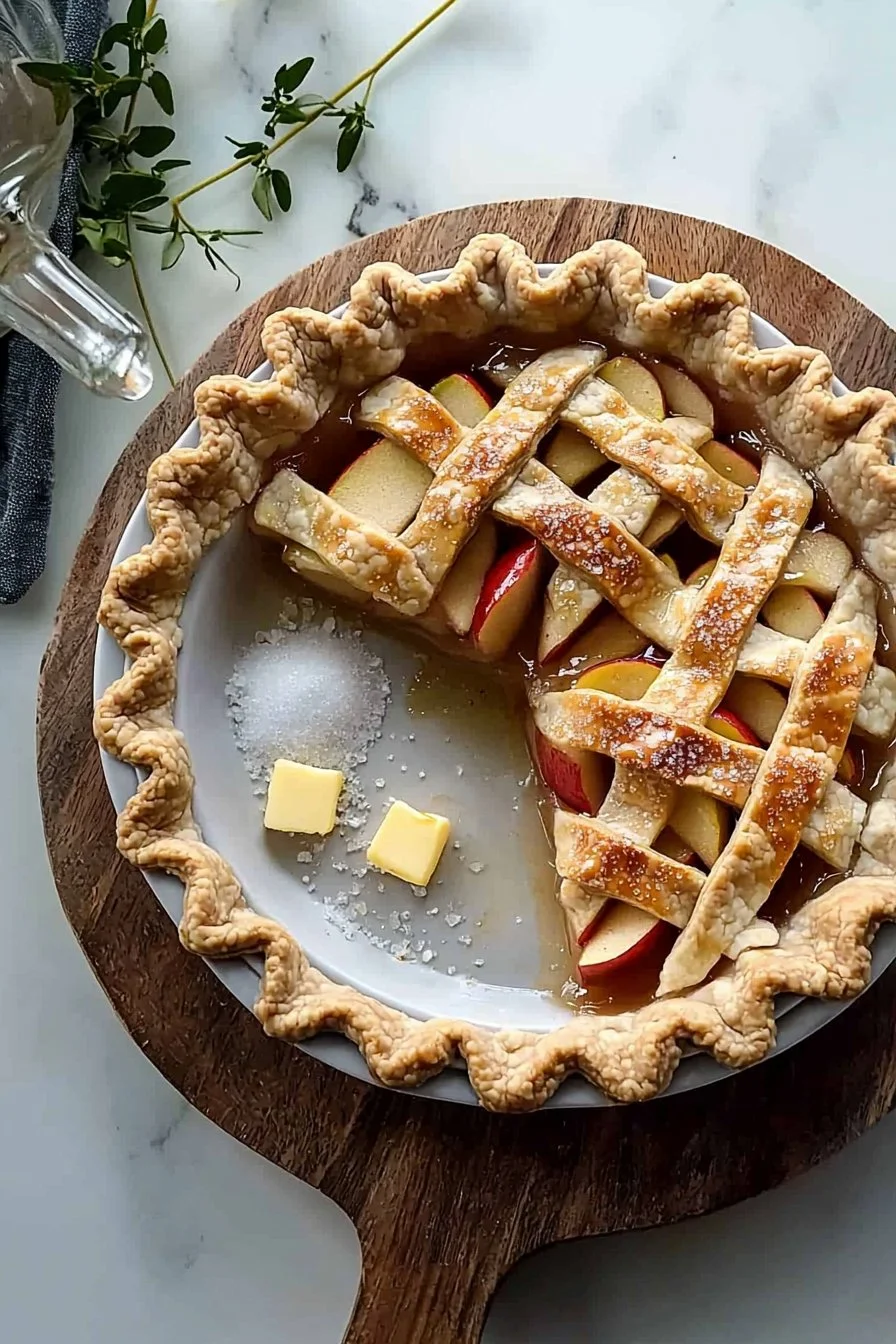
Homemade Apple Pie
There’s something about a homemade apple pie that warms the soul, isn’t there? With its golden, flaky crust hugging tender, spiced apple slices, every bite transports you to simpler times, perhaps spent in a cozy kitchen with the warm scent of baked apples wafting through the air. Did you know that the first known apple pie recipe dates back to 1381? This classic dessert has been delighting taste buds for centuries! Unlike some complicated desserts that require fancy techniques and peculiar ingredients, this homemade apple pie is delightfully simple, making it an ideal recipe for family gatherings. If you’ve enjoyed my other blog favorite, the decadent blueberry crumble, you’re bound to fall in love with this pie too. So, roll up your sleeves and let’s dive into a recipe that’s sure to be a crowd-pleaser!
What is Homemade Apple Pie?
Ah, homemade apple pie—a delightful combination of sweet, juicy apples wrapped in a buttery crust. But have you ever wondered where the name “apple pie” originated? I like to think it’s because this delicious dessert has the mysterious ability to bring people together! Whether you’re snuggled up at home during a chilly evening or surprising someone special, remember: the way to a man’s heart is through his stomach. Nothing brings a smile quite like a warm slice of pie topped with a scoop of ice cream! So, are you ready to give this recipe a whirl and impress your friends and family? Let’s get baking!
Why You’ll Love This Homemade Apple Pie
There are three golden reasons to fall in love with this homemade apple pie! Firstly, the flavor is simply out of this world—think of juicy apples with a hint of cinnamon and nutmeg, all encased in a buttery, flaky crust. Secondly, making this dessert at home is not just cost-effective but also creates a wonderful experience filled with joy and laughter—for your wallet and taste buds! Thirdly, the toppings can be as exciting as your imagination allows: dollop on whipped cream, or place a scoop of vanilla ice cream on warm slices. Delicious, isn’t it? If you’ve ever enjoyed a bakery apple tart, you’ll find that nothing beats the freshness and warmth of a homemade dish like this!
How to Make Homemade Apple Pie
Quick Overview
This homemade apple pie is not just easy to make; it’s also incredibly satisfying! Imagine crisp apples combined with aromatic spices, then enveloped in a tender crust—what could be better? The preparation time is about 20 minutes, followed by a baking time of 45 minutes, so you’ll be indulging in this sweet delight in no time!
Ingredients
- 6 to 8 apples, peeled and sliced
- 3/4 cup sugar
- 2 tablespoons all-purpose flour
- 1 teaspoon ground cinnamon
- 1/4 teaspoon ground nutmeg
- 1 tablespoon lemon juice
- 1 tablespoon butter, diced
- 1 package pie crusts (2 crusts)
Feel free to choose any of your favorite apple varieties for this homemade apple pie; a mix of tart and sweet apples such as Granny Smith and Honeycrisp creates a flavorful contrast!
Step-by-Step Instructions
- Prepare the Filling: Start by preheating your oven to 425°F (220°C). In a large bowl, combine the sliced apples with sugar, flour, cinnamon, nutmeg, and lemon juice. Toss well to ensure all the apple slices are coated in the mixture. Set aside.
- Prepare the Crust: Unroll one of the pie crusts and fit it into a 9-inch pie plate. Make sure to gently press it into the edges as you do not want it to tear.
- Fill the Pie: Pour the apple mixture into the crust, spreading it out evenly. Sprinkle diced butter on top of the apples for added richness.
- Top the Pie: Unroll the second pie crust and place it over the apple filling. You can either cut slits in the top crust to allow steam to escape or create a decorative edge by crimping it around the edges.
- Bake the Pie: Place the pie in your preheated oven and bake for 15 minutes at 425°F. Then, reduce the temperature to 350°F (175°C) and continue baking for 30-35 minutes, or until the crust is golden brown and the fillings are bubbly.
- Cool and Serve: Once baked, remove from the oven and let it cool for at least 10 minutes before slicing. This will help the filling set up nicely!
Top Tips for Perfecting Homemade Apple Pie
- Substitutions: If you don’t have all the spices listed, you can use an apple pie spice mix instead. It’s a great time-saver!
- Timing: Always allow your pie to cool before slicing; this helps maintain the shape and prevents a soggy bottom!
- Avoiding Common Mistakes: Make sure the apples are evenly sliced for even cooking, and watch the crust closely in the final minutes of baking to prevent burning.
Storing and Reheating Tips
If you have leftovers (although that’s rare with such a tasty dessert!), you can refrigerate the pie for up to 3 days. To freeze, wrap it tightly in plastic wrap and then aluminum foil, storing it for up to 3 months. When ready to enjoy, simply reheat in a 350°F (175°C) oven for about 15-20 minutes until warmed through. This way, you maintain the original taste and texture of that heavenly homemade apple pie!
Homemade apple pie is more than just a dessert—it’s a tradition, a conversation starter, and perhaps even a piece of your heart shared with those you love. And now, with this recipe in hand, you’re equipped to create your own pie-making memories. Happy baking!

Homemade Apple Pie
Ingredients
Method
- Preheat your oven to 425°F (220°C).
- In a large bowl, combine the sliced apples with sugar, flour, cinnamon, nutmeg, and lemon juice. Toss well to ensure all the apple slices are coated in the mixture. Set aside.
- Unroll one of the pie crusts and fit it into a 9-inch pie plate, gently pressing it into the edges.
- Pour the apple mixture into the crust, spreading it out evenly. Sprinkle diced butter on top of the apples.
- Unroll the second pie crust and place it over the apple filling. Cut slits in the top crust or create a decorative edge by crimping it around the edges.
- Place the pie in your preheated oven and bake for 15 minutes at 425°F. Then, reduce the temperature to 350°F (175°C) and continue baking for 30-35 minutes, or until the crust is golden brown and the fillings are bubbly.
- Once baked, remove from the oven and let it cool for at least 10 minutes before slicing.
Leave a Reply