
When it comes to delicious, comforting meals, nothing quite hits the spot like Easy Loaded Cheesy Pocket Tacos. Imagine sinking into a crispy tortilla pocket filled with ooey-gooey cheese, seasoned meat, and your favorite toppings. This dish is an explosion of flavors and textures packed into a convenient, handheld delight.
My love for these tacos began on one chilly evening when my family gathered around the table, eagerly anticipating a meal that would bring us together. As the melted cheese oozed out with each bite, smiles replaced any lingering winter blues. It’s a simple dish that dazzles both kids and adults alike, making it a go-to for family gatherings. If you’ve enjoyed my popular recipe for Cheesy Quesadillas, this dish will quickly become another favorite, with its own unique spin and just as much cheesy goodness!
What are Easy Loaded Cheesy Pocket Tacos?
So, what exactly are Easy Loaded Cheesy Pocket Tacos? The name paints a pretty clear picture, right? It’s like a taco, but with a twist — a cheesy pocket that’s bursting at the seams with savory goodness! And let’s be honest, who came up with such a fabulous idea? Basically, you’ve got a crispy tortilla pocket, filled with seasoned meat, melted cheese, and a plethora of toppings! As my mom always said, “the way to a man’s heart is through his stomach,” and these pocket tacos will certainly steal the show at your next family gathering. Ready to get cooking? Let’s dive in!
Why You’ll Love These Easy Loaded Cheesy Pocket Tacos
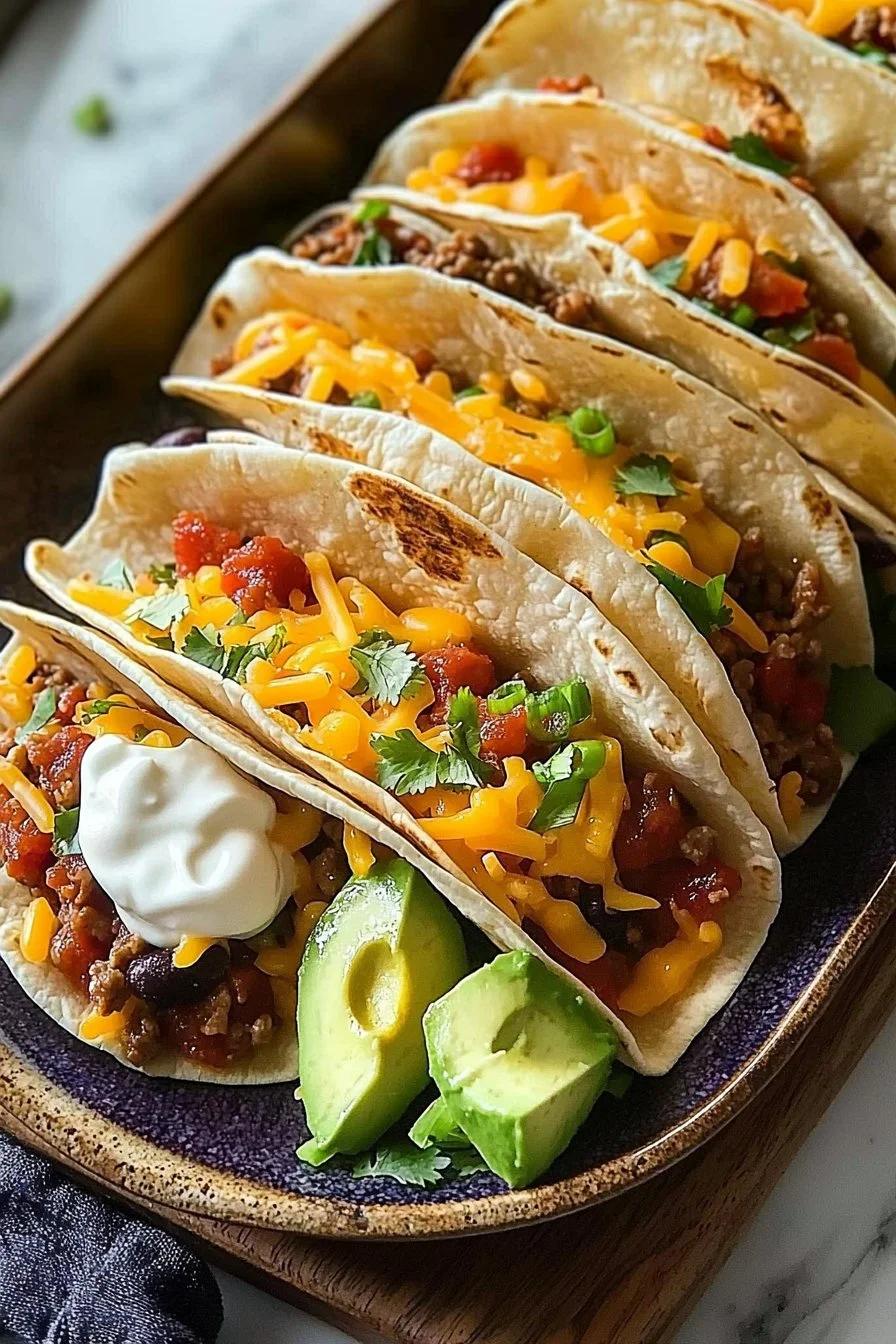
Let’s talk about why you’ll fall head over heels for Easy Loaded Cheesy Pocket Tacos. First, they are the ultimate main dish showcasing an ideal balance of crispy and cheesy goodness. The flavors are so rich and satisfying, they’ll make you forget about takeout! Cooking at home also means you’re saving money while enjoying a much healthier meal than fast food alternatives. Plus, the bubbling cheese and savory toppings like salsa and fresh avocado are sure to please everyone at the table.
If you’re a fan of nachos piled high with toppings, these pocket tacos take that concept to a whole new level. So why wait? Gather your ingredients and prepare to indulge!
How to Make Easy Loaded Cheesy Pocket Tacos
Quick Overview
The beauty of Easy Loaded Cheesy Pocket Tacos lies in their simplicity. With a preparation time of just 20 minutes, you can create a meal that’s delicious and satisfying. Each bite features a delightful crunch followed by a melty, cheesy interior, making it perfect for any day of the week!
Ingredients
- 1 package of pocket-style tortillas
- 1 cup shredded cheese (cheddar, mozzarella, or a blend)
- 1 cup cooked and seasoned ground beef or chicken
- 1/2 cup salsa or diced tomatoes
- 1/2 cup black beans (optional)
- 1/2 cup corn (optional)
- 1 avocado, sliced (optional)
- Sour cream for serving (optional)
- Chopped green onions for garnish (optional)
Step-by-Step Instructions
- Prep the Ingredients: Begin by cooking your ground beef or chicken with your favorite spices until fully cooked. This could take about 5-7 minutes on medium heat.
- Warm the Tortillas: Lightly heat the pocket-style tortillas in a microwave for about 10-15 seconds to make them pliable. This step is crucial for easy folding!
- Fill the Tortillas: Take each tortilla and generously fill it with a portion of the cooked meat, followed by a handful of shredded cheese, a spoonful of salsa, and any additional toppings like black beans or corn if desired.
- Seal the Pockets: Carefully fold the tortillas into halves or quarters, sealing the edges so the delicious filling doesn’t escape. You can use a fork to crimp down the edges for a more secure hold.
- Cook the Pocket Tacos: In a large skillet over medium heat, add a splash of oil if necessary, and place the filled tortilla pockets in the pan. Cook for about 3-4 minutes on each side, or until they are golden brown and crispy.
- Serve: Remove from the skillet and let them cool for a minute. Serve with sour cream, sliced avocado, and chopped green onions on the side.
Top Tips for Perfecting Easy Loaded Cheesy Pocket Tacos
- Substitutions: If you want to keep this dish Halal-friendly, opt for ground chicken or turkey seasoned with spices. You can even use plant-based alternatives for a vegetarian swap!
- Timing: Make sure the tortillas are warm before you fill them; this makes folding and sealing much easier.
- Avoiding Common Mistakes: Don’t overstuff the pockets, or they could burst during cooking! A little goes a long way here.
Storing and Reheating Tips
If you have leftovers (which is rare with this crowd-pleaser!), you can store Easy Loaded Cheesy Pocket Tacos in an airtight container in the refrigerator for up to 3 days. To reheat, pop them in the oven at 350°F (175°C) for about 10-15 minutes to maintain that delightful texture. If you want to freeze them, wrap each taco tightly and store in a freezer-safe bag for up to a month. Just remember to reheat from frozen to ensure the cheese stays gooey and the tortilla crisp!
With these easy-to-follow instructions and tips, you’ll be on your way to enjoying delicious, cheesy comfort food that’s sure to impress. So gather your family, invite some friends over, and make this delightful meal tonight!

Easy Loaded Cheesy Pocket Tacos
Ingredients
Method
- Begin by cooking your ground beef or chicken with your favorite spices until fully cooked. This could take about 5-7 minutes on medium heat.
- Lightly heat the pocket-style tortillas in a microwave for about 10-15 seconds to make them pliable.
- Take each tortilla and fill it with a portion of the cooked meat, followed by shredded cheese, salsa, and any additional toppings like black beans or corn if desired.
- Carefully fold the tortillas into halves or quarters, sealing the edges using a fork to crimp them.
- In a large skillet over medium heat, add a splash of oil if necessary, and place the filled tortilla pockets in the pan.
- Cook for about 3-4 minutes on each side, or until they are golden brown and crispy.
- Remove from the skillet and let them cool for a minute. Serve with sour cream, sliced avocado, and chopped green onions on the side.
Leave a Reply