
When it comes to comforting meals that bring smiles to the dinner table, Easy Cheesy Rice tops the chart. This dish is not just any rice; it’s creamy, cheesy, and bursting with flavors that even picky eaters can’t resist! You’ll find that it is a delightful side dish or even a main course that’s quick to whip up, making it perfect for busy weeknights. Fun fact: this versatile dish has been a kitchen staple for generations—bring warmth and comfort to families everywhere. Its creamy texture and cheesy goodness make it a winner, reminiscent of the classic mac and cheese but with a delightful rice twist.
If you’ve enjoyed our Creamy Mushroom Risotto, you’ll fall head over heels for Easy Cheesy Rice! Both recipes are creamy and incredibly satisfying, but this one adds an irresistible cheesy punch that you just can’t say no to. So buckle up and get ready to impress your family with an effortless comfort dish that has a special place in every heart.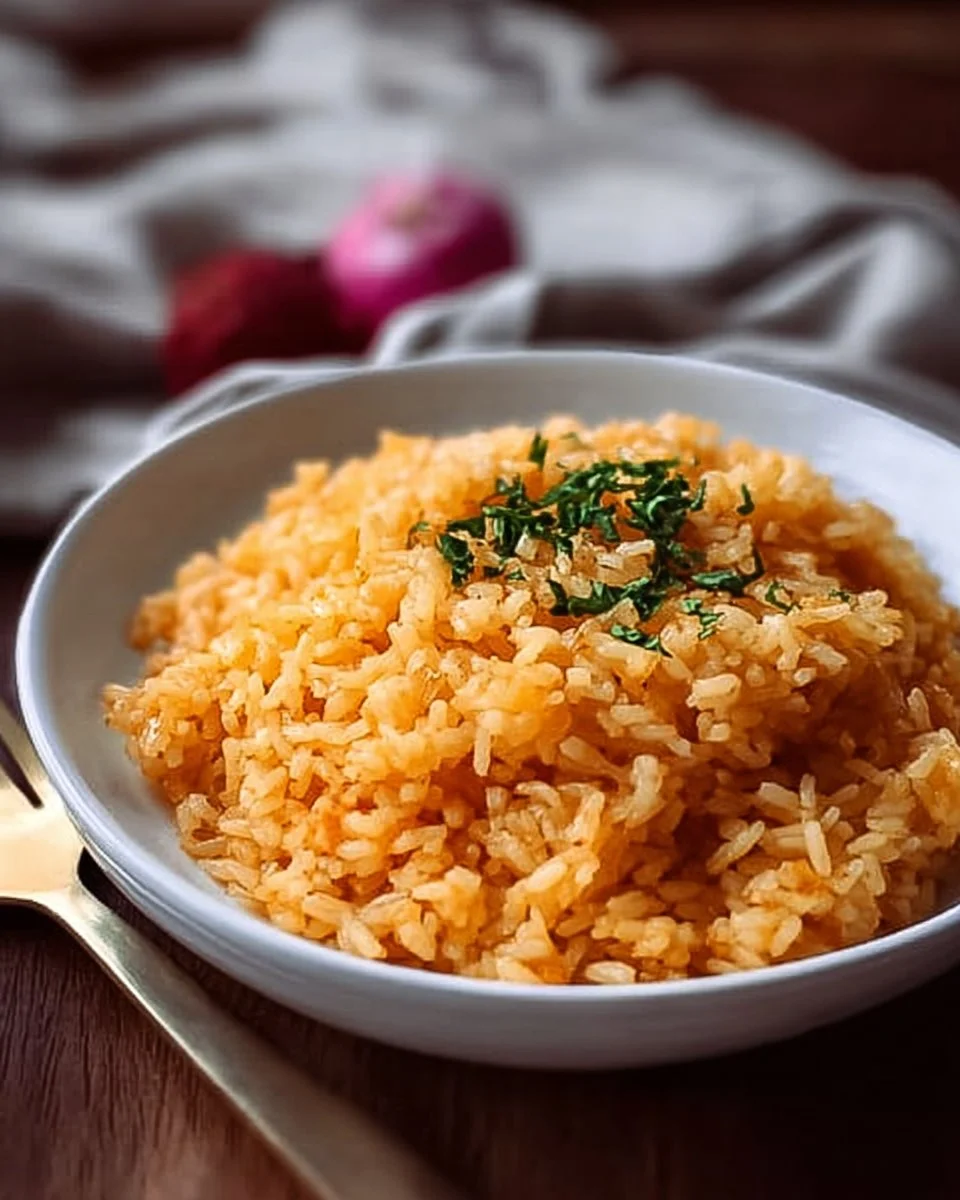
What is Easy Cheesy Rice?
You might be wondering, what’s in a name? “Easy Cheesy Rice” sounds so simple yet so enticing, right? It begs the question: how can something so easy be this delicious? This dish is one of those magical recipes that just makes you feel good when you hear its name. A comforting combination of rice and cheeses, it almost feels like a warm hug for your taste buds. As they say, “the way to a man’s heart is through his stomach,” and this dish is a perfect example of how a simple ingredient list can translate into something so delightful. Give it a shot and find out for yourself—your family will thank you!
Why You’ll Love Easy Cheesy Rice
There are so many reasons to love Easy Cheesy Rice! First off, it’s creamy and cheesy, a combination that hits all the right notes on your taste buds. Imae fluffy rice covered in melted cheddar and creamy goodness that pulls you in with each spoonful. Not only does it appeal to the palate, but it’s also budget-friendly! Making this dish at home will save you money compared to ordering out. Who needs takeout when you can have a bowl of this cheesy delight waiting at your table?
Let’s not forget the toppings! You can elevate this dish with crispy fried onions, herbs, or even a sprinkle of bits if you’re feeling adventurous (just keep it vegetable for this recipe!). If you enjoyed our Cheesy Broccoli Rice, you’ll find this recipe similarly satisfying—with its own unique flair. So, gather those ingredients and get ready for a delicious adventure!
How to Make Easy Cheesy Rice
Quick Overview
This recipe is simple, delicious, and satisfying—not to mention it can be made in about 30 minutes! With just a few creamy, cheesy ingredients and some rice, you’ll create a dish that’s sure to be a staple in your home. Ready to dive in? Let’s go!
Key Ingredients for Easy Cheesy Rice
Here’s what you’ll need to get started on this delightful dish:
- 2 cups cooked rice (jasmine or long-grain works best)
- 1 cup shredded cheddar cheese (feel free to mix it up with your favorites!)
- 1 cup milk (whole or 2% for creaminess)
- 1 tablespoon butter
- 1/2 teaspoon garlic powder
- 1/2 teaspoon onion powder
- Salt and pepper to taste
Step-by-Step Instructions:
- Prepare the Rice: Be by cooking your rice according to package instructions. Once cooked, set aside.
- Combine the Ingredients: In a large saucepan, melt the butter over medium heat. Once melted, pour in the milk. Stir until heated but not boiling.
- Add the Cheese: Gradually whisk in the shredded cheddar cheese until it melts smoothly into the milk. This creamy mixture is the star of the show!
- Flavor It Up: Season with garlic powder, onion powder, salt, and pepper. Give it a taste and adjust seasonings as you prefer.
- Mix in the Rice: Finally, fold in the cooked rice, ensuring every grain is coated in that rich, creamy sauce. Stir well until everything is heated through.
- Serve: Hot and cheesy, serve your Easy Cheesy Rice right away. For added flair, consider garnishing with herbs or crispy toppings.
What to Serve Easy Cheesy Rice With
Now that you’ve got your Easy Cheesy Rice ready, what can you serve alongside it? Here are a few delightful ideas to create a balanced meal:
- Grilled Chicken: A juicy, well-seasoned grilled chicken pairs perfectly with the creaminess of the rice.
- Steamed Vegetables: Broccoli, green beans, or carrots add color, nutrients, and a crunchy contrast.
- Garden Salad: A fresh salad can lighten up the meal while providing a crisp texture that complements the cheesy dish.
Top Tips for Perfecting Easy Cheesy Rice
For tips to take your Easy Cheesy Rice to the next level, keep these in mind:
- Cheese Variations: Experiment with different cheeses like mozzarella or Gruyère for a unique twist.
- Creaminess: If you want extra creaminess, consider adding a dollop of sour cream or cream cheese to the cheese mixture.
- Don’t Rush: Make sure to melt the cheese slowly. Rushing this step can result in a grainy texture.
Storing and Reheating Tips
Got leftovers? Lucky you! Here’s how to store and reheat your Easy Cheesy Rice:
- Storage: Place leftovers in an airtight container and refrigerate for up to 3-4 days. For longer storage, consider freezing it.
- Reheating: When reheating, add a splash of milk to restore creaminess. Heat in the microwave or on the stovetop until warmed through.
Now that you’ve got a taste of Easy Cheesy Rice, it’s time to put your apron on and get cooking! This dish is not only a family favorite but is also a wonderful way to bring comfort to your dining table. Enjoy!
Easy Cheesy Rice
Ingredients
Method
- Cook the rice according to package instructions. Once cooked, set aside.
- In a large saucepan, melt the butter over medium heat.
- Pour in the milk and stir until heated but not boiling.
- Gradually whisk in the shredded cheddar cheese until it melts smoothly into the milk.
- Season with garlic powder, onion powder, salt, and pepper. Adjust seasonings as needed.
- Fold in the cooked rice until every grain is coated in the creamy sauce. Stir until everything is heated through.
- Serve hot, and garnish with herbs or crispy toppings if desired.
Leave a Reply