
If you’re looking for a dessert that’s not only simple to whip up but also bursting with flavor and texture, look no further than Earthquake Cake! This delightful cake combines the rich taste of chocolate, creamy cream cheese frosting, and a medley of nuts, making every bite an explosion of deliciousness. The name might sound quirky, but every time I serve this cake, it sends shockwaves of joy around the table. It’s been a family favorite for years, quickly becoming a staple for gatherings and cozy nights in.
Did you know that Earthquake Cake is reminiscent of the popular gooey butter cake, but with a chocolate twist? Just like my gooey butter cake recipe, this one has earned its fair share of compliments, and it’s incredibly easy to make! So grab your apron, and let’s dive into the world of this delightful creation that might just become a must-have at your next family gathering.
What is Earthquake Cake?
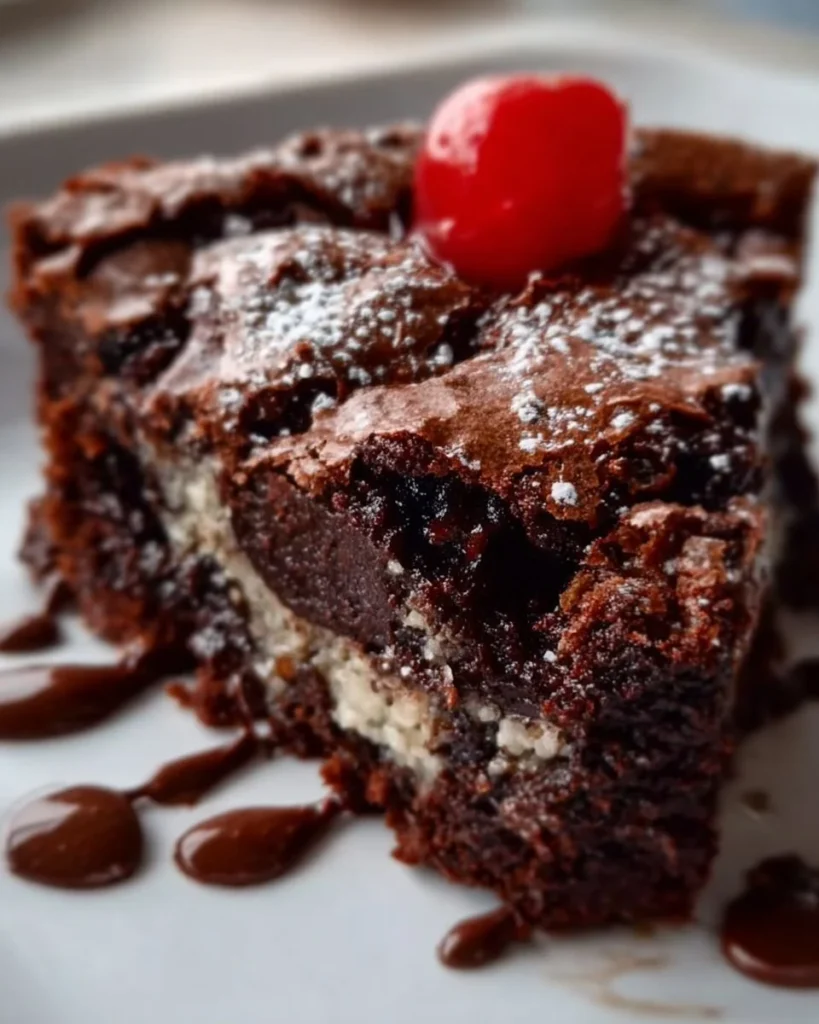
So, what’s in a name? Earthquake Cake doesn’t just roll off the tongue—it also teases your taste buds! How did this peculiar name come about? Picture this: a rich chocolate cake that rises, cracks, and settles during baking, much like the earth during, you guessed it, an earthquake! Legend has it that the way to a man’s heart is through his stomach, and this cake is surely a powerful tool! With its wonderful blend of textures—crunchy nuts, gooey cream cheese, and moist chocolate cake—each slice is a conversation starter. Why not give it a whirl at your next family gathering and see the smiles it brings?
Why You’ll Love This Earthquake Cake
First and foremost, the main highlight of Earthquake Cake is its unique texture. It’s a symphony of flavors and sensations from the rich chocolate base to the creamy topping combined with crunchy nuts that tantalize your taste buds. Secondly, cooking at home is not only fulfilling but also a great way to save some coins while impressing your loved ones. Think of it as a cost-effective luxurious treat! Lastly, let’s talk about those toppings! Whether you choose to drizzle more chocolate or sprinkle some powdered sugar, the options are endless. Compare it to a traditional chocolate cake, and you’ll see why this one steals the spotlight. So, are you ready to learn how to make this mouth-watering dessert?
How to Make Earthquake Cake
Quick Overview
Making Earthquake Cake is a breeze, perfect for novice bakers and seasoned chefs alike. With its exceptional texture and flavor profile, this cake is designed to please everyone. Your preparation time will be approximately 20 minutes, with a baking time of around 40 minutes, leading to a cake that will have your kitchen filled with irresistible aromas!
Key Ingredients for Earthquake Cake
To create this masterpiece, you’ll need the following ingredients:
- 1 cup chopped walnuts or pecans (choose your favorite)
- 1 cup shredded coconut (unsweetened is ideal)
- 1 package (18.25 oz) chocolate cake mix (check for Halal certification)
- 4 large eggs
- 1 cup water
- 1/2 cup vegetable oil
- 8 oz cream cheese (softened)
- 1 cup powdered sugar
- 1 tsp vanilla extract
Step-by-Step Instructions
- Preheat your Oven: Start by preheating your oven to 350°F (175°C). Prepare a 9×13 inch baking pan by greasing it lightly.
- Prepare Your Mix-Ins: In the greased pan, evenly spread the chopped walnuts (or pecans) and shredded coconut at the bottom.
- Mix the Cake Batter: In a large bowl, combine the chocolate cake mix, eggs, water, and vegetable oil. Mix until smooth; remember, a few lumps are okay!
- Pour the Batter: Gently pour the cake batter over the layer of nuts and coconut in your prepared pan.
- Make the Cream Cheese Mixture: In a separate bowl, beat the softened cream cheese, powdered sugar, and vanilla extract until smooth and creamy.
- Swirl it In: Using a spoon, drop by dollops the cream cheese mixture over the cake batter and then swirl it in slightly with a knife. No need to mix it completely—let it create beautiful marble patterns!
- Bake: Place the pan in the preheated oven and bake for about 40 minutes, or until a toothpick inserted comes out clean.
- Cool & Enjoy: Allow it to cool slightly before serving. This cake can be enjoyed warm or at room temperature.
Top Tips for Perfecting Earthquake Cake
- Experiment with Flavors: Feel free to swap out the nuts for your favorite varieties. Almonds, pistachios, or even walnuts provide a delightful crunch.
- Timing is Key: Always keep an eye on your cake towards the end of baking; ovens can vary.
- Avoid Overmixing: When combining the cream cheese mixture, avoid overmixing to retain that delicious swirled effect!
Storing and Reheating Tips
To maintain its scrumptious taste and texture, store any leftovers in an airtight container. It will last about four days in the refrigerator. If you wish to store it for a longer time, you can freeze the cake, wrapped well in plastic wrap and foil. It will keep for up to three months in the freezer. When you’re ready to enjoy again, simply let it thaw in the fridge overnight before reheating. The secret to keeping it moist is to reheat it in the oven at a low temperature to get that fresh-baked feel!
Now you’re all set to create and enjoy this delightful Earthquake Cake! Whether it’s for a special family gathering or just a cozy night at home, it promises to wow your guests and satisfy your cravings. So, what are you waiting for? Gather your ingredients and get baking!
Earthquake Cake
Ingredients
Method
- Preheat your oven to 350°F (175°C) and grease a 9x13 inch baking pan.
- Spread the chopped walnuts or pecans and shredded coconut evenly at the bottom of the greased pan.
- In a large bowl, combine the chocolate cake mix, eggs, water, and vegetable oil. Mix until smooth; a few lumps are okay.
- Pour the cake batter over the layer of nuts and coconut.
- In a separate bowl, beat the softened cream cheese, powdered sugar, and vanilla extract until smooth and creamy.
- Drop dollops of the cream cheese mixture over the cake batter and swirl with a knife to create marble patterns.
- Bake for about 40 minutes, or until a toothpick inserted in the center comes out clean.
- Allow the cake to cool slightly before serving. It can be enjoyed warm or at room temperature.
Leave a Reply