
Crispy Fried Ice Cream: A Delicious Delight
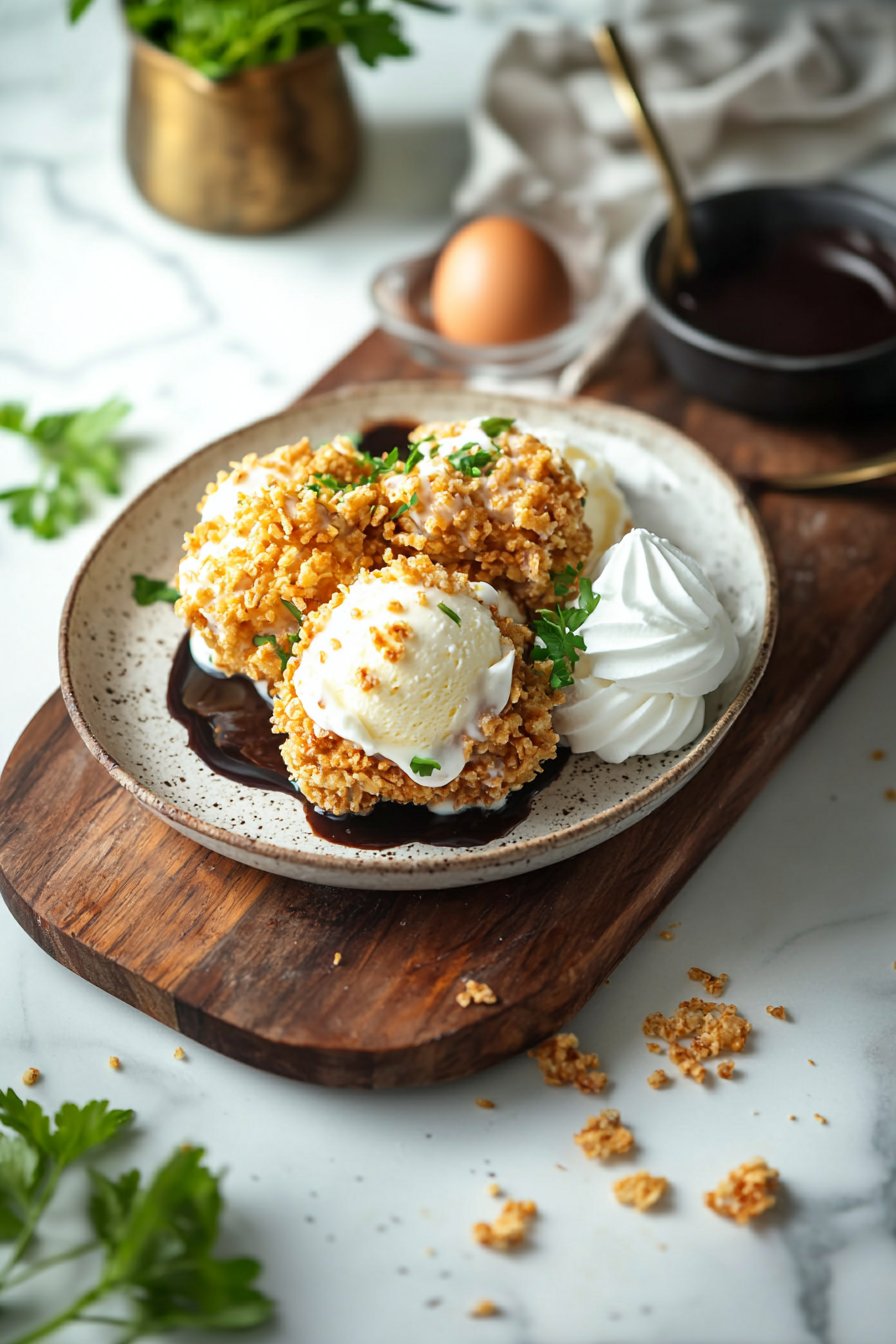
Imagine the delightful crunch of a golden, crispy exterior giving way to a creamy, cool center. That’s what you get with Crispy Fried Ice Cream! This treat is a playful fusion of textures and flavors, perfect for family gatherings or cozy evenings at home. While many might think this indulgent dessert sounds complex, it’s surprisingly simple to create!
One bite of the warm, crispy coating brings an explosion of creamy vanilla ice cream that contrasts perfectly, making it an absolute crowd-pleaser. Did you know that fried ice cream has origins in various cultures, making it a universal favorite? If you love another popular dessert like deep-fried Oreos, you’ll be head over heels for this crispy dessert too.
As the saying goes, “the way to a man’s heart is through his stomach,” and Crispy Fried Ice Cream is a delicious way to win hearts at any family get-together. Let’s dive into what makes this dessert so special!
What is Crispy Fried Ice Cream?
Crispy Fried Ice Cream might sound like a culinary oxymoron at first—how can ice cream possibly be fried? Well, it’s all about the magic of cooking! Picture this: a scoop of vanilla ice cream, carefully coated in a crunchy layer, and then quickly fried to create a contrast like none other—warm versus cool, crispy versus creamy. It’s said that the fun began in Mexican cuisine as a quirky dessert that you simply have to try yourself. Isn’t it fascinating how food can surprise us? So, are you ready to impress your family and friends with a dessert that’s as fun to make as it is to eat? Let’s get frying!
Why You’ll Love This Crispy Fried Ice Cream
Crispy Fried Ice Cream is not just a delicious dessert; it brings together the best of both worlds—easy preparation and an impressive presentation. With just a few ingredients, including some pantry staples and your favorite vanilla ice cream, you can create a family-favorite treat that is sure to wow everyone at your table. And guess what? Making this dessert at home can save you a pretty penny compared to buying it at restaurants!
Just visualize this: the first crack of the warm coating when you take your spoon to it, offering a glimpse of the creamy goodness hidden beneath. It’s a textural experience akin to biting into a favorite childhood candy – but better! Top it off with whipped cream or chocolate sauce, and you have a masterpiece that rivals other desserts, like traditional ice cream sundaes. Ready to elevate your dessert game? Let’s get started!
How to Make Crispy Fried Ice Cream
Quick Overview
Making Crispy Fried Ice Cream at home is a breeze, and it’s a satisfying project that will leave you feeling accomplished. This recipe typically takes about 30 minutes from start to finish, and the results are so worth it! You get to experience the inviting warmth that meets the icy cool, all in one delightful bite.
Ingredients
To whip up a batch of Crispy Fried Ice Cream, you’ll need the following:
- 2 cups vanilla ice cream
- 1 cup cornflakes, crushed
- 1/2 cup all-purpose flour
- 1 egg
- 1/2 cup milk
- Vegetable oil for frying
- Whipped cream (optional)
- Chocolate sauce (optional)
Preparation Notes: Make sure to freeze the ice cream scoops for at least an hour before frying to achieve the perfect texture.
Step-by-Step Instructions
- Prepare the Ice Cream: Scoop the vanilla ice cream into balls, about 2-3 tablespoons per ball. Place them on a baking sheet lined with parchment paper and freeze for at least 1 hour or until firm.
- Create the Coating: Set up a breading station with three bowls. In the first bowl, mix the all-purpose flour with a pinch of salt. In the second bowl, whisk the egg and milk until combined. In the third bowl, place the crushed cornflakes.
- Bread the Ice Cream: Take a frozen ice cream ball, roll it in the flour first, then dip it into the egg mixture, and finally coat it in crushed cornflakes. Make sure each ball is thoroughly coated. Repeat with all the ice cream balls.
- Fry the Ice Cream: In a deep pan, heat vegetable oil over medium-high heat. Carefully drop a few coated ice cream balls into the hot oil and fry for about 10-15 seconds, just until golden brown. Use a slotted spoon to remove each ball and place it on a plate lined with paper towels to drain excess oil.
- Serve: Drizzle with chocolate sauce and top with whipped cream if desired. Serve immediately while the coating is still warm!
Top Tips for Perfecting Crispy Fried Ice Cream
- Ice Cream Firmness: Ensure your ice cream balls are very firm before frying; this helps maintain the shape and prevents melting.
- Cornflake Variation: Feel free to experiment with the coating! You can use crushed cereal or even crushed nuts for an added crunch.
- Avoid Overcrowding: Fry in small batches to keep the oil temperature up. This ensures a crispier, more even fry.
- Timing is Key: Keep a close eye on the frying process; only fry for about 10-15 seconds to avoid melting the ice cream.
Storing and Reheating Tips
Crispy Fried Ice Cream is best enjoyed fresh, but if you have leftovers, you can refrigerate them for up to 1 day. For longer storage, consider freezing the coated ice cream balls before frying. Wrap them tightly in plastic wrap and place them in an airtight container—the fried version should ideally be consumed immediately, as reheating can affect the crunchy texture. If you do need to reheat, a quick blast in the oven at a low temperature could help maintain some of the original texture, although the temperature contrast will be lost.
Creating Crispy Fried Ice Cream is a fun and delicious journey that you and your family will love. So why not give it a try and indulge in this creamy, crunchy treat for your next family gathering? Happy frying!

Crispy Fried Ice Cream
Ingredients
Method
- Scoop the vanilla ice cream into balls, about 2-3 tablespoons per ball. Place them on a baking sheet lined with parchment paper and freeze for at least 1 hour or until firm.
- Set up a breading station with three bowls: mix the all-purpose flour with a pinch of salt in the first bowl, whisk the egg and milk together in the second bowl, and place the crushed cornflakes in the third bowl.
- Take a frozen ice cream ball and roll it in the flour first, dip it in the egg mixture, then coat it in crushed cornflakes. Repeat with all the ice cream balls.
- In a deep pan, heat vegetable oil over medium-high heat. Carefully drop a few coated ice cream balls into the hot oil and fry for about 10-15 seconds until golden brown. Use a slotted spoon to remove each ball and place it on a plate lined with paper towels.
- Drizzle with chocolate sauce and top with whipped cream if desired. Serve immediately while the coating is still warm!
Leave a Reply