
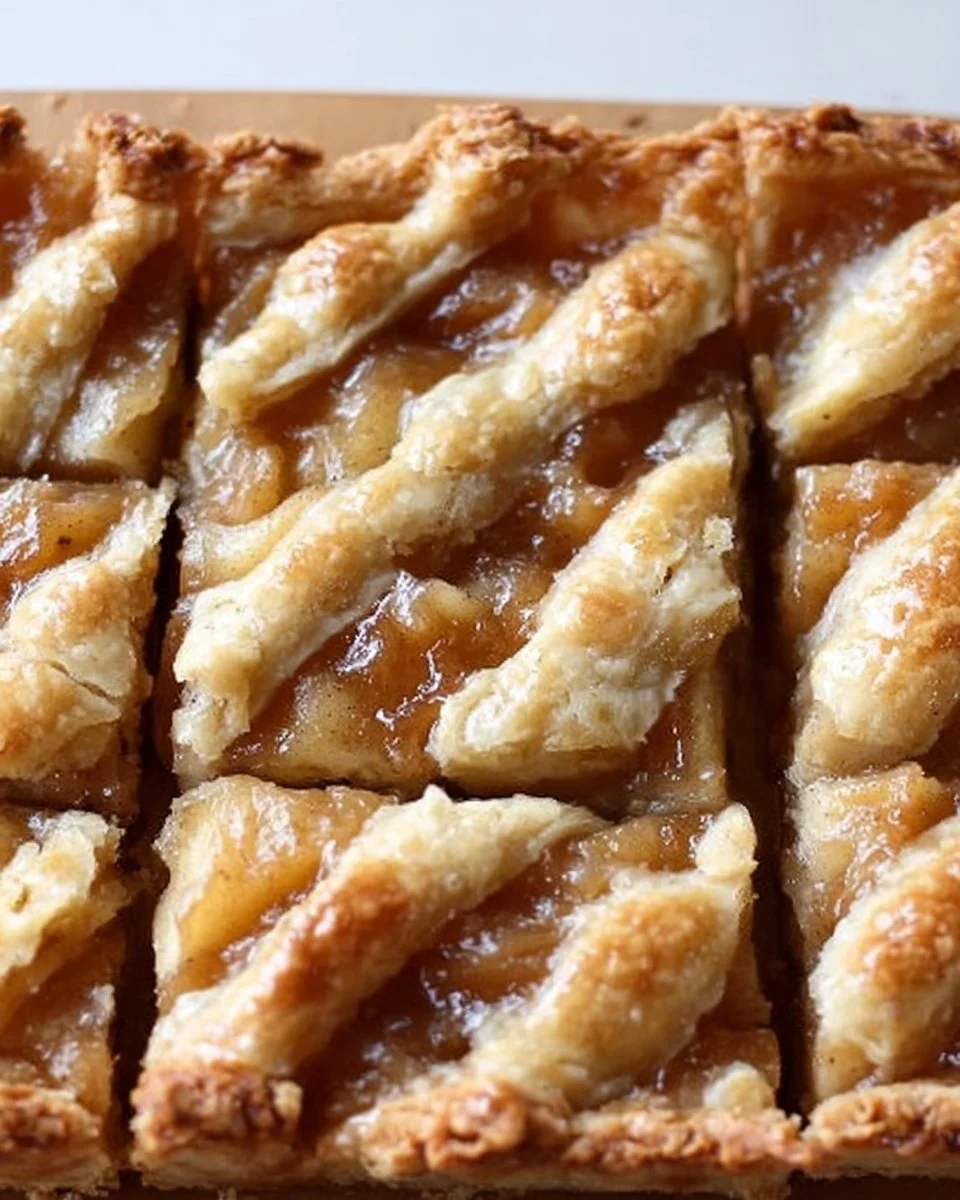
When it comes to desserts that evoke warmth and nostalgia, nothing quite compares to Apple Slab Pie Bars. Imagine sinking your teeth into a delightful, flaky crust, followed by a burst of sweet and slightly tangy apple filling, seasoned perfectly with cinnamon. These bars have the incredible ability to transform any family gathering into a cozy, comforting occasion filled with laughter and shared stories. Did you know that slab pie origins date back to the early 20th century? This dish is not just a treat; it’s a slice of history! In a similar vein to my popular Peach Crisp recipe, these Apple Slab Pie Bars are straightforward yet offer a flavor profile that makes them a crowd favorite. They are perfect for those who want to impress without spending hours in the kitchen. With a recipe this simple and delectable, you’ll find yourself making them for every season!
What are Apple Slab Pie Bars?
So, where does the name “slab pie” even come from? Imagine a pie that threw a party and invited all its closest friends, and voila! You have a slab pie – a cheery, larger-than-life dessert that’s perfect for feeding a crowd! Why squeeze into small pie slices when you can have generous bars that are easy to share? Plus, with the saying that “the way to a man’s heart is through his stomach,” these bars might just win over more hearts than you can count. So how about baking a batch this weekend and delighting those around you?
Why You’ll Love This Apple Slab Pie Bars
First of all, these Apple Slab Pie Bars are the ultimate comfort food. The buttery, flaky crust is a welcomed contrast to the luscious, spiced apple filling that whispers “home” with every bite. Second, cooking at home saves you a pretty penny compared to dining out. Why splurge on fancy desserts when you can whip up these delightful bars for a fraction of the cost? And let’s not forget the toppings! A scoop of vanilla ice cream or a dollop of whipped topping pairs oh-so-well with the warm, gooey apple filling, adding an extra layer of flavor that’s downright irresistible. So what are you waiting for? It’s time to get baking and create a sweet masterpiece that your loved ones will rave about!
How to Make Apple Slab Pie Bars
Quick Overview
Making Apple Slab Pie Bars is as easy as pie! (Pun intended!) In about an hour, you’ll have a delicious dessert that brings everyone to the table. You’ll fall in love with the contrasting textures of the soft, spiced apples and the crispy, buttery crust. So, let’s dive right into the ingredients!
Ingredients
- 2 1/2 cups all-purpose flour
- 1 cup unsalted butter, softened
- 1/2 cup granulated sugar
- 1/2 cup brown sugar, packed
- 1 large egg
- 1 teaspoon vanilla extract
- 1 teaspoon baking powder
- 1/2 teaspoon salt
- 4 cups apples, peeled and sliced (Granny Smith or Fuji work great!)
- 1 tablespoon lemon juice (to keep those apples fresh and bright)
- 1 teaspoon ground cinnamon
- 1/4 teaspoon nutmeg
- 2 tablespoons granulated sugar (for topping)
Step-by-Step Instructions
- Preheat the Oven: Start by preheating your oven to 350°F (175°C). This ensures your bars get a lovely golden color.
- Make the Crust: In a large mixing bowl, cream together the softened butter, granulated sugar, and brown sugar until smooth. Add in the egg and vanilla extract, then mix until well combined.
- Combine Dry Ingredients: In a separate bowl, whisk together the flour, baking powder, and salt. Gradually add this to the wet mixture until a dough forms.
- Prepare the Apples: In another bowl, toss the sliced apples with lemon juice, cinnamon, and nutmeg. This will keep the apples vibrant and give them that classic spiced flavor.
- Assemble the Bars: Press about 2/3 of the dough into the bottom of a greased 9×13-inch baking dish. Spread the prepared apples evenly over the crust. Crumble the remaining dough over the apple filling.
- Bake: Place the dish in the preheated oven and bake for approximately 35-40 minutes, or until the top is golden brown and the apples are bubbling.
- Cool & Serve: Allow the bars to cool slightly before slicing. Enjoy warm or at room temperature!
Top Tips for Perfecting Apple Slab Pie Bars
- Butter Substitutions: If you’re looking to make these dairy-free, you can substitute unsalted butter with a Halal-friendly alternative like coconut oil.
- Apple Choices: Using a mix of sweet and tart apples creates a more dynamic flavor profile. Consider combining honeycrisp with granny Smith!
- Topping Variations: Feel free to experiment with toppings! A sprinkle of oats or chopped nuts can add a crunchy texture.
- Timing: Keep a close eye on the baking time; ovens can vary greatly. You’ll want that golden hue for the perfect presentation!
Storing and Reheating Tips
To enjoy your Apple Slab Pie Bars over a few days, store them in an airtight container in the refrigerator. They will last about 3 to 4 days. If you want to keep them longer, consider freezing them! Wrap them tightly in plastic wrap and foil to prevent freezer burn. When you’re ready to indulge again, simply thaw in the refrigerator and reheat in the oven at 350°F (175°C) for about 10-15 minutes to restore that delightful, warm texture.
So, what are you waiting for? Get your apron on, gather those ingredients, and make sure to share this delightful treat with your family! They won’t just love you for your cooking skills – they’ll cherish the memories you’re creating together. Happy baking!

Apple Slab Pie Bars
Ingredients
Method
- Preheat the oven to 350°F (175°C).
- Cream together the softened butter, granulated sugar, and brown sugar until smooth.
- Add the egg and vanilla extract, then mix well.
- In a separate bowl, whisk together the flour, baking powder, and salt. Gradually add this to the wet mixture until a dough forms.
- Toss the sliced apples with lemon juice, cinnamon, and nutmeg in another bowl.
- Press about 2/3 of the dough into the bottom of a greased 9x13-inch baking dish.
- Spread the prepared apples evenly over the crust. Crumble the remaining dough over the apple filling.
- Bake for approximately 35-40 minutes, or until the top is golden brown and the apples are bubbling.
- Allow the bars to cool slightly before slicing.
Leave a Reply