
why make this recipe
This Red Velvet Oreo Cheesecake combines two delicious desserts into one. The rich and creamy cheesecake pairs perfectly with the soft, moist red velvet base and the crunchy Oreo crumbs. It’s a stunning dessert that makes any occasion special, whether it’s a birthday, holiday, or just a treat for yourself. This cheesecake is easy to make, and the flavors will impress everyone who tries it.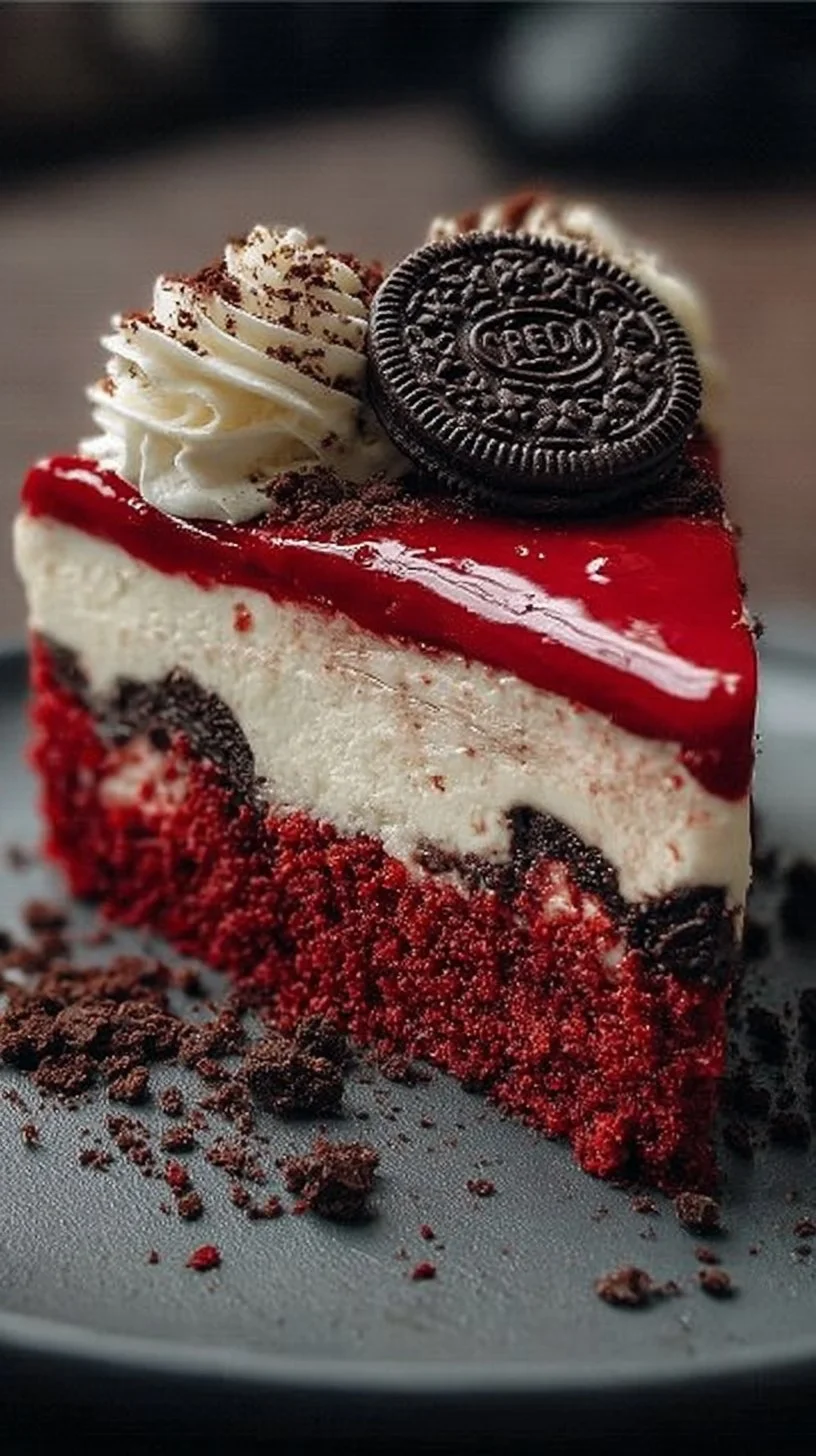
how to make The Best Red Velvet Oreo Cheesecake
Ingredients:
- 2 cups red velvet cake mix
- 1/2 cup unsalted butter, melted
- 1 egg
- 8 oz cream cheese, softened
- 1/2 cup granulated sugar
- 1 tsp vanilla extract
- 1 cup Oreo cookie crumbs
- 1 cup whipped cream
- 4 Oreos, crushed for topping
Directions:
- Preheat your oven to 350°F (175°C). Grease a 9-inch springform pan.
- In a bowl, combine the red velvet cake mix, melted butter, and egg; mix until smooth. Press the mixture into the bottom of the prepared pan.
- In another bowl, beat the cream cheese, granulated sugar, and vanilla extract until creamy. Fold in the whipped cream and Oreo cookie crumbs, then pour over the crust.
- Bake for 50-60 minutes until set.
- Let it cool, then refrigerate for at least 4 hours before serving.
- Top with crushed Oreos before serving.
how to serve The Best Red Velvet Oreo Cheesecake
Slice the cheesecake into wedges and serve it chilled. You can add extra whipped cream or more crushed Oreos on top for decoration. This cheesecake pairs well with a cup of coffee or a glass of milk.
how to store The Best Red Velvet Oreo Cheesecake
Store any leftover cheesecake in the refrigerator. Keep it in an airtight container or cover it with plastic wrap. It should stay fresh for up to 5 days. You can also freeze leftover slices for up to 3 months. Make sure to wrap them tightly.
tips to make The Best Red Velvet Oreo Cheesecake
- Make sure your cream cheese is softened to room temperature for a smoother batter.
- Use a high-quality red velvet cake mix for the best flavor and texture.
- Don’t rush the cooling and refrigeration stages; they help the cheesecake set properly.
- Feel free to adjust the amount of Oreo crumbs to your liking for a crunchier texture.
variation
You can experiment by adding chocolate chips or nuts to the cheesecake mixture before baking. For a little twist, try using different flavored cream cheese spreads, like chocolate or vanilla.
FAQs
Can I use homemade red velvet cake instead of cake mix?
Yes, you can use homemade red velvet cake. Just make sure it is crumbled finely and adjusted to fit in the pan.
How can I tell when the cheesecake is done baking?
The cheesecake is done when the edges are set but the center may still be slightly jiggly. It will firm up as it cools.
Can I make this cheesecake in advance?
Absolutely! This cheesecake can be made a day or two in advance and stored in the refrigerator until you are ready to serve it.

Red Velvet Oreo Cheesecake
Ingredients
Method
- Preheat your oven to 350°F (175°C) and grease a 9-inch springform pan.
- In a bowl, combine the red velvet cake mix, melted butter, and egg; mix until smooth. Press the mixture into the bottom of the prepared pan.
- In another bowl, beat the cream cheese, granulated sugar, and vanilla extract until creamy.
- Fold in the whipped cream and Oreo cookie crumbs, then pour over the crust.
- Bake for 50-60 minutes until set.
- Let it cool, then refrigerate for at least 4 hours before serving.
- Top with crushed Oreos before serving and slice into wedges.
- Serve chilled, optionally adding more whipped cream or crushed Oreos.
Leave a Reply