Ingredients
Method
Preparation
- Bake the Cake: Start by baking your chosen cake according to the package instructions or your recipe. Let it cool completely.
- Crumble the Cake: Once the cake is cool, crumble it into a large bowl. You want it to resemble fine crumbs, but not dust!
- Add Frosting: Slowly mix in the frosting until the cake crumbs are well-combined and form a dough-like consistency. You can start with half a cup and add more if needed.
- Shape the Pops: With clean hands, take about a tablespoon of the mixture and roll it into a ball. Place each ball on a baking sheet lined with parchment paper. Repeat until all the mixture is used.
- Chill: Place the tray in the refrigerator for about 30 minutes to help them firm up.
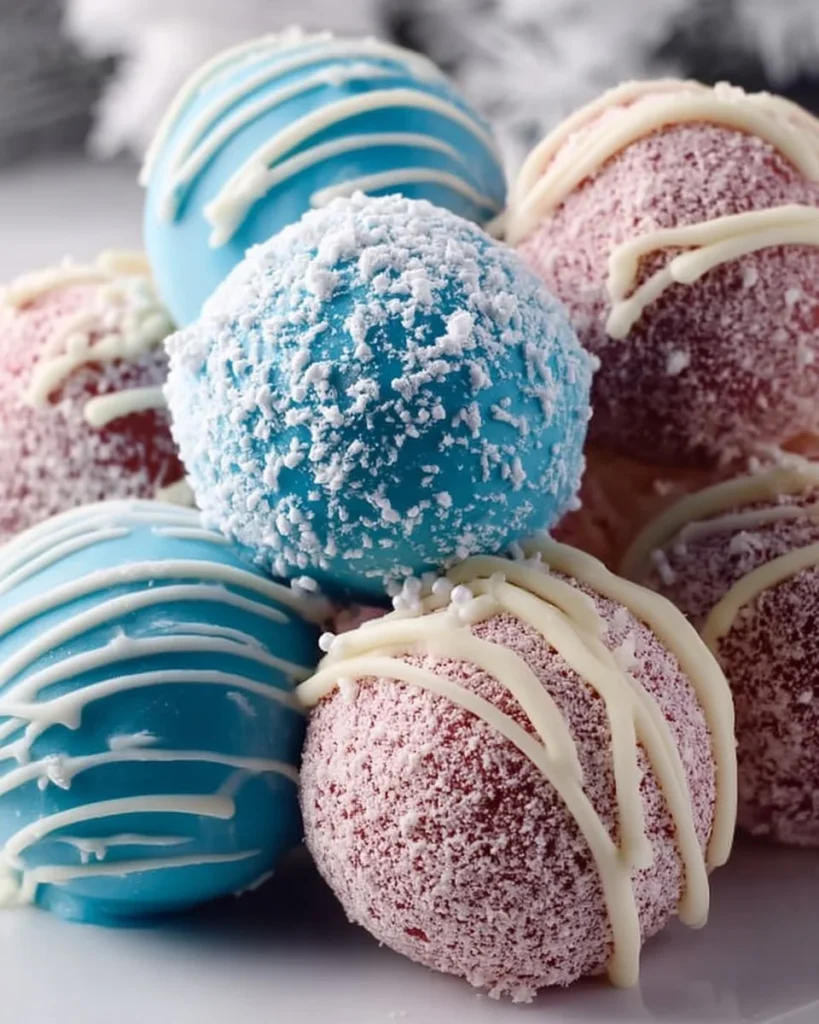
- Prepare Coating: Melt your chocolate or candy melts in a microwave-safe bowl in 30-second intervals, stirring in between until fully melted.
- Dip Sticks: Dip the end of each cake pop stick into the melted chocolate before inserting it into a cake ball. This will help it stay put!
- Coat the Cake Pops: Once the sticks are in, dip each cake ball into the melted chocolate, allowing excess to drip off. If desired, add sprinkles while the coating is still wet.
- Set: Place the finished cake pops upright in a styrofoam block, or return them to the parchment-lined sheet. Allow them to set until the coating is firm.
- Enjoy: Now, your delightful Easy Cake Pops are ready! Serve them at your next family gathering or enjoy them at home.
Notes
For best results, use gluten-free cake or dairy-free frosting for dietary preferences. Don't rush the chilling process; it helps keep your pops sturdy. Ensure your cake and frosting mixture isn't too wet or too dry. Store in an airtight container for up to 3 days or refrigerate for up to a week. They can also be frozen for up to two months.