
Oreo Cake Balls are the perfect treat for any occasion, combining the crunchy texture of Oreos with a rich, creamy filling that leaves you craving more. Imagine biting into a delightful ball of chocolatey goodness, with a satisfying crisp on the outside and a melt-in-your-mouth center. If you’re a fan of sweet desserts that are easy to make and irresistible, you’ll love this recipe.
The beauty of Oreo Cake Balls lies in their simplicity. With just a few ingredients and minimal fuss, you can whip up a fantastic dessert that will impress family and friends alike. This recipe is akin to those famous no-bake cheesecake bites you might find on other blogs—equally delightful and crowd-pleasing! Whether it’s a simple family gathering or winter evenings spent cozied up at home, these treats will undoubtedly be the star of the show.
So roll up your sleeves and get ready to create a little magic in your kitchen with these tasty Oreo Cake Balls!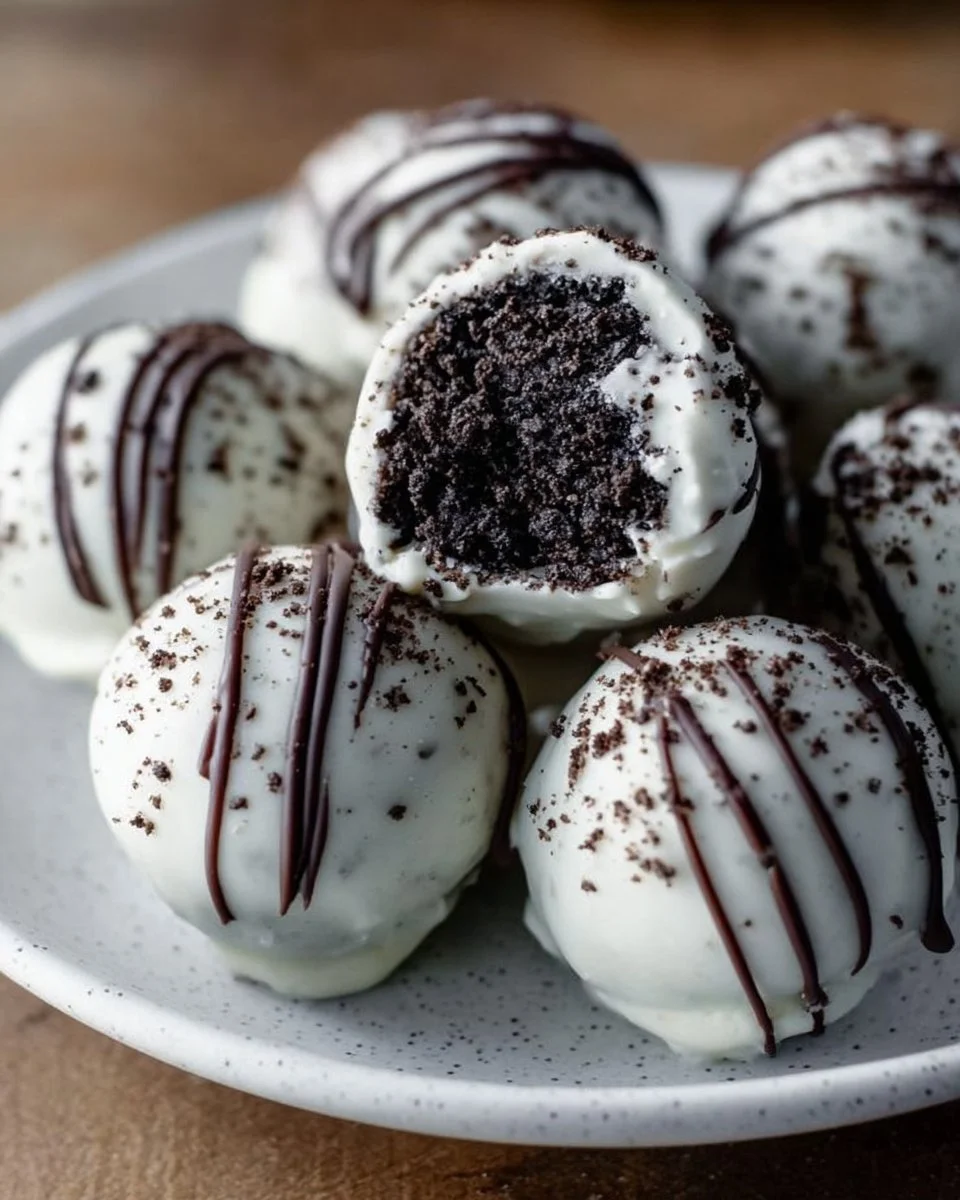
What are Oreo Cake Balls?
So, what exactly are Oreo Cake Balls? Picture this: a sumptuous blend of crushed Oreos and sweet cream cheese, coated in rich chocolate. Sound delicious? It’s safe to say that the name ‘Oreo Cake Balls’ could leave you pondering which came first: the cake or the ball? Maybe the name originated from the irresistible charm of the round shape that’s just asking to be popped into your mouth! Remember, they say “the way to a man’s heart is through his stomach,” and with Oreo Cake Balls, you’ll be winning hearts left and right! Whether you bring them to a potluck or enjoy them at home, once you take a bite, you’ll always want to keep making them!
Why You’ll Love This Oreo Cake Balls
Let’s dive into why Oreo Cake Balls should be on your dessert radar. First, they’re a delightful indulgence—crunchy, creamy, and oh-so-sweet, making them an instant favorite among kids and adults alike. Secondly, they’re a wallet-friendly treat! Preparing these at home saves you money compared to buying gourmet sweets from the store. With the cost of premade desserts, why not try making your own? Finally, you can jazz them up with your favorite toppings, whether it’s a drizzle of chocolate or a sprinkle of nuts, adding extra flavor and personality to each bite. Imagine serving these delectable morsels as a thoughtful dessert instead of just any old cookie—make sure to gather your ingredients and let the fun begin!
How to Make Oreo Cake Balls
Quick Overview
Oreo Cake Balls are a breeze to make, boasting a satisfying crunch on the outside and a velvety interior. You won’t need any fancy kitchen gadgets, just a few mixing bowls and some determination! With a preparation time of approximately 30 minutes plus chilling time, these golden treats are as quick as they are delicious.
Key Ingredients for Oreo Cake Balls
To make these irresistible Oreo Cake Balls, you will need:
- 1 package of Oreo cookies (about 15.5 oz) – crushed into fine crumbs.
- 8 oz cream cheese – softened to room temperature for easy mixing.
- 16 oz chocolate (dark or white) – for coating, chopped into smaller pieces for melting.
- 1 tablespoon of vegetable oil (optional) – to smooth the chocolate coating.
Step-by-Step Instructions
- Crush the Oreos: Start by placing the Oreos in a food processor and pulse them into fine crumbs. If you don’t have a food processor, placing them in a ziplock bag and smashing them with a rolling pin works just as well!
- Mix with Cream Cheese: In a large mixing bowl, combine the crushed Oreos with the softened cream cheese. Use a spatula or your hands to mix until fully combined. It should have a doughy consistency that holds together nicely.
- Form the Balls: Once mixed, shape the Oreo mixture into small balls—about 1 inch in diameter. Place them on a parchment-lined baking sheet to avoid sticking.
- Chill: Refrigerate the formed cake balls for about 30 minutes. Chilling helps them firm up and makes them easier to coat in chocolate.
- Melt the Chocolate: While waiting, melt the chocolate in a microwave-safe bowl. Heat in 30-second increments, stirring in between until smooth. Add vegetable oil if you want a smoother consistency.
- Dip and Coat: Using a fork, dip each cake ball into the melted chocolate, allowing any excess to drip off before placing them back onto the baking sheet.
- Set: Once all the balls are coated, let them sit until the chocolate is firm. You can also refrigerate them for a quicker setting.
- Serve: Enjoy your Oreo Cake Balls at room temperature, or store them in an airtight container in the fridge!
Top Tips for Perfecting Oreo Cake Balls
- Make It Your Own: Feel free to substitute the cream cheese with a vegan alternative if needed. This way, you can make a batch suitable for various dietary preferences.
- Timing is Key: Don’t skip the chilling step; it makes a world of difference!
- Stay Clean: To avoid a mess while rolling, use slightly damp hands to handle the mixture—it will prevent sticking.
- Mix It Up: Feel free to add toppings like crushed nuts or desiccated coconut to the chocolate for extra flavor.
Storing and Reheating Tips
Oreo Cake Balls can last in the fridge for about one week if stored in an airtight container. For long-term storage, you can freeze them for up to three months. Just remember to wrap them individually in plastic wrap and place them in a sealable freezer bag. When you’re ready to enjoy your frozen treats, just thaw them in the refrigerator overnight and indulge without any hassle!
In conclusion, Oreo Cake Balls are a fantastic treat that brings smiles to everyone’s faces. Easy to make, budget-friendly, and customizable, they’re sure to become a staple in your dessert repertoire. Get ready to impress your family, and enjoy these delightful bites today!

Oreo Cake Balls
Ingredients
Method
- Start by placing the Oreos in a food processor and pulse them into fine crumbs. If you don’t have a food processor, placing them in a ziplock bag and smashing them with a rolling pin works just as well!
- In a large mixing bowl, combine the crushed Oreos with the softened cream cheese. Use a spatula or your hands to mix until fully combined. It should have a doughy consistency that holds together nicely.
- Once mixed, shape the Oreo mixture into small balls—about 1 inch in diameter. Place them on a parchment-lined baking sheet to avoid sticking.
- Refrigerate the formed cake balls for about 30 minutes. Chilling helps them firm up and makes them easier to coat in chocolate.
- While waiting, melt the chocolate in a microwave-safe bowl. Heat in 30-second increments, stirring in between until smooth. Add vegetable oil if you want a smoother consistency.
- Using a fork, dip each cake ball into the melted chocolate, allowing any excess to drip off before placing them back onto the baking sheet.
- Once all the balls are coated, let them sit until the chocolate is firm. You can also refrigerate them for a quicker setting.
- Enjoy your Oreo Cake Balls at room temperature, or store them in an airtight container in the fridge!
Leave a Reply