
When you’re craving a dessert that’s iconic, rich, and oh-so-easy to whip up, look no further than the No Bake Classic Woolworth Cheesecake! This delightful treat has a creamy texture that melts in your mouth and a nostalgic flavor that takes you back in time. There’s something incredibly charming about its simplicity: you don’t need an oven, just a few essential ingredients, and about 15 minutes of your time. Perfect for busy weeknights or a surprise weekend gathering, this classic cheesecake will quickly become a favorite in your dessert rotation!
Interestingly, the Woolworth brand is synonymous with this cheesecake, and many of us have fond memories of enjoying it as a fun treat after a shopping trip. It’s said that the orial recipe was inspired by the chilled desserts served at the renowned Woolworth’s lunch counters. The best part? This cheesecake is perfect for the whole family, making it a delightful addition to any dessert table. Just like other beloved favorites on the blog, like the Southern Cornmeal Hoecakes, this cheesecake emphasizes pleasure and simplicity. So, gather your ingredients, and let’s dive into how to create this delicious dessert together!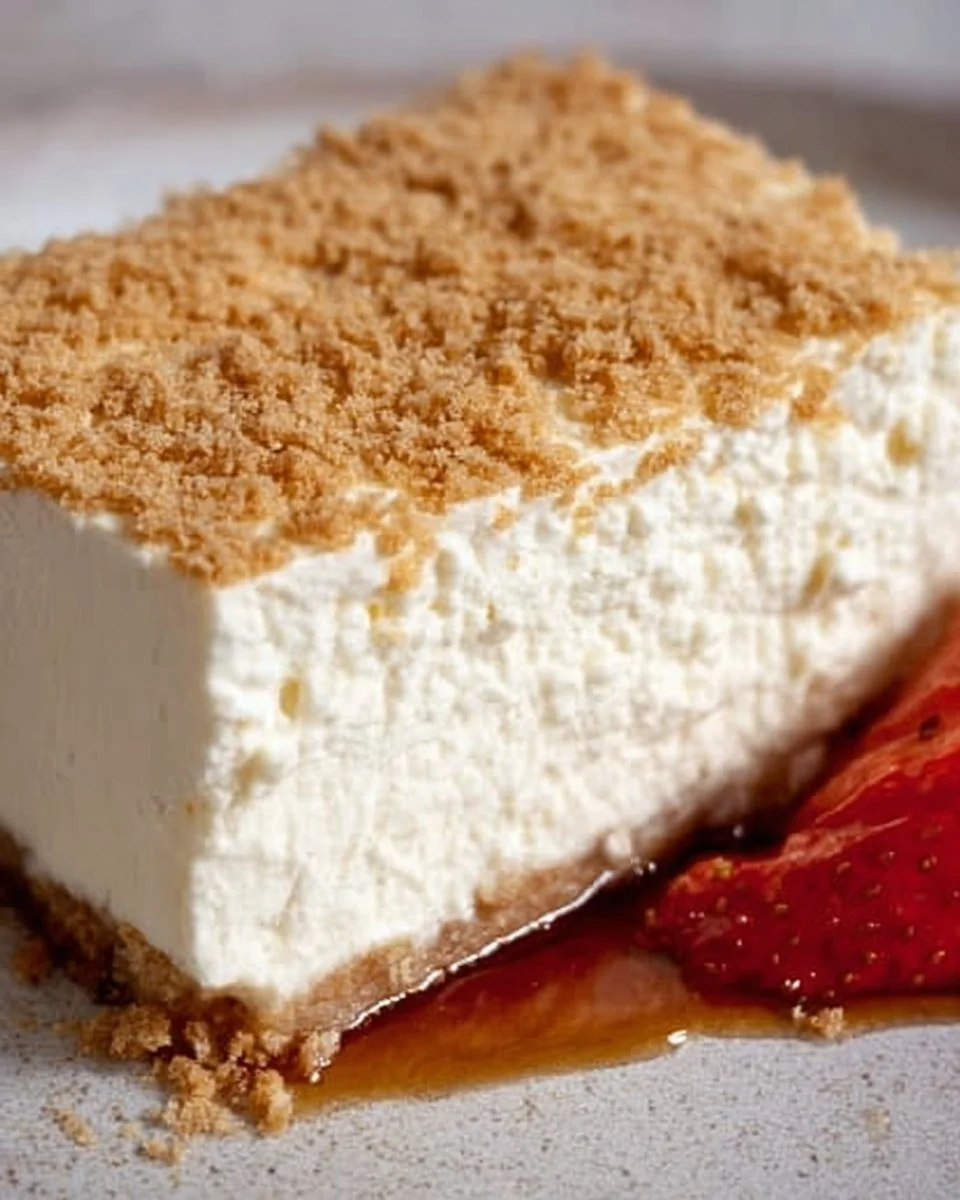
What is No Bake Classic Woolworth Cheesecake?
So, what’s in a name, right? The No Bake Classic Woolworth Cheesecake has a title that rings with nostalgia and simplicity, leaving you thinking, “Wait, I can have a cheesecake without turning on the oven?” Yes, my friend, you can! Named after the chain of five-and-dime stores that were a staple in many American towns, this cheesecake is a delightful reflection of simpler times and deliciously satisfying treats. If you’ve ever heard the saying, “The way to a man’s heart is through his stomach,” then you’ll know that this cheesecake is a surefire way to get anyone’s heart racing with joy! With its airy texture and deliciously creamy taste, you won’t be able to resist indulg in a slice (or two). Ready to give it a try?
Why You’ll Love This No Bake Classic Woolworth Cheesecake
When it comes to the No Bake Classic Woolworth Cheesecake, there are three standout reasons why you’ll fall head over heels for this dessert. First and foremost, the main highlight of this dish is its incredibly creamy texture. It’s smooth, rich, and practically melts on your tongue, making it a perfect treat for cheesecake lovers. Secondly, making this cheesecake at home is a fantastic way to save money versus buying a slice at a bakery or restaurant. With just a handful of common ingredients, you can create a delicious dessert that will impress your family and friends without breaking the bank.
Lastly, it’s all about the toppings! While the classic version is delightful as is, you can dress it up with fresh fruit, drizzles of chocolate, or a sprinkle of nuts to suit your taste. If you enjoy this recipe, you might also want to check out our creamy Banana Pudding recipe for a delightful alternative. So, why not grab your mixing bowl and give this classic cheesecake a whirl? You won’t regret it!
How to Make No Bake Classic Woolworth Cheesecake
Quick Overview
The No Bake Classic Woolworth Cheesecake is one of the easiest and most rewarding desserts you can prepare. With minimal ingredients and no baking required, you can have this delicious cheesecake ready in a flash. In about 15 minutes of preparation, you can be on your way to serving up this delightful treat that everyone will enjoy. Creamy, smooth, and refreshingly simple, you’ll be thrilled with how little effort goes into making a dessert that tastes this good!
Key Ingredients for No Bake Classic Woolworth Cheesecake
To make this delightful cheesecake, you need the following ingredients:
- 2 cups of gra cracker cbs
- ½ cup of granulated sugar
- ½ cup of unsalted butter, melted
- 8 oz of cream cheese, softened
- 1 cup of powdered sugar
- 1 tsp of vanilla extract
- 1 cup of heavy whipping cream
Step-by-Step Instructions
- Prepare the Crust:
- In a mixing bowl, combine the gra cracker cbs, granulated sugar, and melted butter. Mix until the cbs are well-coated and have a sandy texture.
- Press the mixture firmly into the bottom of a 9-inch springform pan to create the cheesecake crust. Use your fingers or the bottom of a glass to flatten it evenly. Place it in the refrigerator to chill while you prepare the filling.
- Make the Filling:
- In a large mixing bowl, beat the softened cream cheese until creamy and smooth.
- Gradually add in the powdered sugar and continue to beat until well mixed.
- Stir in the vanilla extract until well combined.
- Whip the Cream:
- In a separate bowl, whip the heavy cream until stiff peaks form. This will give your cheesecake a light and fluffy texture.
- Combine:
- Gently fold the whipped cream into the cream cheese mixture until fully incorporated, being careful not to deflate the whipped cream.
- Assemble:
- Pour the cheesecake filling over the prepared crust in the springform pan, smoothing the top with a spatula.
- Chill:
- Refrigerate the cheesecake for at least 4 hours or overnight to set. This step is crucial for achieving the right texture.
- Serve:
- Once set, carefully remove the cheesecake from the springform pan. Serve chilled, maybe topped with fresh fruit or a drizzle of chocolate, and enjoy!
What to Serve No Bake Classic Woolworth Cheesecake With
To create a wonderful dining experience, consider pairing your No Bake Classic Woolworth Cheesecake with some delightful accompaniments. Fresh berries like strawberries, blueberries, or raspberries add a burst of color and flavor, bring a refreshing contrast to the creamy cheesecake. For those who enjoy a bit of crunch, a handful of chopped nuts or a sprinkle of granola can elevate each bite. If you want to indulge a bit more, a cup of freshly brewed coffee or a cold glass of milk pairs wonderfully with this dessert, completing your treat perfectly!
Top Tips for Perfecting No Bake Classic Woolworth Cheesecake
To ensure that your No Bake Classic Woolworth Cheesecake turns out perfectly, keep these tips in mind:
- Softening Cream Cheese: Be sure to soften the cream cheese completely before mixing. You can do this by taking it out of the fridge for about 30 minutes prior or microwaving it for 10 seconds at a time until soft and spreadable.
- Whipping Cream: When whipping the heavy cream, ensure your bowl and beaters are chilled, as this helps create perfect peaks.
- Flavor Variations: Feel free to customize your cheesecake with different flavorings! Add lemon zest for a citrusy twist, or fold in some melted chocolate for a dessert that’s both creamy and indulgent.
- Common Mistakes: Overmixing the filling can lead to a dense texture, so be gentle when folding in the whipped cream.
Storing and Reheating Tips
If you find yourself with leftovers (though that’s unlikely because it’s so delicious!), you can store the cheesecake in the refrigerator for up to a week. Just cover it with plastic wrap or place it in an airtight container. For long-term storage, consider freezing portions of the cheesecake for up to three months. Just remember to allow it to thaw in the fridge overnight before serving for the best taste and texture.
Now that you have all the information you need, it’s time to get in the kitchen and make your No Bake Classic Woolworth Cheesecake! Your taste buds will thank you, and so will anyone lucky enough to share it with you. Happy baking!

No Bake Classic Woolworth Cheesecake
Ingredients
Method
- In a mixing bowl, combine the gra cracker cbs, granulated sugar, and melted butter. Mix until the cbs are well-coated and have a sandy texture.
- Press the mixture firmly into the bottom of a 9-inch springform pan to create the cheesecake crust. Use your fingers or the bottom of a glass to flatten it evenly.
- Place it in the refrigerator to chill while you prepare the filling.
- In a large mixing bowl, beat the softened cream cheese until creamy and smooth.
- Gradually add in the powdered sugar and continue to beat until well mixed.
- Stir in the vanilla extract until well combined.
- In a separate bowl, whip the heavy cream until stiff peaks form. This will give your cheesecake a light and fluffy texture.
- Gently fold the whipped cream into the cream cheese mixture until fully incorporated, being careful not to deflate the whipped cream.
- Pour the cheesecake filling over the prepared crust in the springform pan, smoothing the top with a spatula.
- Refrigerate the cheesecake for at least 4 hours or overnight to set. This step is crucial for achieving the right texture.
- Once set, carefully remove the cheesecake from the springform pan. Serve chilled, maybe topped with fresh fruit or a drizzle of chocolate, and enjoy!
Leave a Reply