
Ah, the delightful combination of cherries and pineapple! There’s something inherently joyful about a Cherry Pineapple Pie that makes it a standout at any family gathering. The moment you take your first bite, you’re greeted with a burst of fruity sweetness coupled with a flaky, golden crust that crumbles soothingly in your mouth. It’s a dessert that takes you back to warm summer days and cozy winter evenings, evoking memories of clouds of laughter shared around the dinner table.
Interestingly, a fun fact about this pie is that the flavor combination is reminiscent of tropical vacations, making it a perfect way to escape even if you’re just sitting at home! This dish is incredibly simple to whip up, yet it dazzles like a star on the dessert table. You might even say it has a more compelling flavor profile than a classic apple pie, which is also loved by many but doesn’t offer the same tropical twist. If you’re ready to treat yourself and your loved ones, read on to discover how to make this fantastic Cherry Pineapple Pie!
 What is Cherry Pineapple Pie?
So, what is it about Cherry Pineapple Pie that gets everybody excited? Well, for starters, it’s a delightful blend of sweet cherries and tangy pineapple, nestled in a buttery, flaky crust. But really, who decided to pair cherries with pineapples? Maybe it was a fruit-loving chef at a picnic who thought, “What if I blend these two together?” And thus, a legend was born! They say the way to a man’s heart is through his stomach, and let me tell you, this pie could have you winning hearts left and right. If you haven’t given this zesty dessert a try, now is the perfect time to jump on the Cherry Pineapple Pie bandwagon!
Why You’ll Love This Cherry Pineapple Pie
One bite of this Cherry Pineapple Pie, and you’ll understand why it’s an instant favorite. The standout highlight is its blend of fruity flavors that create a symphony on your taste buds, making it perfect for any family gathering. Plus, cooking at home is a great way to bond with loved ones without breaking the bank. Think of the savings when you skip the pricey café desserts and rustle up this homemade delight instead!
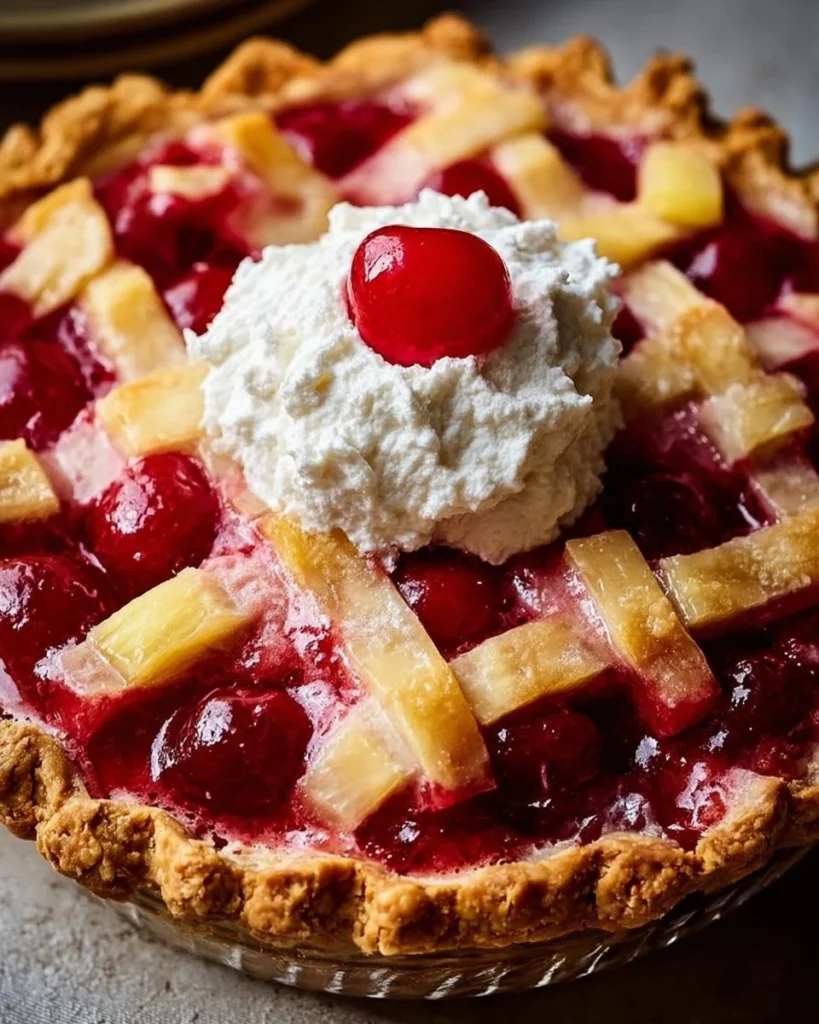
It gets even better! You can top your pie with whipped cream or a scoop of vanilla ice cream to elevate it to new heights of deliciousness. Imagine the creamy, dreamy flavors mingling with the sweet and tart cherries and pineapple – it’s truly an experience you won’t want to miss. So why not gather the family and get ready to make some memories while preparing this Cherry Pineapple Pie? You won’t regret it!
How to Make Cherry Pineapple Pie
Quick Overview
Making a Cherry Pineapple Pie is a breeze! This dish is not only easy to prepare, but it also satisfies your sweet cravings with its delightful textures and flavors. The pie preparation takes about 15 minutes, while baking it will take around 45 minutes, allowing you to create something truly scrumptious without spending hours in the kitchen.
Key Ingredients for Cherry Pineapple Pie
To whip up this delicious Cherry Pineapple Pie, you will need the following ingredients:
- 1 cup cherries, pitted and halved
- 1 cup crushed pineapple, drained
- 1 cup sugar
- 1/4 cup cornstarch
- 1/2 tablespoon lemon juice
- 1/2 teaspoon vanilla extract
- 1 tablespoon butter, cut into small pieces
- 1 pre-made pie crust (store-bought or homemade)
Step-by-Step Instructions
- Preheat the Oven: Preheat your oven to 425°F (220°C). It’s important to get it hot so that your pie bakes evenly.
- Prepare the Filling: In a mixing bowl, combine the pitted cherries and drained crushed pineapple. Gently fold in the sugar, cornstarch, lemon juice, and vanilla extract. This is where the magic begins, blending those beautiful fruity flavors together!
- Fill the Pie Crust: Pour the fruit mixture into the prepared pie crust. Dot the top with small pieces of butter. This will add a rich flavor during baking.
- Top Off: If you have a second pie crust, cover the pie and cut slits for steam to escape. If not, you can leave it open-faced for a beautiful presentation.
- Bake: Place the pie in the preheated oven and bake for about 45 minutes or until the filling is bubbly and the crust is golden brown.
- Cool and Serve: Allow the pie to cool for at least 15 minutes. This step is essential as it allows the filling to set. Serve warm, preferably with a scoop of vanilla ice cream!
Top Tips for Perfecting Cherry Pineapple Pie
- Substitutions: If you do not have cherries on hand, feel free to substitute with strawberries or mixed berries – they work well too!
- Crust Tips: If using a store-bought crust, let it warm at room temperature for about 10 minutes before use to avoid cracks.
- Timing: Keep an eye on the pie during the last 10 minutes of baking. If the edges start to brown too quickly, you can cover them with aluminum foil.
- Common Mistakes to Avoid: Make sure to drain your crushed pineapple well. Excess moisture can lead to a soggy crust.
Storing and Reheating Tips
To keep your Cherry Pineapple Pie fresh, cover it well and store it in the refrigerator for up to 3 days. If you want to enjoy it later, it can be frozen for up to 2 months. To reheat, simply place it in a preheated oven at 350°F (175°C) for about 15-20 minutes or until warmed through. This method will help maintain its crispy crust and delightful filling.
Now that you’re ready to embark on making this Cherry Pineapple Pie, gather your ingredients and let the joy of baking fill your home. Your family will thank you when they take their first bites! Happy baking!
Cherry Pineapple Pie
Ingredients
Method
- Preheat your oven to 425°F (220°C).
- In a mixing bowl, combine the pitted cherries and drained crushed pineapple. Gently fold in the sugar, cornstarch, lemon juice, and vanilla extract.
- Pour the fruit mixture into the prepared pie crust. Dot the top with small pieces of butter.
- If you have a second pie crust, cover the pie and cut slits for steam to escape. If not, leave it open-faced.
- Place the pie in the preheated oven and bake for about 45 minutes or until the filling is bubbly and the crust is golden brown.
- Allow the pie to cool for at least 15 minutes before serving.
Leave a Reply